English

Continued

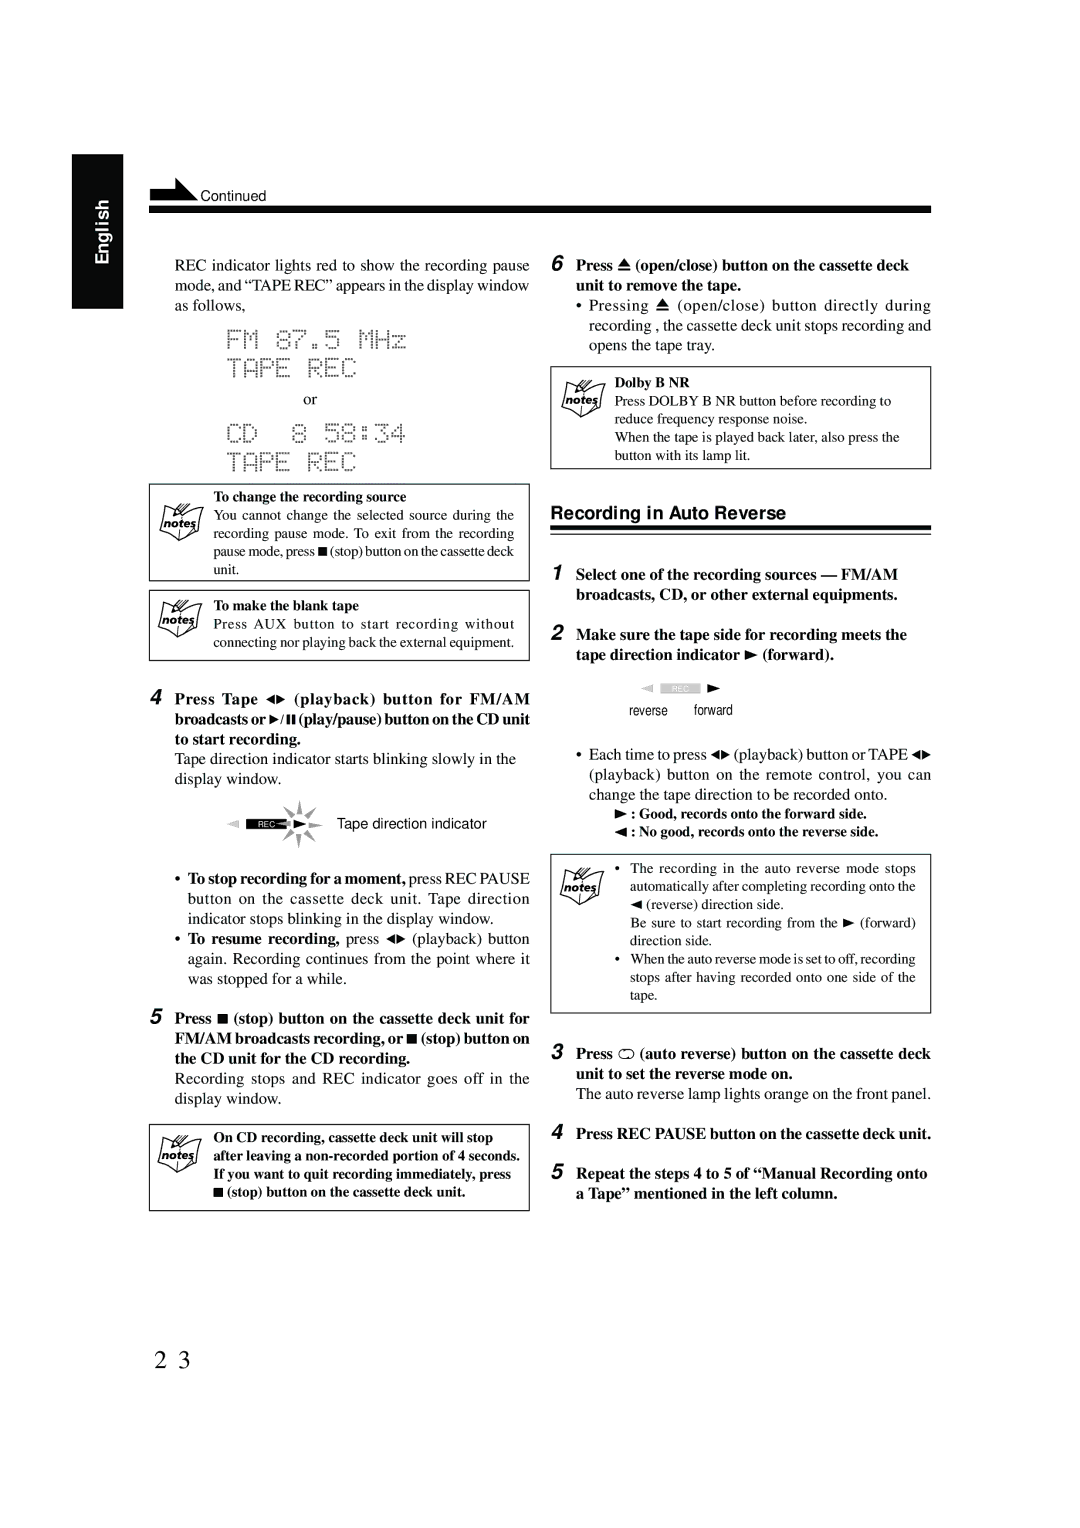
REC indicator lights red to show the recording pause mode, and “TAPE REC” appears in the display window as follows,

or

6 Press 0(open/close) button on the cassette deck unit to remove the tape.

Pressing 0 (open/close) button directly during recording , the cassette deck unit stops recording and opens the tape tray.

Dolby B NR

Press DOLBY B NR button before recording to reduce frequency response noise.

When the tape is played back later, also press the button with its lamp lit.

To change the recording source

You cannot change the selected source during the recording pause mode. To exit from the recording pause mode, press 7(stop) button on the cassette deck unit.

To make the blank tape

Press AUX button to start recording without connecting nor playing back the external equipment.

4 Press Tape ` (playback) button for FM/AM broadcasts or 6(play/pause) button on the CD unit to start recording.

Tape direction indicator starts blinking slowly in the display window.

REC

Tape direction indicator

To stop recording for a moment, press REC PAUSE button on the cassette deck unit. Tape direction indicator stops blinking in the display window.

To resume recording, press ` (playback) button again. Recording continues from the point where it was stopped for a while.

5 Press 7 (stop) button on the cassette deck unit for FM/AM broadcasts recording, or 7(stop) button on the CD unit for the CD recording.

Recording stops and REC indicator goes off in the display window.

On CD recording, cassette deck unit will stop after leaving a non-recorded portion of 4 seconds. If you want to quit recording immediately, press

7(stop) button on the cassette deck unit.

Recording in Auto Reverse

1 Select one of the recording sources — FM/AM broadcasts, CD, or other external equipments.

2 Make sure the tape side for recording meets the tape direction indicator 3(forward).

REC

reverse forward

Each time to press`(playback) button or TAPE ` (playback) button on the remote control, you can change the tape direction to be recorded onto.

3 : Good, records onto the forward side.

2: No good, records onto the reverse side.

• The recording in the auto reverse mode stops automatically after completing recording onto the

2(reverse) direction side.

Be sure to start recording from the 3 (forward) direction side.

When the auto reverse mode is set to off, recording stops after having recorded onto one side of the tape.

3 Press ¹ (auto reverse) button on the cassette deck unit to set the reverse mode on.

The auto reverse lamp lights orange on the front panel.

4 Press REC PAUSE button on the cassette deck unit.

5 Repeat the steps 4 to 5 of “Manual Recording onto a Tape” mentioned in the left column.

23

Page 28
Image 28
JVC FS-G6, LVT0375-001A manual Recording in Auto Reverse, Dolby B NR, To change the recording source, To make the blank tape

XT-UXG6, FS-G6, LVT0375-001A specifications

The JVC XT-UXG6 is a cutting-edge compact stereo system that encapsulates modern audio technology and design. Known for its sleek aesthetics, this system boasts powerful performance coupled with versatility that caters to diverse listening preferences. One of its notable features includes the LVT0375-001A model, which serves as an essential component of the overall audio experience.

The XT-UXG6 is equipped with a high-performance digital amplifier that delivers clear and dynamic sound, ensuring that users enjoy every nuance of their favorite tracks. The system includes a CD player, FM/AM tuner, and Bluetooth connectivity, allowing for seamless streaming of music from various devices. With the trend towards streaming services, the Bluetooth capability broadens the system's functionality, making it more adaptable to the needs of contemporary users.

In addition to Bluetooth, the XT-UXG6 features USB connectivity, which allows for easy playback of music files directly from flash drives. This flexibility of media options makes the system ideal for anyone who enjoys different formats of music playback.

JVC has incorporated advanced sound technologies into the XT-UXG6 to enhance audio fidelity. Features such as equalizer presets enable users to customize their listening experience, adjusting sound profiles to suit different genres or individual preferences. The system also supports various audio formats, ensuring that it can handle a wide range of media without compromising sound quality.

Design-wise, the XT-UXG6 is compact, making it easy to fit into any space, whether it's a living room, bedroom, or office. The aesthetic is modern and streamlined, appealing to those who appreciate clean lines and contemporary design standards.

Durability is another highlighted characteristic of the JVC XT-UXG6. The build quality ensures it can withstand regular use while maintaining performance over time.

Moreover, the FS-G6 speakers are another critical component of the JVC audio lineup. Specifically designed to complement the XT-UXG6, the FS-G6 speakers feature advanced driver technology that reproduces sound with clarity and depth. This pairing enhances overall sound staging and provides a rich listening experience.

In summary, the JVC XT-UXG6, along with its integral LVT0375-001A module and FS-G6 speakers, represents a comprehensive audio solution that harmonizes quality, connectivity, and design. Its versatile features make it a standout choice for anyone seeking an exceptional compact stereo system.