
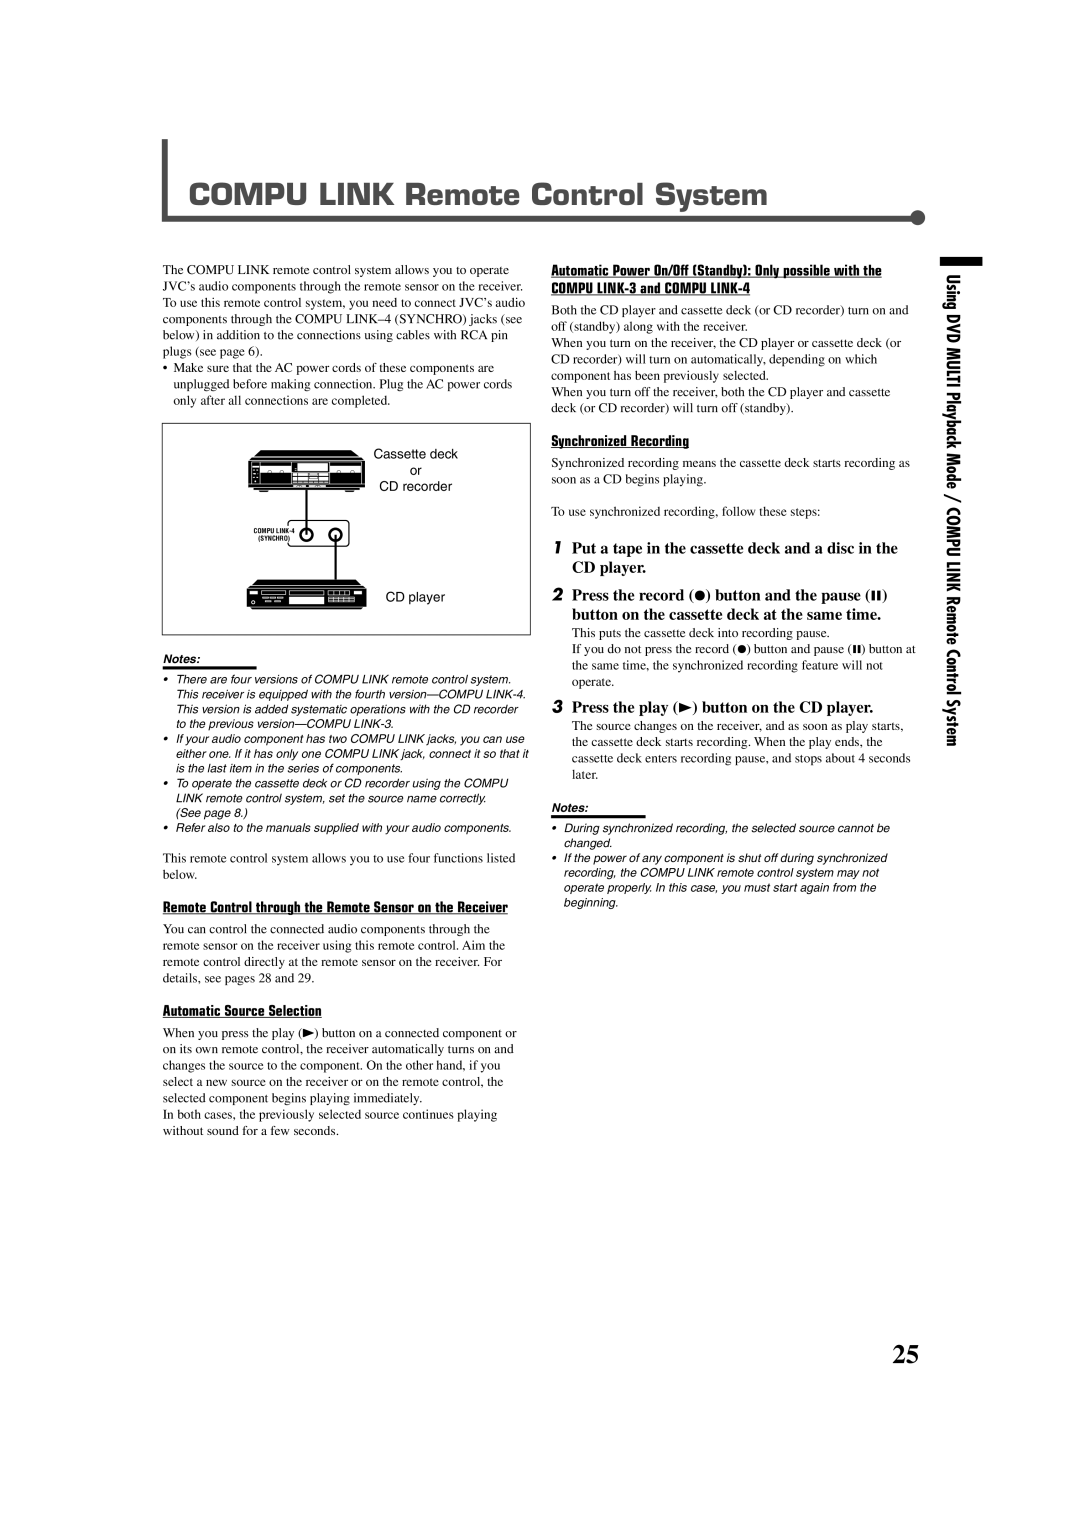
RX-6020VBK specifications
The JVC RX-6020VBK is a versatile and robust audio/video receiver that caters to both audiophiles and casual listeners. Renowned for its dynamic performance and reliability, the RX-6020VBK is an exemplary model within JVC's lineup, blending modern technology with user-friendly features.At the heart of the RX-6020VBK is its exceptional audio processing capabilities, which deliver a rich and immersive sound experience. It operates with a powerful amplifier that boasts a total output of 100 watts per channel. This capability allows it to drive a wide range of speakers with ease, providing clear and distortion-free audio even at higher volumes.
One of the standout features of this receiver is its support for multiple audio and video formats. The RX-6020VBK can handle various surround sound formats, including Dolby Digital and DTS, ensuring that users enjoy a cinematic experience right at home. The unit features advanced digital signal processing, providing precise control over sound characteristics and allowing users to tailor their listening experience to their preferences.
Equipped with substantial connectivity options, the RX-6020VBK integrates seamlessly into any home entertainment system. It offers multiple HDMI inputs, composite and component video connections, as well as coaxial and optical digital audio inputs. This array of options makes it easy to connect a wide range of devices, from gaming consoles to Blu-ray players. The receiver also includes an AM/FM tuner, allowing users to enjoy their favorite radio stations.
Further enhancing its usability, the JVC RX-6020VBK features an intuitive on-screen display that simplifies navigation of the receiver's extensive settings and adjustments. The remote control is ergonomically designed, providing easy access to essential functions without overwhelming the user.
In terms of build quality, the RX-6020VBK is sturdily constructed, ensuring longevity and durability. Its sleek black exterior fits well with most home décor styles, making it an aesthetically pleasing addition to any setup.
Overall, the JVC RX-6020VBK is a well-rounded audio/video receiver that combines powerful performance, versatile connectivity, and user-friendly features, making it an excellent choice for anyone looking to enhance their home entertainment experience. Whether for music listening or movie watching, this receiver stands out as a reliable choice in today's market.