Basic operations
Adjusting the bass/treble sound
You can adjust each enhancement level from the front speakers within the range from
On the remote control:
Press BASS +/– for bass sound. Press TREBLE +/– for treble sound.
NOTE
•You can also make adjustments using the choice menu shown on the TV screen. (A pg. 49)
•The adjustments on a source take effect for the other sources.
•You can adjust bass/treble enhancement level only for front left/right channel. However, the supplied speakers cannot add the effective
change to the bass sound because of their cutoff frequency even if the bass sound adjustment is made. (A pg. 50)
To change the bass enhancement level more efficiently, adjust the output level of the subwoofer. (A “Adjusting the output level of the subwoofer”)
(When you change the front speakers to the larger ones and select “LARGE” for the front speakers in the SIZE
BASS
Changing the decode mode
When you play a disc (or software) encoded with Dolby Digital or DTS Digital Surround, the following symptoms may occur;
•Sound does not come out at the beginning of playback.
•Noise comes out while searching for or skipping chapters or
tracks.
In these cases, change the decode mode to “DOLBY D” (for Dolby Digital) or “DTS” (for DTS Digital Surround).
7When DVD or DBS is selected as the source
On the remote control:
Press DECODE to select the decode mode.
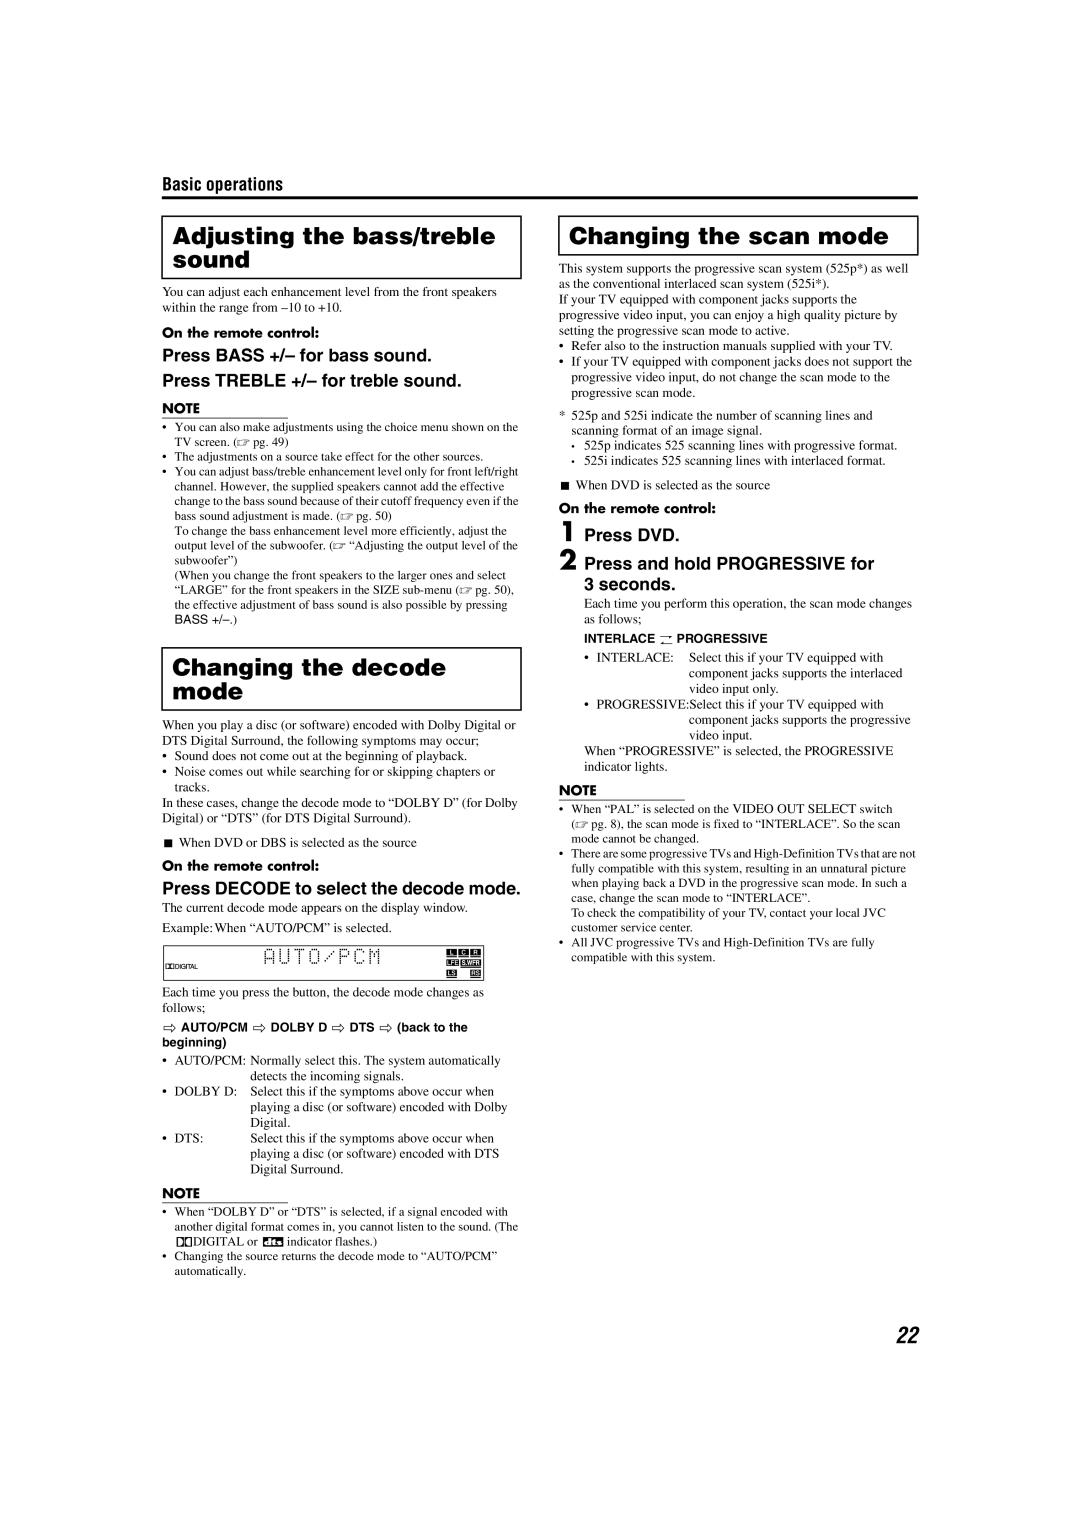
The current decode mode appears on the display window.
Example:When “AUTO/PCM” is selected.
Each time you press the button, the decode mode changes as follows;
]AUTO/PCM ] DOLBY D ] DTS ] (back to the beginning)
•AUTO/PCM: Normally select this. The system automatically detects the incoming signals.
•DOLBY D: Select this if the symptoms above occur when
playing a disc (or software) encoded with Dolby Digital.
• DTS: Select this if the symptoms above occur when playing a disc (or software) encoded with DTS Digital Surround.
NOTE
•When “DOLBY D” or “DTS” is selected, if a signal encoded with another digital format comes in, you cannot listen to the sound. (The GDIGITAL or Cindicator flashes.)
•Changing the source returns the decode mode to “AUTO/PCM” automatically.
Changing the scan mode
This system supports the progressive scan system (525p*) as well as the conventional interlaced scan system (525i*).
If your TV equipped with component jacks supports the progressive video input, you can enjoy a high quality picture by setting the progressive scan mode to active.
•Refer also to the instruction manuals supplied with your TV.
•If your TV equipped with component jacks does not support the progressive video input, do not change the scan mode to the progressive scan mode.
*525p and 525i indicate the number of scanning lines and scanning format of an image signal.
•525p indicates 525 scanning lines with progressive format.
•525i indicates 525 scanning lines with interlaced format.
7When DVD is selected as the source
On the remote control:
1 Press DVD.
2 Press and hold PROGRESSIVE for
3 seconds.
Each time you perform this operation, the scan mode changes as follows;
INTERLACE O PROGRESSIVE
•INTERLACE: Select this if your TV equipped with component jacks supports the interlaced video input only.
•PROGRESSIVE:Select this if your TV equipped with component jacks supports the progressive video input.
When “PROGRESSIVE” is selected, the PROGRESSIVE indicator lights.
NOTE
•When “PAL” is selected on the VIDEO OUT SELECT switch (A pg. 8), the scan mode is fixed to “INTERLACE”. So the scan mode cannot be changed.
•There are some progressive TVs and
To check the compatibility of your TV, contact your local JVC customer service center.
•All JVC progressive TVs and
22