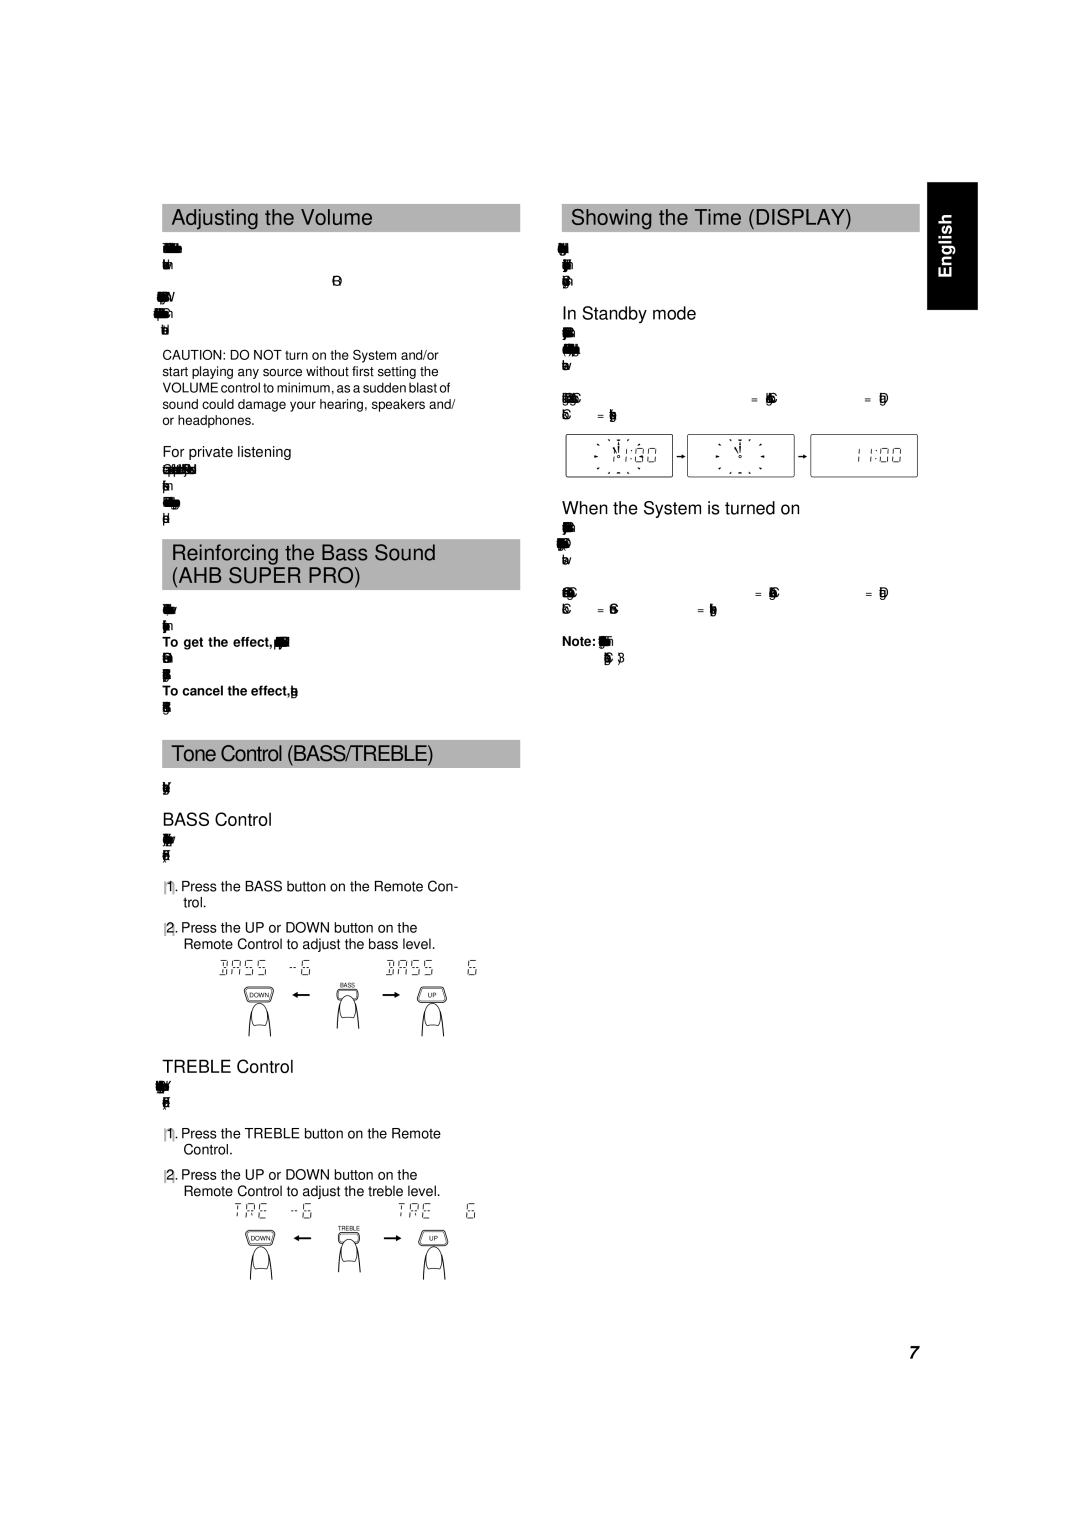
UX-5000 specifications
The JVC UX-5000 is a compact stereo system that encapsulates both elegance and technological innovation, attracting audiophiles and casual listeners alike. Launched in the early 1990s, this model represents a harmonious blend of vintage charm and advanced audio engineering.One of the standout features of the UX-5000 is its dual cassette deck, which allows users to both record and playback tapes with remarkable fidelity. This system supports both normal and metal tapes, providing versatility for different media preferences. The inclusion of Dolby B noise reduction enhances the listening experience by minimizing background hiss, making it an ideal choice for those who appreciate the warm sounds of analog audio.
The UX-5000 also includes a built-in CD player, making it a quintessential all-in-one audio solution for its time. This player is designed to handle various CD formats, ensuring compatibility with most discs. The audio clarity and depth are enhanced by digital signal processing, which helps recreate sound faithfully, delivering a vibrant listening experience that can rival many contemporary systems.
Another significant aspect of the JVC UX-5000 is its impressive FM tuner with RDS functionality. This feature allows users to access a wide array of radio stations while providing program information on the display. The tuner is known for its sensitivity and selectivity, enabling users to enjoy clear reception even in less optimal conditions.
Connectivity options are plentiful, with multiple inputs and outputs available for external devices. This includes an AUX input for connecting smartphones or portable media players, making it easy to integrate modern technology with a classic setup. The UX-5000 also features headphone jacks and speaker outputs for expanded listening options.
Design-wise, the JVC UX-5000 boasts a sleek and stylish chassis with a user-friendly interface. The front panel is equipped with intuitive controls, including a large volume knob and dedicated buttons for various functions, enhancing the overall ease of use.
In summary, the JVC UX-5000 is not just a nostalgic piece of audio equipment but a versatile and high-quality stereo system that offers remarkable performance and connectivity. Its combination of dual cassette decks, CD playback, advanced FM tuning, and thoughtful design make it a beloved choice among enthusiasts and a significant model in the evolution of consumer audio technology.

