Additional information
AV COMPU LINK remote control system
The JVC AV COMPU LINK system allows you to enjoy video or audio with the simplest operation. If your video/audio player (such as a DVD player, CD player and VCR) and television or/and amplifier/receiver support the JVC AV COMPU LINK system and are tied with the JVC AV COMPU LINK cable(s), simply starting the player will automatically make all necessary settings on the television and/or amplifier/receiver to allow you to enjoy the playback.
Connection and setup
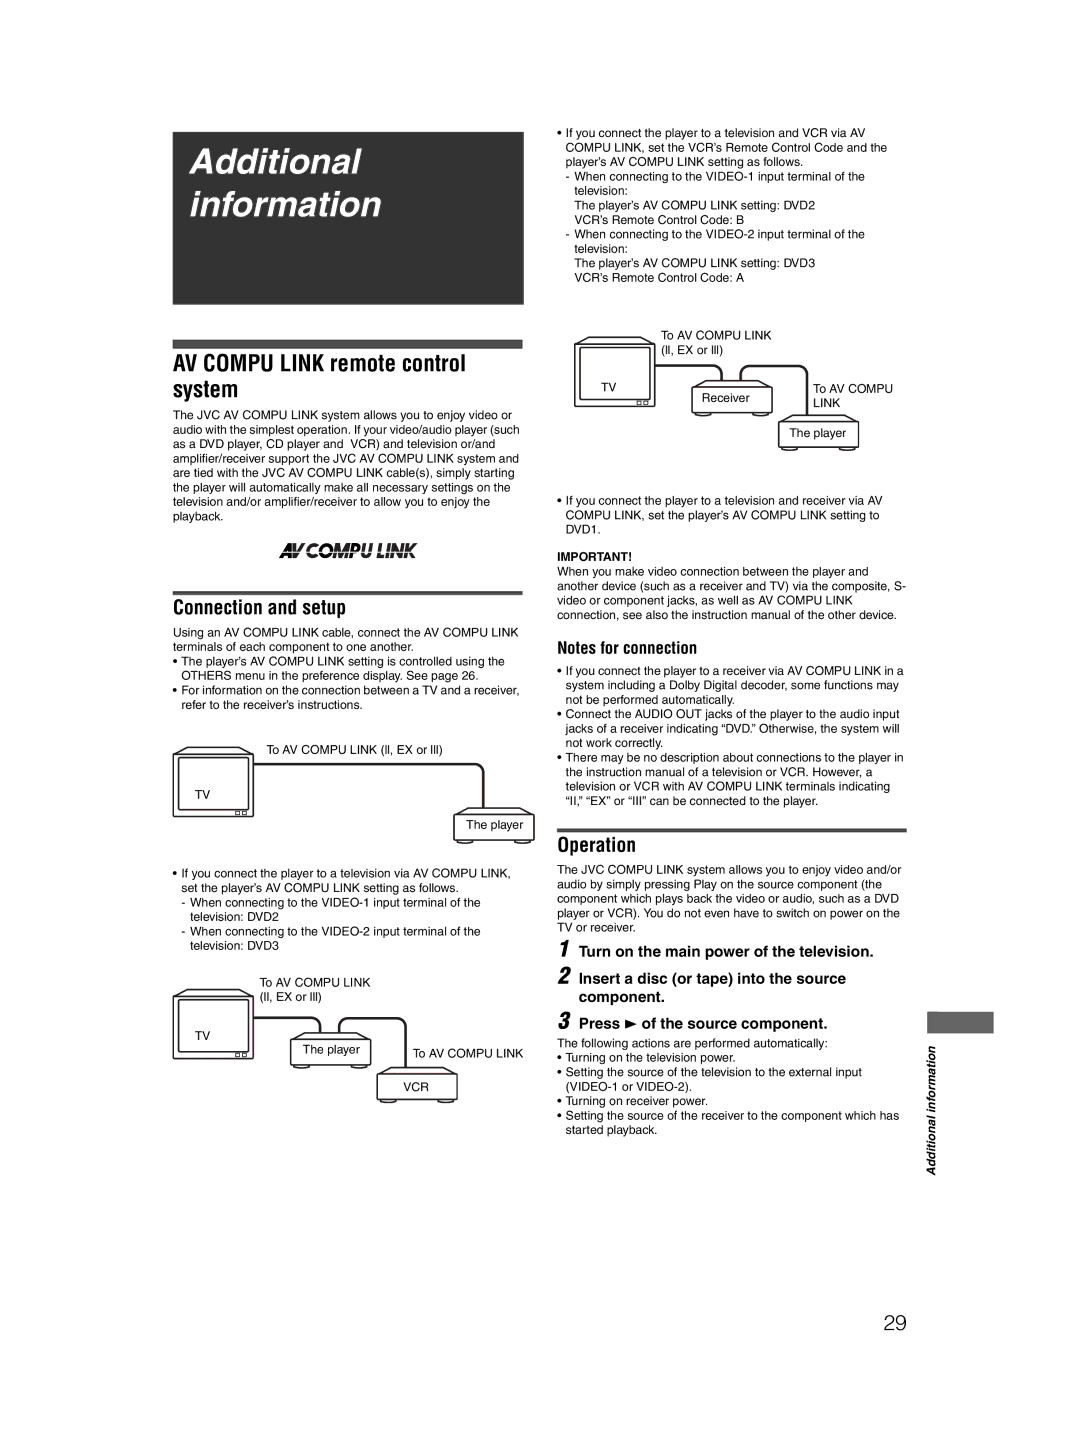
Using an AV COMPU LINK cable, connect the AV COMPU LINK terminals of each component to one another.
•The player’s AV COMPU LINK setting is controlled using the OTHERS menu in the preference display. See page 26.
•For information on the connection between a TV and a receiver, refer to the receiver’s instructions.
To AV COMPU LINK (ll, EX or lll)
TV
The player
•If you connect the player to a television via AV COMPU LINK, set the player’s AV COMPU LINK setting as follows.
-When connecting to the
-When connecting to the
To AV COMPU LINK (ll, EX or lll)
TV
The player | To AV COMPU LINK |
|
VCR
•If you connect the player to a television and VCR via AV COMPU LINK, set the VCR’s Remote Control Code and the player’s AV COMPU LINK setting as follows.
-When connecting to the
The player’s AV COMPU LINK setting: DVD2
VCR’s Remote Control Code: B
-When connecting to the
The player’s AV COMPU LINK setting: DVD3
VCR’s Remote Control Code: A
| To AV COMPU LINK |
|
| (ll, EX or lll) |
|
TV | Receiver | To AV COMPU |
| LINK | |
|
| |
|
| The player |
•If you connect the player to a television and receiver via AV COMPU LINK, set the player’s AV COMPU LINK setting to DVD1.
IMPORTANT!
When you make video connection between the player and another device (such as a receiver and TV) via the composite, S- video or component jacks, as well as AV COMPU LINK connection, see also the instruction manual of the other device.
Notes for connection
•If you connect the player to a receiver via AV COMPU LINK in a system including a Dolby Digital decoder, some functions may not be performed automatically.
•Connect the AUDIO OUT jacks of the player to the audio input jacks of a receiver indicating “DVD.” Otherwise, the system will not work correctly.
•There may be no description about connections to the player in the instruction manual of a television or VCR. However, a television or VCR with AV COMPU LINK terminals indicating “II,” “EX” or “III” can be connected to the player.
Operation
The JVC COMPU LINK system allows you to enjoy video and/or audio by simply pressing Play on the source component (the component which plays back the video or audio, such as a DVD player or VCR). You do not even have to switch on power on the TV or receiver.
1 Turn on the main power of the television.
2 Insert a disc (or tape) into the source component.
3 Press 3 of the source component.
The following actions are performed automatically: | information | |
• Turning on the television power. | ||
| ||
• Setting the source of the television to the external input |
| |
| ||
• Turning on receiver power. |
| |
• Setting the source of the receiver to the component which has | Additional | |
started playback. | ||
|
29
