ToolsNeeded:¼ in.hex-headsocketwrench,%6in.hex-head socketwrenchandaflat-headscrewdriver.

NOTE:Itmayonlybenecessarytoremoveeitherthedoorhandle orthedoorstogetyourproductthroughthedoorwayofyour residenceMeasurethedooropeningtodeterminewhetherto. removetherefrigeratorhandlesorthedoors.

HandleRemoval(optional)

1.Applyfirmpressurewithyourhandonthefaceoftrim.Slide

toptrimupandbottomtrimdownawayfromhandleLifttrim. piecesoffshoulderscrews(seeGraphic1).

2.Removehandlescrewsandhandles.

3.MoverefrigeratorintoplaceReplacehandlesasshown(see. Graphic1).

Door Removal

NOTE: Provide additional support for the doors while the top hinges are being replaced. Do not depend on the door magnets to hold the doors in place while you are working.

3.Align and replace the top left hinge as shown (see Graphic 4). Tighten screws.

Electrical Shock Hazard

Reconnect both ground wires.

Failure to do so can result in death or electrical shock.

Electrical Shock Hazard

Disconnect power before removing doors.

Failure to do so can result in death or electrical shock.

1.Unplug refrigerator or disconnect power.

2.Open both refrigerator doors. Remove the base grille by pulling up on the bottom outside corners (see Graphic 2).

3.Close both doors and keep them closed until you are ready to lift them free from the cabinet.

4.If you have a dispenser (ice or water), disconnect the water dispenser tubing located behind the base grille. Remove hose from clip (see Graphic 3).

Disconnect union nut.

Remove union nut and spring.

5.Remove top left hinge cover and screws as shown (see Graphic 4). DO NOT REMOVE SCREW 1.

6.Disconnect wiring plug and both ground wires (see Graphic 4).

7.Carefully lift freezer door straight up off bottom hinge (see Graphic 5). The water dispenser tubing remains attached to

the freezer door and pulls through the bottom left hinge. Make sure you protect the dispenser tubing from damage.

8.Remove top right hinge cover and screws as shown (see Graphic 6). DO NOT REMOVE SCREW 1.

9.Lift the refrigerator door straight up off bottom hinge.

10.It may not be necessary to remove the bottom hinge to move the refrigerator through a doorway. Both bottom hinges have similar construction.

Disassemble the hinges as shown (see Graphic 7). DO NOT REMOVE SCREW 1.

Door and Hinge Replacement

1.Replace both bottom hinges, if removed. Tighten screws.

2.Assistance may be needed to feed the water line through the bottom hinge while reinstalling the freezer door. Carefully feed the dispenser tubing through the bottom left hinge before replacing the door on the hinge.

4.Reconnect both ground wires.

5.Reconnect wiring plug.

6.Replace left hinge cover and screws.

7.Replace the refrigerator door by carefully lifting the door onto the bottom right hinge.

8.Align and replace the top right hinge as shown (see Graphic 6). Tighten screws.

9.Replace hinge cover and screws. Tighten screws.

10.Plug into a grounded 3 prong outlet.

Do@ Cos g

Door Closing

1.Move the refrigerator into its final position.

2.Place a level inside the refrigerator at the back of the top shelf (see Graphic 8).

3.The two leveling screws are part of the front roller assemblies located behind the base grille of the refrigerator on either side.

4.Use a screwdriver to adjust the rear roller leveling screws until the refrigerator is level.

5.Turn the rear roller leveling screw to the right to raise that side of the refrigerator or turn the leveling screw to the left to lower that side (see Graphic 9). Make sure refrigerator is level before proceeding.

6.Check the door alignment after leveling the refrigerator.

Door Alignment

If the doors are uneven after leveling the product (see Graphic 10), follow the steps below.

1.Use a screwdriver to adjust the front roller leveling screws until the doors are even. Turn the front roller leveling screw to the right to raise that side of the refrigerator or turn the leveling screw to the left to lower that side (see Graphic 11).

NOTE: Open and close both the refrigerator and freezer doors after each adjustment to check the door alignment.

2.Open the doors and replace the base grille. Line up the grille support tabs with the metal clips. Push the grille firmly to snap it into place.

NOTE: Be sure to refasten the Tech Sheet behind the base grille.

Page 7
Image 7
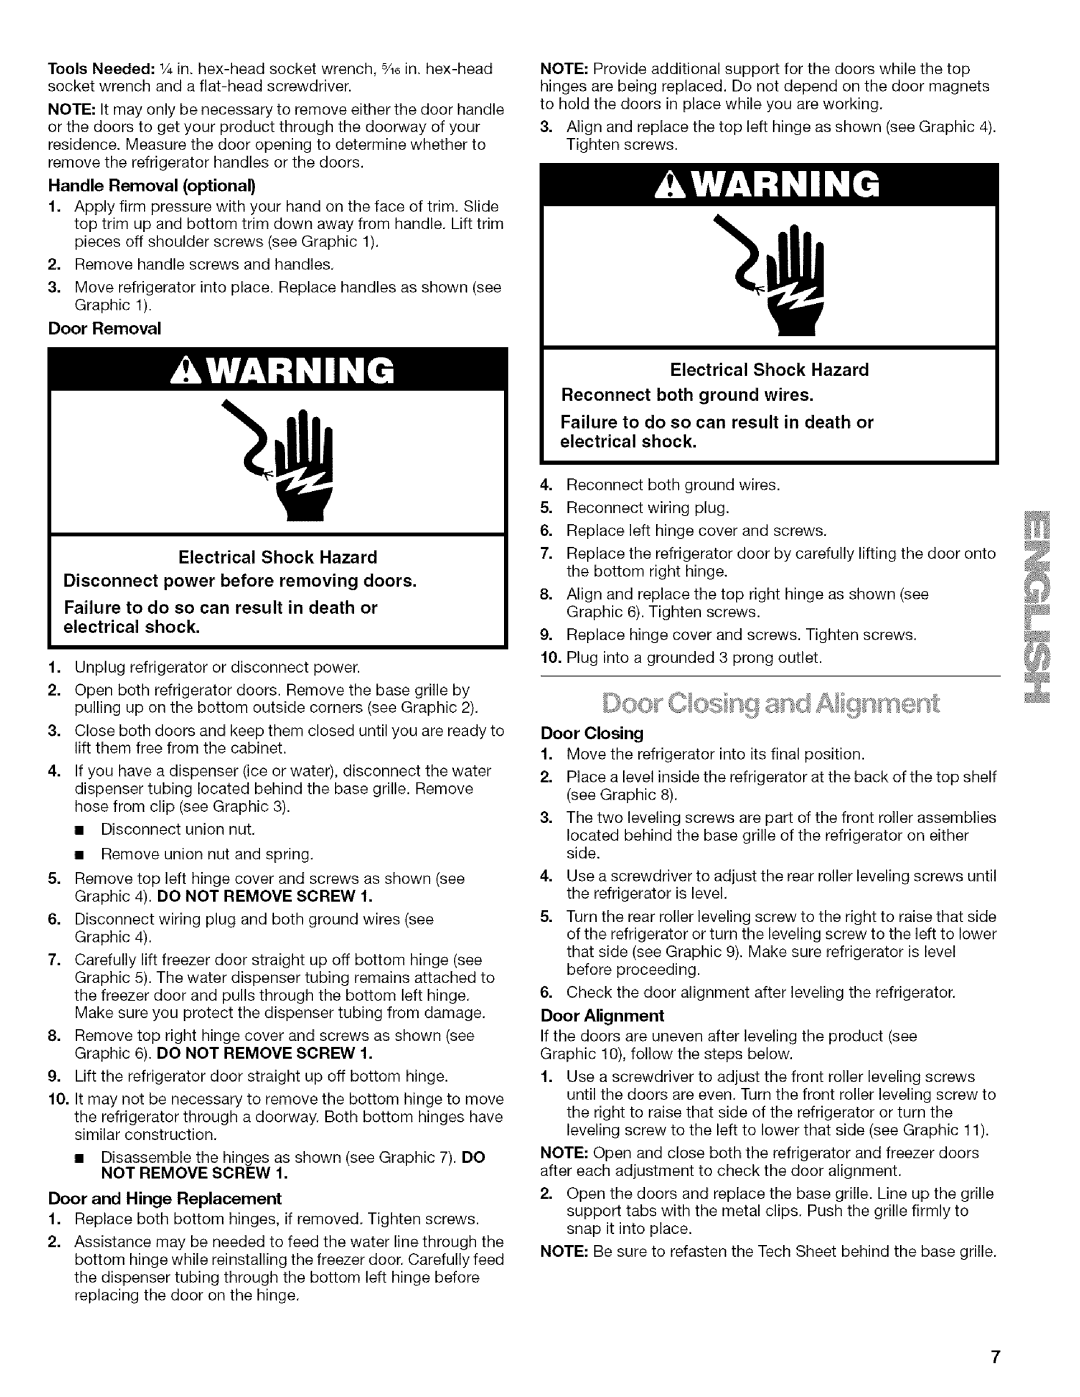
Kenmore 2205960 manual Door Removal, Door and Hinge Replacement, Door Alignment

2205960 specifications

The Kenmore 2205960 is a highly sought-after appliance in modern kitchens, combining functionality with efficiency to cater to diverse culinary needs. Designed with user-friendly features and advanced technologies, this model serves as a reliable companion for cooking enthusiasts and everyday users alike.

One of the key features of the Kenmore 2205960 is its spacious interior, which provides ample room for various cooking tasks. The appliance is designed to handle large meals with ease, accommodating multiple dishes simultaneously. This makes it particularly beneficial for family gatherings and entertaining guests. The interior is also equipped with adjustable shelving, allowing users to customize the space according to their specific needs.

Another standout characteristic of this model is its smart temperature management system. This technology ensures that heat is evenly distributed throughout the cooking cavity, preventing cold spots and ensuring that food is cooked thoroughly and uniformly. The appliance includes a programmable timer and temperature controls, allowing users to set precise cooking times and temperatures with ease.

The Kenmore 2205960 also boasts energy efficiency features that help to reduce utility bills while minimizing environmental impact. With an Energy Star certification, this appliance is designed to consume less energy without sacrificing performance. This not only promotes sustainability but also provides users with peace of mind knowing they are making responsible energy choices.

In terms of design, the Kenmore 2205960 presents a sleek and modern aesthetic that can seamlessly blend into any kitchen décor. Its stainless steel finish is not only visually appealing but also easy to clean and maintain. The appliance is designed with intuitive controls, ensuring that even those with limited culinary experience can effortlessly navigate its features.

Another important aspect of the Kenmore 2205960 is its safety features. Equipped with child-lock capabilities and overheating protection, this appliance is designed with user safety in mind. These features are particularly important for families with young children or individuals who may be new to cooking.

Overall, the Kenmore 2205960 stands out in the crowded market of kitchen appliances due to its blend of functionality, efficiency, and safety. It is an excellent investment for anyone looking to enhance their cooking experience while enjoying the benefits of innovative technology. Whether you are a seasoned chef or someone looking to simplify meal preparation, the Kenmore 2205960 is designed to meet and exceed expectations.