Care & Cleaning
Cleaning oven bottom (on some models)
Please note:
On some models the lower oven bake element is visible. The following cleaning instruction applies ONLY for models that have a visible lower bake element.
![]() Oven elements may appear to have cooled after they have been turned off. The oven bake and broil elements may still be hot and burns may occur if touched before they have cooled sufficiently.
Oven elements may appear to have cooled after they have been turned off. The oven bake and broil elements may still be hot and burns may occur if touched before they have cooled sufficiently.
The bake element may be tilted from the front for better access to the oven bottom for cleaning. It is recommended to remove
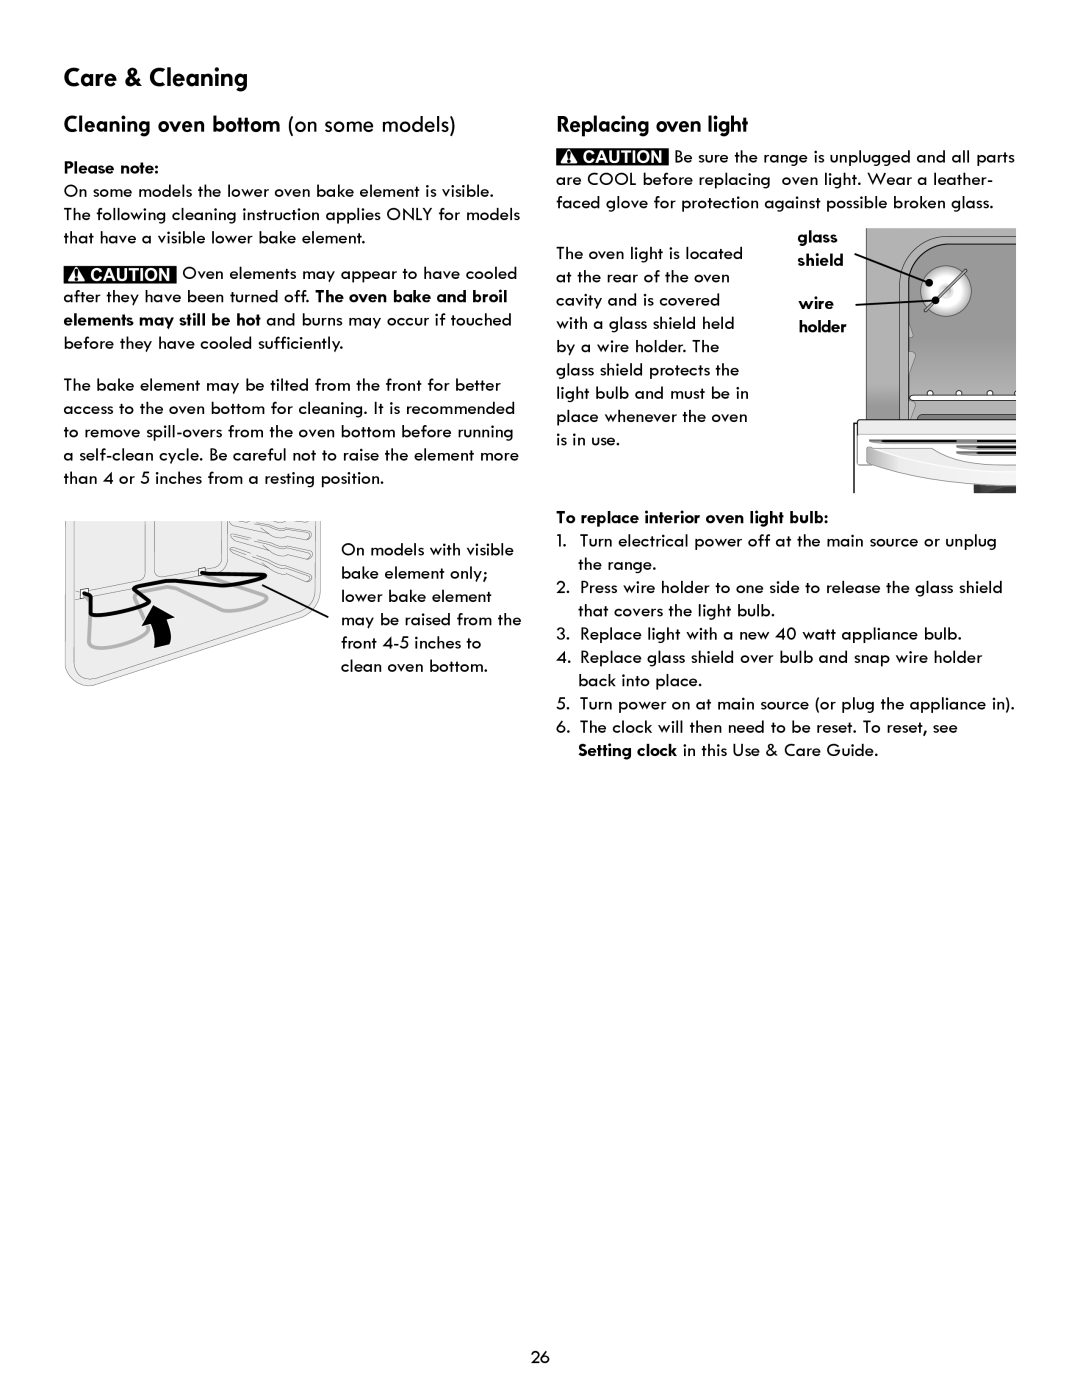
On models with visible bake element only; lower bake element may be raised from the front
Replacing oven light
![]() Be sure the range is unplugged and all parts are COOL before replacing oven light. Wear a leather- faced glove for protection against possible broken glass.
Be sure the range is unplugged and all parts are COOL before replacing oven light. Wear a leather- faced glove for protection against possible broken glass.
The oven light is located | glass | |
shield | ||
at the rear of the oven | ||
| ||
cavity and is covered | wire | |
with a glass shield held | holder | |
by a wire holder. The |
| |
glass shield protects the |
| |
light bulb and must be in |
| |
place whenever the oven |
| |
is in use. |
|
To replace interior oven light bulb:
1.Turn electrical power off at the main source or unplug the range.
2.Press wire holder to one side to release the glass shield that covers the light bulb.
3.Replace light with a new 40 watt appliance bulb.
4.Replace glass shield over bulb and snap wire holder back into place.
5.Turn power on at main source (or plug the appliance in).
6.The clock will then need to be reset. To reset, see Setting clock in this Use & Care Guide.
26