Operation
Screen Control Screen
S C R E E N
![]()
![]()
![]()
![]()
![]()
![]()
![]()
![]()
![]()
![]()
![]()
![]()
![]()
![]()
![]()
![]()
![]()
![]()
![]()
![]()
![]()
![]()
![]()
![]()
![]()
![]()
![]()
![]()
![]()
![]()
![]()
![]() T I N
T I N
![]()
![]()
![]()
![]()
![]()
![]()
![]()
![]()
![]()
![]()
![]()
![]()
![]()
![]()
![]()
![]()
![]()
![]()
![]()
![]()
![]()
![]()
![]()
![]()
![]()
![]()
![]()
![]()
![]()
![]()
![]()
![]() C O L
C O L
![]()
![]()
![]()
![]()
![]()
![]()
![]()
![]()
![]()
![]()
![]()
![]()
![]()
![]()
![]()
![]()
![]()
![]()
![]()
![]()
![]()
![]()
![]()
![]()
![]()
![]()
![]()
![]()
![]()
![]()
![]() C O N T
C O N T
B L K
D I M ![]()
![]()
![]()
![]()
![]()
![]()
![]()
![]()
![]()
![]()
![]()
![]()
![]()
![]()
![]()
![]()
![]()
![]()
![]()
![]()
![]()
![]()
![]()
![]()
![]()
![]()
![]()
![]()
![]()
![]()
![]()
![]()
![]()
![]()
![]()
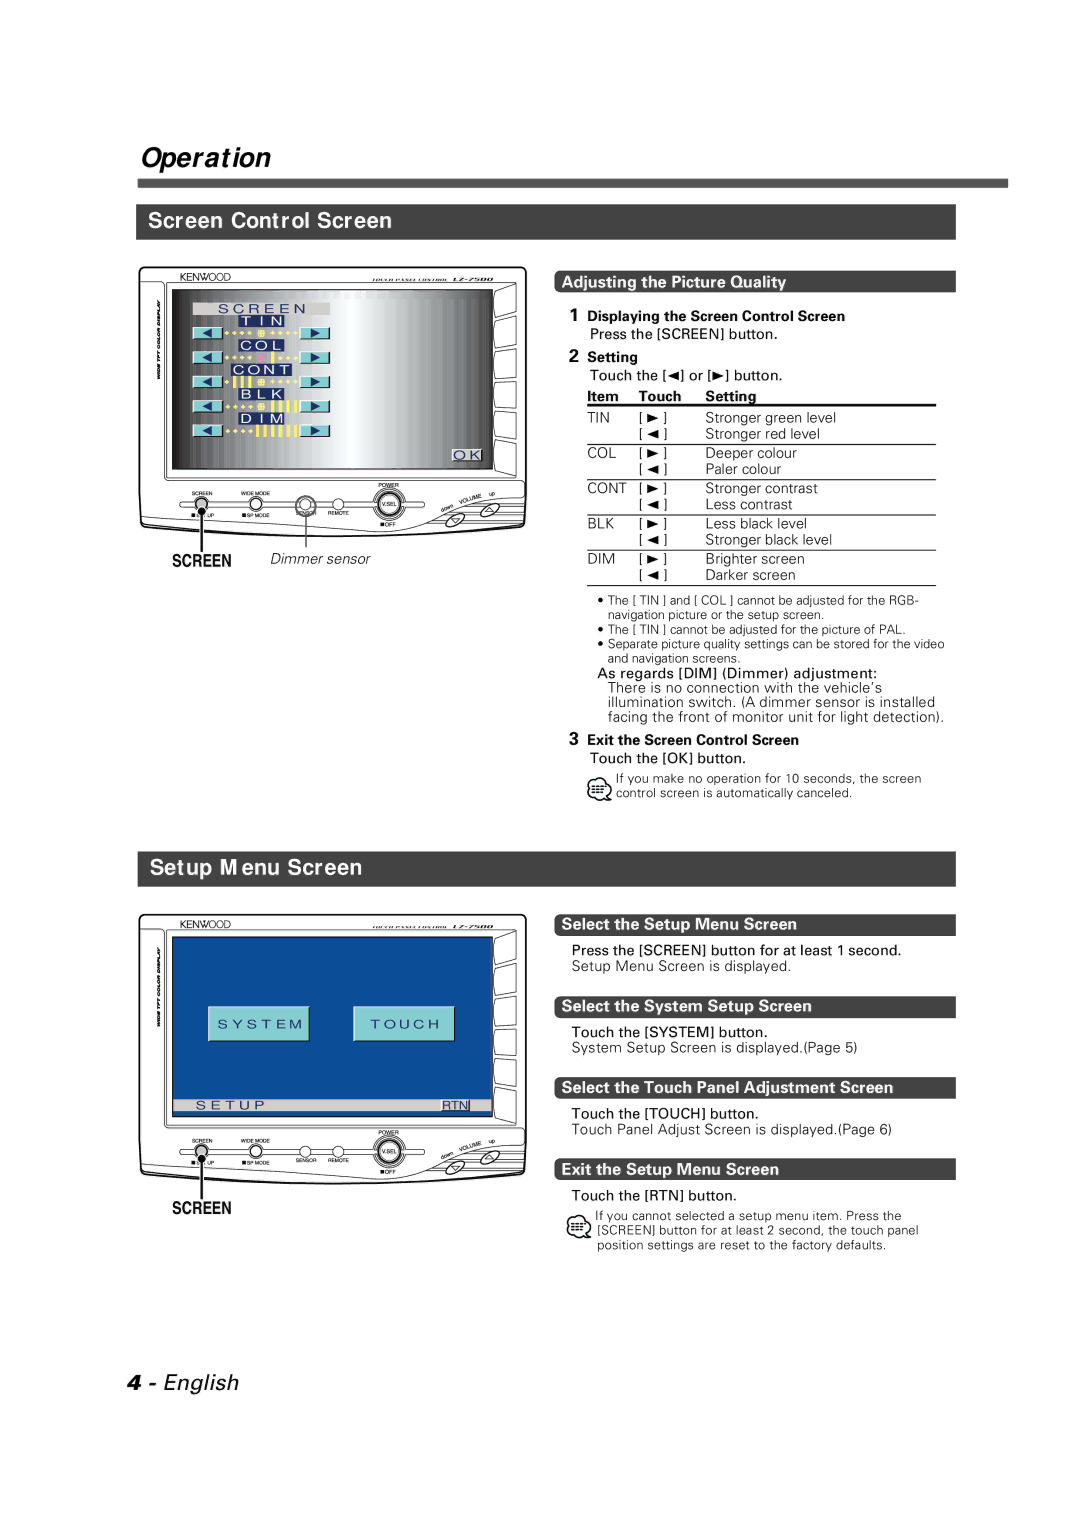
SCREEN | Dimmer sensor |
O K
Adjusting the Picture Quality
1Displaying the Screen Control Screen Press the [SCREEN] button.
2Setting
Touch the [2] or [3] button.
Item | Touch | Setting |
TIN | [ 3 ] | Stronger green level |
| [ 2 ] | Stronger red level |
COL | [ 3 ] | Deeper colour |
| [ 2 ] | Paler colour |
CONT | [ 3 ] | Stronger contrast |
| [ 2 ] | Less contrast |
BLK | [ 3 ] | Less black level |
| [ 2 ] | Stronger black level |
DIM | [ 3 ] | Brighter screen |
| [ 2 ] | Darker screen |
•The [ TIN ] and [ COL ] cannot be adjusted for the RGB- navigation picture or the setup screen.
•The [ TIN ] cannot be adjusted for the picture of PAL.
•Separate picture quality settings can be stored for the video and navigation screens.
As regards [DIM] (Dimmer) adjustment: There is no connection with the vehicle’s illumination switch. (A dimmer sensor is installed facing the front of monitor unit for light detection).
3Exit the Screen Control Screen Touch the [OK] button.
If you make no operation for 10 seconds, the screen control screen is automatically canceled.
Setup Menu Screen
S Y S T E M | T O U C H |
S E T U P | RTN |
SCREEN
Select the Setup Menu Screen
Press the [SCREEN] button for at least 1 second. Setup Menu Screen is displayed.
Select the System Setup Screen
Touch the [SYSTEM] button.
System Setup Screen is displayed.(Page 5)
Select the Touch Panel Adjustment Screen
Touch the [TOUCH] button.
Touch Panel Adjust Screen is displayed.(Page 6)
Exit the Setup Menu Screen
Touch the [RTN] button.
If you cannot selected a setup menu item. Press the [SCREEN] button for at least 2 second, the touch panel position settings are reset to the factory defaults.
4 - English
