The Brewer should be
Step 3: Repeat the brew process until the Water Reservoir is empty, pouring the
SECTION 4
TROUBLESHOOTING
possible for calcium deposits to build up faster, making it necessary to
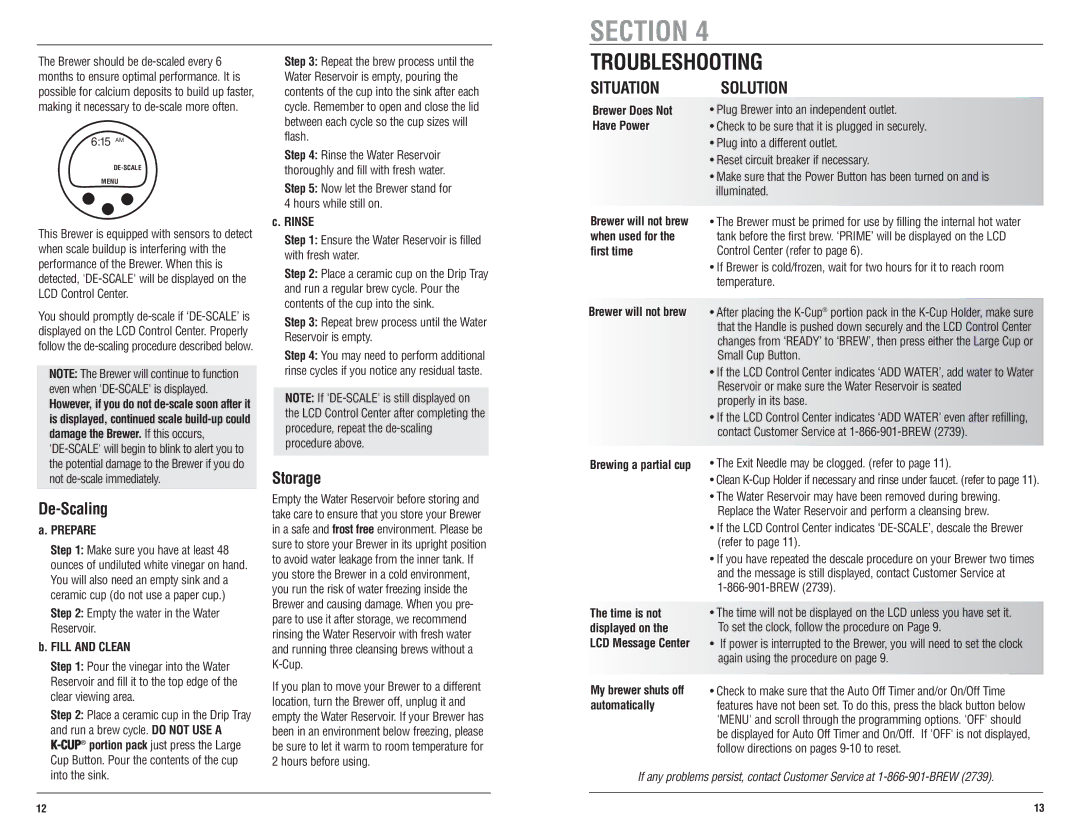
6:15AM
MENU
This Brewer is equipped with sensors to detect when scale buildup is interfering with the performance of the Brewer. When this is detected,
contents of the cup into the sink after each cycle. Remember to open and close the lid between each cycle so the cup sizes will flash.
Step 4: Rinse the Water Reservoir thoroughly and fill with fresh water.
Step 5: Now let the Brewer stand for 4 hours while still on.
c. RINSE |
Step 1: Ensure the Water Reservoir is filled |
with fresh water. |
Step 2: Place a ceramic cup on the Drip Tray |
and run a regular brew cycle. Pour the |
contents of the cup into the sink. |
SITUATION
Brewer Does Not Have Power
Brewer will not brew when used for the first time
SOLUTION
•Plug Brewer into an independent outlet.
•Check to be sure that it is plugged in securely.
•Plug into a different outlet.
•Reset circuit breaker if necessary.
•Make sure that the Power Button has been turned on and is illuminated.
•The Brewer must be primed for use by filling the internal hot water tank before the first brew. ‘PRIME’ will be displayed on the LCD Control Center (refer to page 6).
•If Brewer is cold/frozen, wait for two hours for it to reach room temperature.
You should promptly
NOTE: The Brewer will continue to function even when
However, if you do not
De-Scaling
a. PREPARE |
Step 1: Make sure you have at least 48 |
ounces of undiluted white vinegar on hand. |
You will also need an empty sink and a |
ceramic cup (do not use a paper cup.) |
Step 2: Empty the water in the Water |
Reservoir. |
b. FILL AND CLEAN |
Step 1: Pour the vinegar into the Water |
Reservoir and fill it to the top edge of the |
clear viewing area. |
Step 2: Place a ceramic cup in the Drip Tray |
and run a brew cycle. DO NOT USE A |
Cup Button. Pour the contents of the cup |
Step 3: Repeat brew process until the Water |
Reservoir is empty. |
Step 4: You may need to perform additional |
rinse cycles if you notice any residual taste. |
NOTE: If |
the LCD Control Center after completing the |
procedure, repeat the |
procedure above. |
Storage
Empty the Water Reservoir before storing and take care to ensure that you store your Brewer in a safe and frost free environment. Please be sure to store your Brewer in its upright position to avoid water leakage from the inner tank. If you store the Brewer in a cold environment, you run the risk of water freezing inside the Brewer and causing damage. When you pre- pare to use it after storage, we recommend rinsing the Water Reservoir with fresh water and running three cleansing brews without a
If you plan to move your Brewer to a different location, turn the Brewer off, unplug it and empty the Water Reservoir. If your Brewer has been in an environment below freezing, please be sure to let it warm to room temperature for 2 hours before using.
Brewer will not brew
Brewing a partial cup
The time is not displayed on the LCD Message Center
My brewer shuts off automatically
•After placing the
•If the LCD Control Center indicates ‘ADD WATER’, add water to Water Reservoir or make sure the Water Reservoir is seated
properly in its base.
•If the LCD Control Center indicates ‘ADD WATER’ even after refilling, contact Customer Service at
•The Exit Needle may be clogged. (refer to page 11).
•Clean
•The Water Reservoir may have been removed during brewing. Replace the Water Reservoir and perform a cleansing brew.
•If the LCD Control Center indicates
•If you have repeated the descale procedure on your Brewer two times and the message is still displayed, contact Customer Service at
•The time will not be displayed on the LCD unless you have set it.
To set the clock, follow the procedure on Page 9.
•If power is interrupted to the Brewer, you will need to set the clock again using the procedure on page 9.
•Check to make sure that the Auto Off Timer and/or On/Off Time features have not been set. To do this, press the black button below 'MENU' and scroll through the programming options. 'OFF' should be displayed for Auto Off Timer and On/Off. If 'OFF' is not displayed, follow directions on pages
into the sink. |
If any problems persist, contact Customer Service at
12 | 13 |