Installation
If the outlet is mounted horizontally (sideways):
If you are going to use your alarm as a direct plug and you are going to plug in to an outlet that is mounted horizontally (sideways), you will need to rotate the adapter 90˚.
To rotate the adapter:
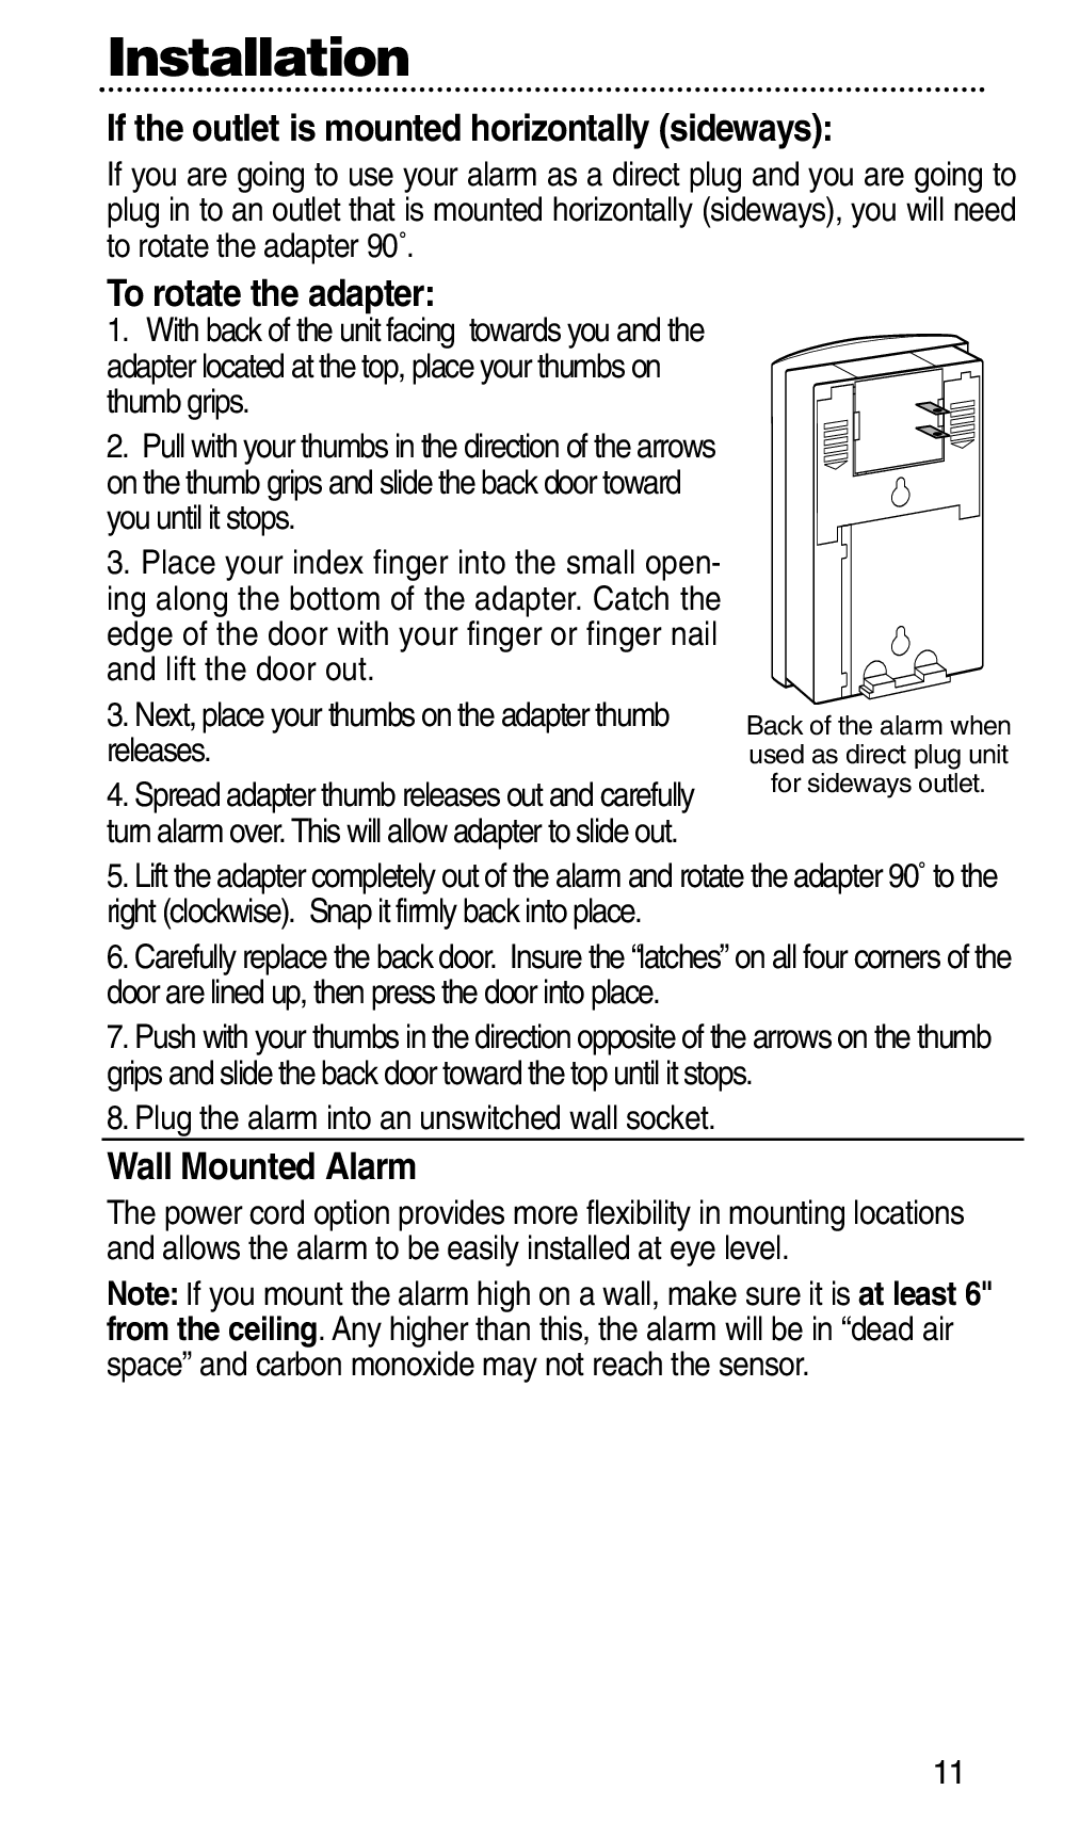
1.With back of the unit facing towards you and the adapter located at the top, place your thumbs on thumb grips.
2.Pull with your thumbs in the direction of the arrows on the thumb grips and slide the back door toward you until it stops.
3.Place your index finger into the small open- ing along the bottom of the adapter. Catch the edge of the door with your finger or finger nail and lift the door out.
3.Next, place your thumbs on the adapter thumb releases.
4.Spread adapter thumb releases out and carefully turn alarm over. This will allow adapter to slide out.
Back of the alarm when used as direct plug unit for sideways outlet.
5.Lift the adapter completely out of the alarm and rotate the adapter 90˚ to the right (clockwise). Snap it firmly back into place.
6.Carefully replace the back door. Insure the “latches” on all four corners of the door are lined up, then press the door into place.
7.Push with your thumbs in the direction opposite of the arrows on the thumb grips and slide the back door toward the top until it stops.
8.Plug the alarm into an unswitched wall socket.
Wall Mounted Alarm
The power cord option provides more flexibility in mounting locations and allows the alarm to be easily installed at eye level.
Note: If you mount the alarm high on a wall, make sure it is at least 6" from the ceiling. Any higher than this, the alarm will be in “dead air space” and carbon monoxide may not reach the sensor.
11
