Electrical
requirements |
|
|
|
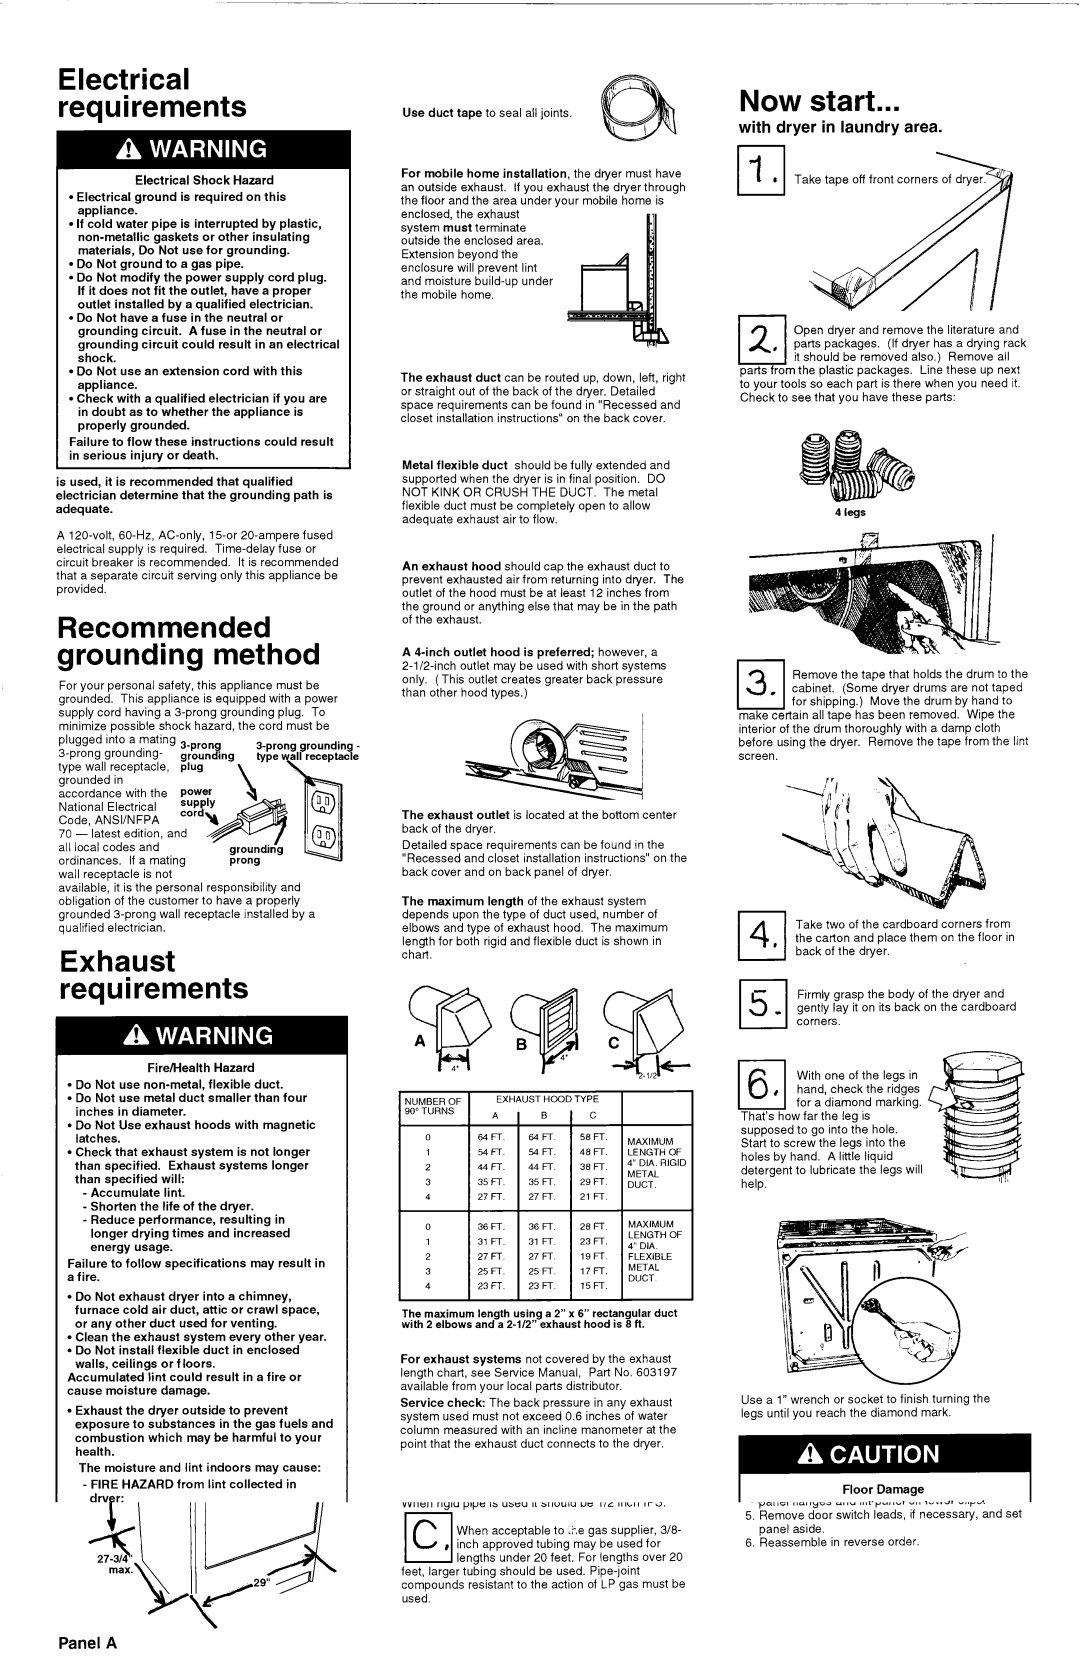
| Use | duct | tape | to seal | all joints. |
|
|
|
| |||||||||||||||
|
|
| Electrical |
| Shock | Hazard |
| For | mobile | home | installation, | the | dryer must have | |||||||||||||||
|
|
|
|
| an outside | exhaust. |
| If you | exhaust | the dryer | through | |||||||||||||||||
l Electrical | ground | is | required on this |
|
| |||||||||||||||||||||||
| the floor and the area under your mobile home is | |||||||||||||||||||||||||||
appliance. |
|
|
|
|
|
|
|
|
|
| ||||||||||||||||||
|
|
|
|
|
|
|
|
|
| enclosed, the exhaust |
|
|
|
|
|
|
|
| ||||||||||
l If cold | water |
| pipe | is | interrupted | by plastic, |
|
|
|
|
|
|
|
| ||||||||||||||
| system | must | terminate |
|
|
|
|
|
|
| ||||||||||||||||||
|
| gaskets or other insulating |
|
|
|
|
|
|
| |||||||||||||||||||
|
| outside | the enclosed | area. |
|
|
|
|
|
| ||||||||||||||||||
materials, Do Not use for grounding. |
|
|
|
|
|
|
| |||||||||||||||||||||
| Extension | beyond | the |
|
|
|
|
|
|
| ||||||||||||||||||
l Do Not ground to a gas pipe. |
|
|
|
|
|
|
|
|
|
| ||||||||||||||||||
|
|
| enclosure | will prevent | lint |
|
|
|
|
|
| |||||||||||||||||
l Do Not modify the power supply cord plug. |
|
|
|
|
|
| ||||||||||||||||||||||
and moisture |
|
|
|
|
| |||||||||||||||||||||||
If it does not fit the outlet, have a proper |
|
|
|
|
| |||||||||||||||||||||||
the mobile | home. |
|
|
|
|
|
|
|
|
| ||||||||||||||||||
outlet installed by a qualified electrician. |
|
|
|
|
|
|
|
|
| |||||||||||||||||||
|
|
|
|
|
|
|
|
|
|
|
|
|
|
| ||||||||||||||
l Do Not have a fuse in the neutral or |
|
|
|
|
|
|
|
|
|
|
|
|
|
|
|
| ||||||||||||
grounding circuit. A fuse in the neutral or |
|
|
|
|
|
|
|
|
|
|
|
|
|
|
| |||||||||||||
grounding circuit could result in an electrical |
|
|
|
|
|
|
|
|
|
|
|
|
|
|
| |||||||||||||
shock. |
|
|
|
|
|
|
|
|
|
|
|
|
|
|
|
|
|
|
|
|
|
|
|
|
|
| ||
l Do Not use an extension cord with this | The exhaust duct can be routed up, down, left, right | |||||||||||||||||||||||||||
appliance. |
|
|
|
|
|
|
|
|
|
| ||||||||||||||||||
|
|
|
|
|
|
|
|
|
| or straight out of the back of the dryer. Detailed | ||||||||||||||||||
l Check | with | a qualified | electrician | if you are | ||||||||||||||||||||||||
space requirements can be found in “Recessed and | ||||||||||||||||||||||||||||
in doubt as to whether the appliance is | ||||||||||||||||||||||||||||
closet installation instructions” on the back cover. | ||||||||||||||||||||||||||||
properly | grounded. |
|
|
|
|
|
|
| ||||||||||||||||||||
|
|
|
|
|
|
|
|
|
|
|
|
|
|
|
|
|
|
|
|
|
| |||||||
Failure to flow | these |
| instructions | could result |
|
|
|
|
|
|
|
|
|
|
|
|
|
|
| |||||||||
in serious injury or death. |
|
|
|
| Metal flexible duct should be fully extended and | |||||||||||||||||||||||
|
|
|
|
|
|
|
|
|
|
|
|
| ||||||||||||||||
is used, | it | is recommended | that | qualified |
| supported | when | the | dryer | is in final | position. | DO | ||||||||||||||||
electrician |
| determine | that | the | grounding | path is | NOT | KINK | OR | CRUSH | THE | DUCT. | The metal | |||||||||||||||
adequate. |
|
|
|
|
|
|
|
|
|
|
|
| flexible | duct | must | be completely | open | to allow | ||||||||||
|
|
|
|
|
|
|
|
|
|
|
|
| adequate exhaust air to flow. |
|
|
|
|
| ||||||||||
A | 15or | fused |
|
|
|
|
|
|
|
|
|
|
|
|
|
|
| |||||||||||
electrical supply is required. |
|
|
|
|
|
|
|
|
|
|
|
|
|
|
| |||||||||||||
circuit breaker | is recommended. |
| It is recommended | An exhaust hood should cap the exhaust duct to | ||||||||||||||||||||||||
that a separate circuit serving only this appliance be | ||||||||||||||||||||||||||||
prevent | exhausted | air from | returning | into dyer. The | ||||||||||||||||||||||||
provided. |
|
|
|
|
|
|
|
|
|
|
|
| ||||||||||||||||
|
|
|
|
|
|
|
|
|
|
|
| outlet of the hood must be at least 12 inches from | ||||||||||||||||
|
|
|
|
|
|
|
|
|
|
|
|
| ||||||||||||||||
Recommended |
|
|
| the ground or anything else that may be in the path | ||||||||||||||||||||||||
|
|
| of the exhaust. |
|
|
|
|
|
|
|
|
|
| |||||||||||||||
|
|
| outlet may be used with short systems | |||||||||||||||||||||||||
grounding |
|
| method | |||||||||||||||||||||||||
|
|
|
|
|
|
|
|
|
|
|
|
| A | |||||||||||||||
For your personal safety, this appliance must be | only. (This outlet creates greater back pressure | |||||||||||||||||||||||||||
than | other | hood | types.) |
|
|
|
|
|
|
| ||||||||||||||||||
grounded. This appliance is equipped with a power |
|
|
|
|
|
|
| |||||||||||||||||||||
|
|
|
|
|
|
|
|
|
|
|
|
|
|
| ||||||||||||||
supply cord having a |
|
|
|
|
|
|
|
|
|
|
|
|
|
|
| |||||||||||||
minimize possible shock hazard, the cord must be |
|
|
|
|
|
|
|
|
|
|
|
|
|
|
| |||||||||||||
plugged into a mating |
|
| grounding | - |
|
|
|
|
|
|
|
|
|
|
|
|
|
| ||||||||||
grounding- | grounding, |
|
|
|
|
|
|
|
|
|
|
|
|
|
|
|
| |||||||||||
|
| type wee |
|
|
|
|
|
|
|
|
|
|
|
|
|
|
| |||||||||||
type wall | receptacle, | plug |
|
|
|
|
|
|
|
|
|
|
|
|
|
|
|
|
|
|
|
| ||||||
grounded | in |
|
|
|
|
|
|
|
|
|
|
|
|
|
|
|
|
|
|
|
|
|
|
|
|
| ||
accordance | with | the | Power |
|
|
|
|
|
|
|
|
|
|
|
|
|
|
|
|
|
|
| ||||||
National | Electrical |
|
|
|
|
|
|
|
| The exhaust outlet is located at the bottom center | ||||||||||||||||||
Code, ANSVNFPA |
|
|
|
|
|
|
| |||||||||||||||||||||
|
|
|
|
|
|
| back | of the dryer. |
|
|
|
|
|
|
|
|
| |||||||||||
70 - latest edition, and |
|
|
|
|
|
|
|
|
|
|
|
|
|
|
| |||||||||||||
|
|
|
|
|
| Detailed | space | requirements | can | be found in the | ||||||||||||||||||
all local | codes | and |
|
|
|
|
|
|
| |||||||||||||||||||
ordinances. | If a mating |
|
|
| prong |
|
| “Recessed and | closet | installation | instructions” | on the | ||||||||||||||||
wall receptacle |
| is not |
|
|
|
|
|
|
| back | cover | and | on back panel | of dyer. |
| |||||||||||||
available, it is the personal responsibility and |
|
|
|
|
|
|
|
|
|
|
|
|
|
|
| |||||||||||||
obligation | of the | customer | to have | a properly | The | maximum | length | of the | exhaust | system |
| |||||||||||||||||
grounded | wall | receptacle | installed | by a | depends | upon the | type | of duct used, | number | of | ||||||||||||||||||
qualified | electrician. |
|
|
|
|
|
|
| elbows | and | type of exhaust | hood. | The maximum | |||||||||||||||
|
|
|
|
|
|
|
|
|
|
|
|
| length for both rigid and flexible duct is shown in | |||||||||||||||
Exhaustchart. requirements
Now start...
with dryer in laundry area.
Take tape off front corners of dry
I I
it should be removed also.) Remove all parts from the plastic packages. Line these up next to your tools so each part is there when you need it. Check to see that you have these parts:
0 Remove the tape that holds the drum to the 3 cabinet. (Some dryer drums are not taped
l for shipping.) Move the drum by hand to make certain all tape has been removed. Wipe the interior of the drum thoroughly with a damp cloth before using the dyer. Remove the tape from the lint
u Take two of the cardboard corners from 4 * the carton and place them on the floor in
back of the dryer.
Firmly grasp the body of the dyer and gently lay it on its back on the cardboard corners.
Fire/Health Hazard
l Do Not use
l Do Not use metal duct smaller than four inches in diameter.
l Do Not Use exhaust hoods with magnetic latches.
l Check that exhaust system is not longer than specified. Exhaust systems longer than specified will:
- Accumulate lint.
-Shorten the life of the dryer.
-Reduce performance, resulting in longer drying times and increased energy usage.
Failure to follow specifications may result in a fire.
l Do Not exhaust dryer into a chimney, furnace cold air duct, attic or crawl space, or any other duct used for venting.
l Clean the exhaust system every other year. l Do Not install flexible duct in enclosed
walls, ceilings or floors.
Accumulated lint could result in a fire or cause moisture damage.
l Exhaust the dryer outside to prevent exposure to substances in the gas fuels and combustion which may be harmful to your health.
The moisture and lint indoors may cause:
-FIRE HAZARD from lint collected in dryer;
-Moisture damage to woodwork,
furniture, paint, wallpaper, carpet, etc.
-House cleaning problems and possible health problems.
Failure to follow these instructions could result in fire damage or personal injury.
NUMBER OF | EXHAUST | HO01 | TYPE |
|
| ||
| A |
| B | ~ | c |
|
|
644. | 64 | FT. | 58FT. | MAXIMUM | |||
|
| 54 | FT. | 48 | FT. | ||
54Fr | LENGTH | OF | |||||
44FT. | 44 | Fr | 38 | FT. | 4” DIA. | RIGID | |
METAL |
| ||||||
35 FT. | 35 | FT. | 29 | FT. |
| ||
DUCT. |
| ||||||
|
|
|
|
|
|
| |
t 27 | FT. | 27 | FT. | 21 | FT. |
|
|
36 | FT. | 36 | FT. | 28 FT. | MAXIMUM | ||
31 | FT. | 31 | FT. | 23 | FT. | LENGTH | OF |
4” DIA. |
| ||||||
27 | FT. | 27 | IT | 19Fr |
| ||
FLEXIBLE | |||||||
25 | FT. | 25 | FT. | 17 FT. | METAL |
| |
DUCT |
| ||||||
23 | FT. | 23 | FT. | 15Fr. |
| ||
|
| ||||||
The maximu Rlength using a 2” c6” rectangular duct with 2 elbow ; and a
For exhaust systems not covered by the exhaust length chart, see Service Manual, Part No. 603197 available from your local parts distributor.
Service check: The back pressure in any exhaust system used must not exceed 0.6 inches of water column measured with an incline manometer at the point that the exhaust duct connects to the dryer.
0 With one of the legs in
6
4 hand, check the ridges for a diamond marking.
That’s how far the leg is supposed to go into the hole. Start to screw the legs into the holes by hand. A little liquid detergent to lubricate the legs will help.
Use a 1” wrench or socket to finish turning the legs until you reach the diamond mark.
Floor Damage
Slide dryer onto cardboard or hardboard before moving across floor.
Failure to do so may cause damage to floor covering.
Panel B