3.Hand wash, rinse, and dry removable parts and interior surfaces thoroughly. Use a clean sponge or soft cloth and a mild detergent in warm water.

Do not use abrasive or harsh cleaners such as window sprays, scouring cleansers, flammable fluids, cleaning waxes, concentrated detergents, bleaches or cleansers containing petroleum products on plastic parts, interior and door liners or gaskets.

Do not use paper towels, scouring pads, or other harsh cleaning tools. These can scratch or damage materials.

To help remove odors, you can wash interior walls with a mixture of warm water and baking soda (2 tbs to 1 qt. [26 g to .95 L] of water).

4.Wash stainless steel and painted metal exteriors with a clean sponge or soft cloth and a mild detergent in warm water. Do not use abrasive or harsh cleaners. Dry thoroughly with a soft cloth.

For additional protection against damage to painted metal exteriors, apply appliance wax (or auto paste wax) with a clean, soft cloth. Do not wax plastic parts.

5.Clean the condenser coils regularly. Coils may need to be cleaned as often as every other month. This may help save energy.

Style 1 - Condenser coils behind base grille:

Remove the base grille (see the “Base Grille” section).

Use a vacuum with an extended attachment to clean the condenser coils when they are dusty or dirty.

Replace the base grille when finished.

Style 2 - Condenser coils in back of the refrigerator:

Pull refrigerator out away from the wall (see the “Unpacking Your Refrigerator” section).

Vacuum coils when they are dusty or dirty.

Roll refrigerator back into place. Make sure to leave 1 in. (2.5 cm) between the cabinet back and the wall.

Check to see if the refrigerator is level.

6.Plug in refrigerator or reconnect power.

Changing the Light Bulbs

NOTE: Not all appliance bulbs will fit your refrigerator. Be sure to replace the bulb with one of the same size and shape. The dispenser light requires a heavy duty 10-watt bulb. All other lights require a 40-watt appliance bulb. Replacement bulbs are available from your dealer.

1.Unplug refrigerator or disconnect power.

2.Remove light shield when applicable as shown.

NOTE: To clean a light shield, wash it with warm water and a liquid detergent. Rinse and dry the shield well.

3.Remove light bulb and replace with one of the same size, shape and wattage.

4.Replace light shield when applicable as shown.

5.Plug in refrigerator or reconnect power.

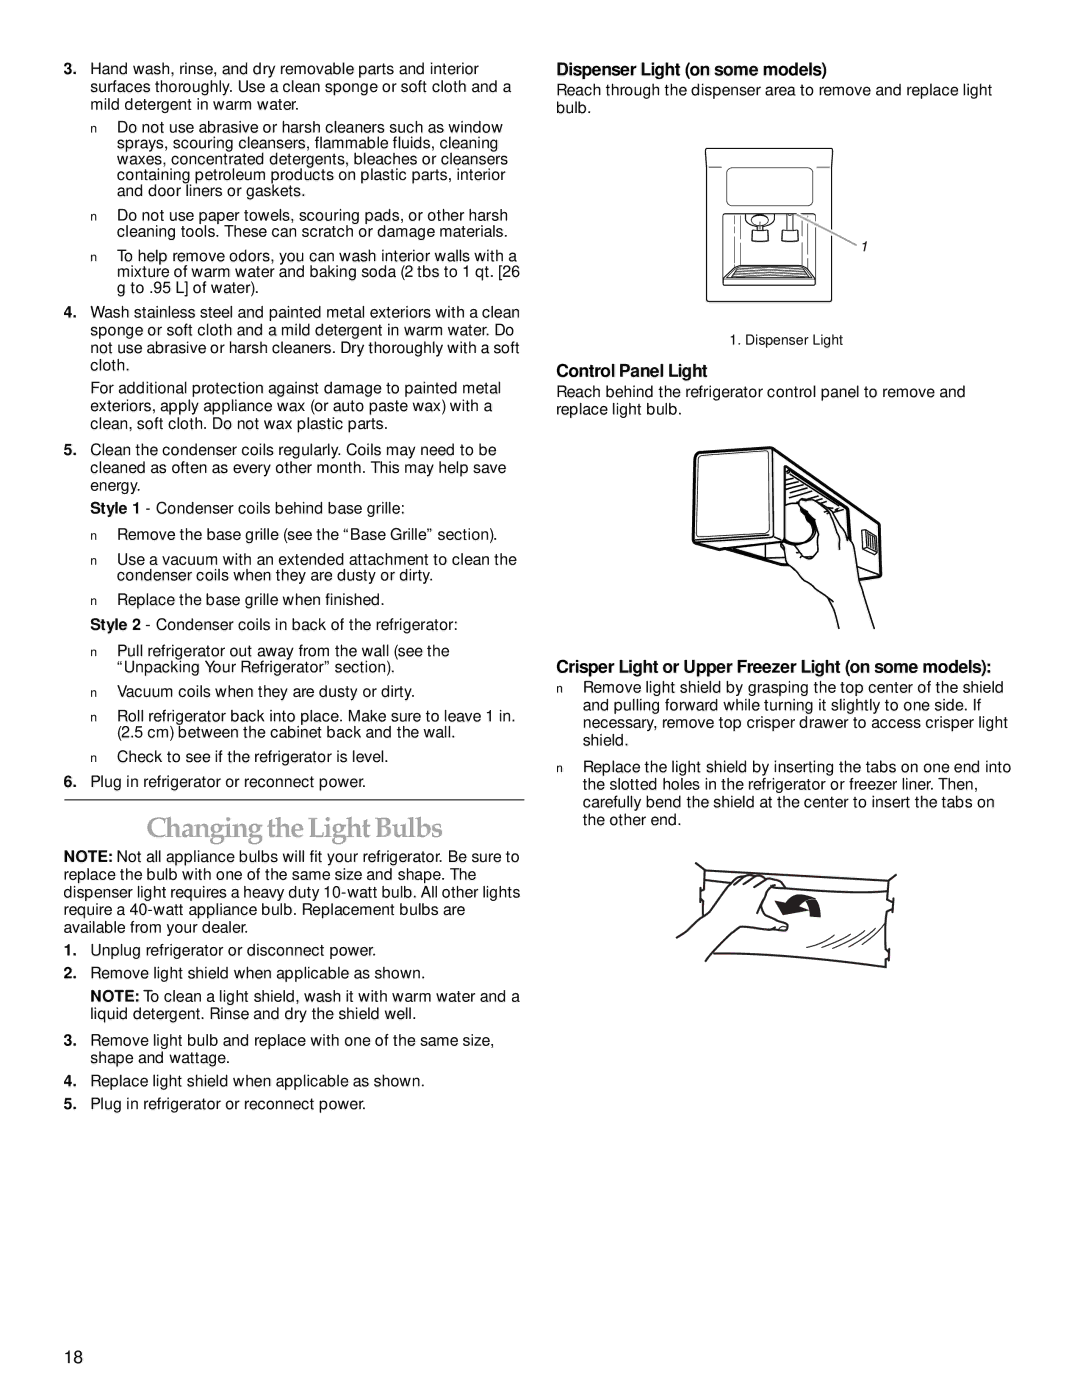
Dispenser Light (on some models)

Reach through the dispenser area to remove and replace light bulb.

1. Dispenser Light

Control Panel Light

Reach behind the refrigerator control panel to remove and replace light bulb.

Crisper Light or Upper Freezer Light (on some models):

Remove light shield by grasping the top center of the shield and pulling forward while turning it slightly to one side. If necessary, remove top crisper drawer to access crisper light shield.

Replace the light shield by inserting the tabs on one end into the slotted holes in the refrigerator or freezer liner. Then, carefully bend the shield at the center to insert the tabs on the other end.

18

Page 18
Image 18
KitchenAid Cabinet Depth Side-by-Side Refrigerator manual Changing the Light Bulbs, Dispenser Light on some models

Cabinet Depth Side-by-Side Refrigerator specifications

The KitchenAid Cabinet Depth Side-by-Side Refrigerator is a remarkable appliance that seamlessly blends style and functionality. This refrigerator is designed to fit flush with your cabinetry, providing a sleek and integrated look to your kitchen. Its modern, stainless-steel exterior not only adds a touch of elegance but is also fingerprint-resistant, making maintenance simple and hassle-free.

One of the standout features of this refrigerator is its spacious interior, designed to accommodate large groceries and meal prep items. The adjustable shelves allow for customizable storage options, adapting to your needs. The refrigerator section boasts bright LED lighting that illuminates every corner, making it easy to find what you're looking for even in low light.

Equipped with advanced cooling technologies, this KitchenAid refrigerator maintains optimal food freshness and quality. The dual refrigeration system circulates cold air throughout both the refrigerator and freezer compartments, preventing odor transfer and keeping food at the perfect temperature. The Preserva Food Care System further enhances fresh-food preservation, utilizing a combination of humidity-controlled drawers and a separate cooling system to maintain ideal conditions for fruits, vegetables, and other perishables.

The refrigerator features a convenient exterior water and ice dispenser, offering chilled water, ice cubes, and crushed ice at your fingertips. The ice maker is designed for optimal output and efficiency, ensuring you’ll never run out of ice when hosting gatherings.

In addition to its core features, the KitchenAid Cabinet Depth Side-by-Side Refrigerator includes various smart technologies. By integrating with your smart home system, you can monitor and adjust settings remotely, ensuring your food stays fresh even when you’re away.

Finally, this refrigerator is designed with energy efficiency in mind, meeting ENERGY STAR standards to help reduce your energy bills while minimizing your carbon footprint. The combination of style, space, and smart features makes the KitchenAid Cabinet Depth Side-by-Side Refrigerator an essential addition to any modern kitchen, catering to the needs of both home chefs and busy families alike.