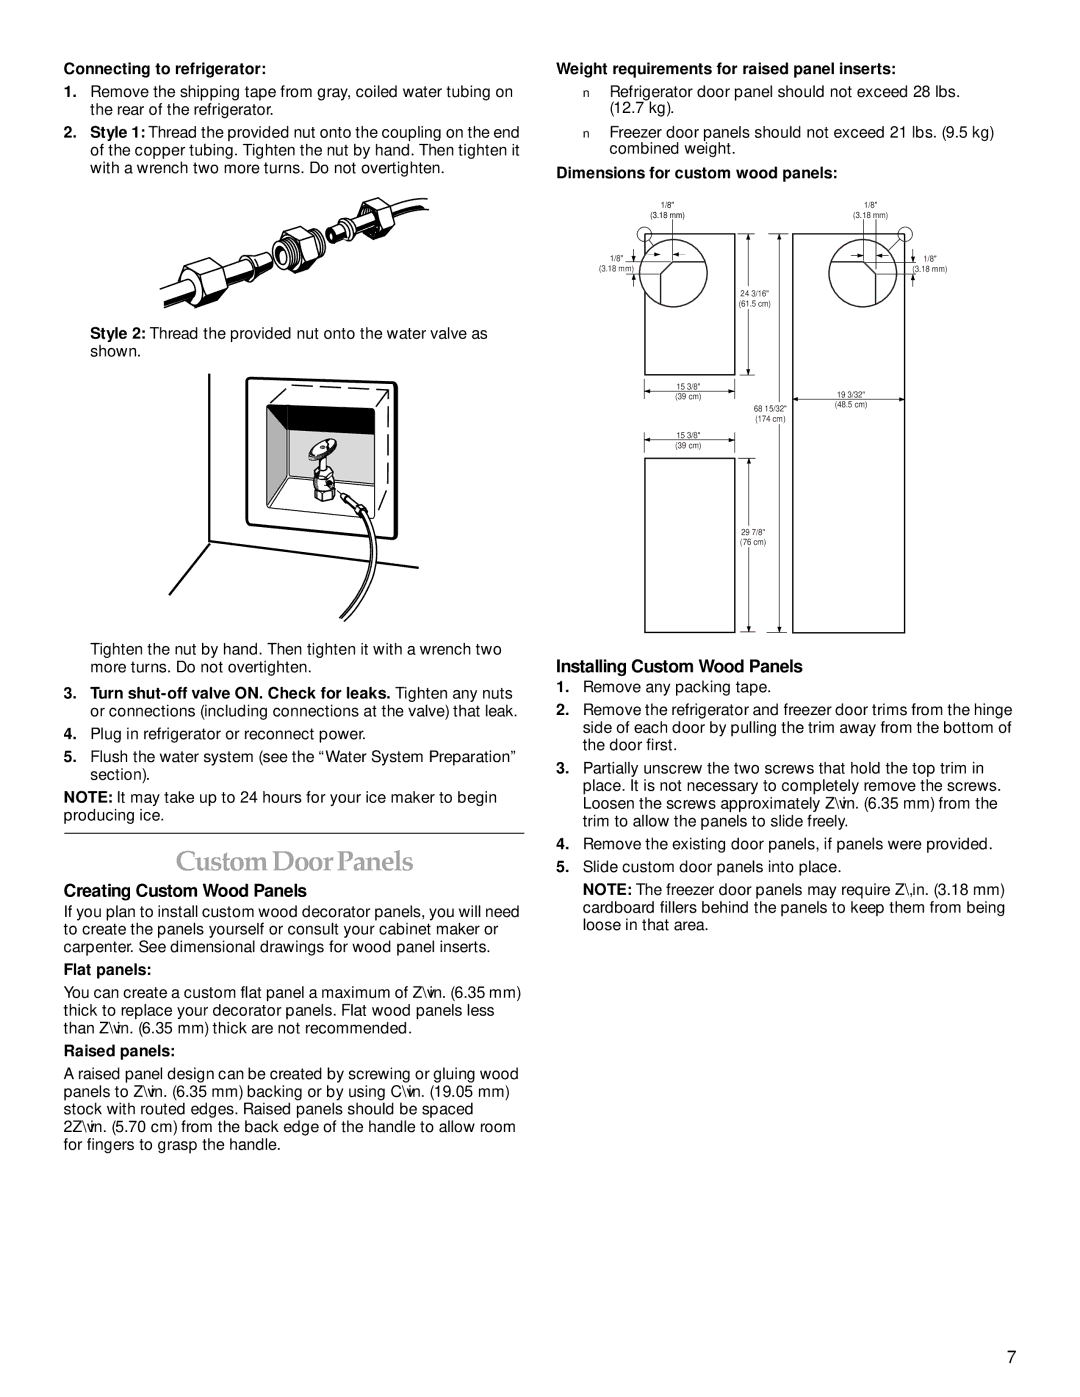
Cabinet Depth Side-by-Side Refrigerator specifications
The KitchenAid Cabinet Depth Side-by-Side Refrigerator is a remarkable appliance that seamlessly blends style and functionality. This refrigerator is designed to fit flush with your cabinetry, providing a sleek and integrated look to your kitchen. Its modern, stainless-steel exterior not only adds a touch of elegance but is also fingerprint-resistant, making maintenance simple and hassle-free.One of the standout features of this refrigerator is its spacious interior, designed to accommodate large groceries and meal prep items. The adjustable shelves allow for customizable storage options, adapting to your needs. The refrigerator section boasts bright LED lighting that illuminates every corner, making it easy to find what you're looking for even in low light.
Equipped with advanced cooling technologies, this KitchenAid refrigerator maintains optimal food freshness and quality. The dual refrigeration system circulates cold air throughout both the refrigerator and freezer compartments, preventing odor transfer and keeping food at the perfect temperature. The Preserva Food Care System further enhances fresh-food preservation, utilizing a combination of humidity-controlled drawers and a separate cooling system to maintain ideal conditions for fruits, vegetables, and other perishables.
The refrigerator features a convenient exterior water and ice dispenser, offering chilled water, ice cubes, and crushed ice at your fingertips. The ice maker is designed for optimal output and efficiency, ensuring you’ll never run out of ice when hosting gatherings.
In addition to its core features, the KitchenAid Cabinet Depth Side-by-Side Refrigerator includes various smart technologies. By integrating with your smart home system, you can monitor and adjust settings remotely, ensuring your food stays fresh even when you’re away.
Finally, this refrigerator is designed with energy efficiency in mind, meeting ENERGY STAR standards to help reduce your energy bills while minimizing your carbon footprint. The combination of style, space, and smart features makes the KitchenAid Cabinet Depth Side-by-Side Refrigerator an essential addition to any modern kitchen, catering to the needs of both home chefs and busy families alike.

