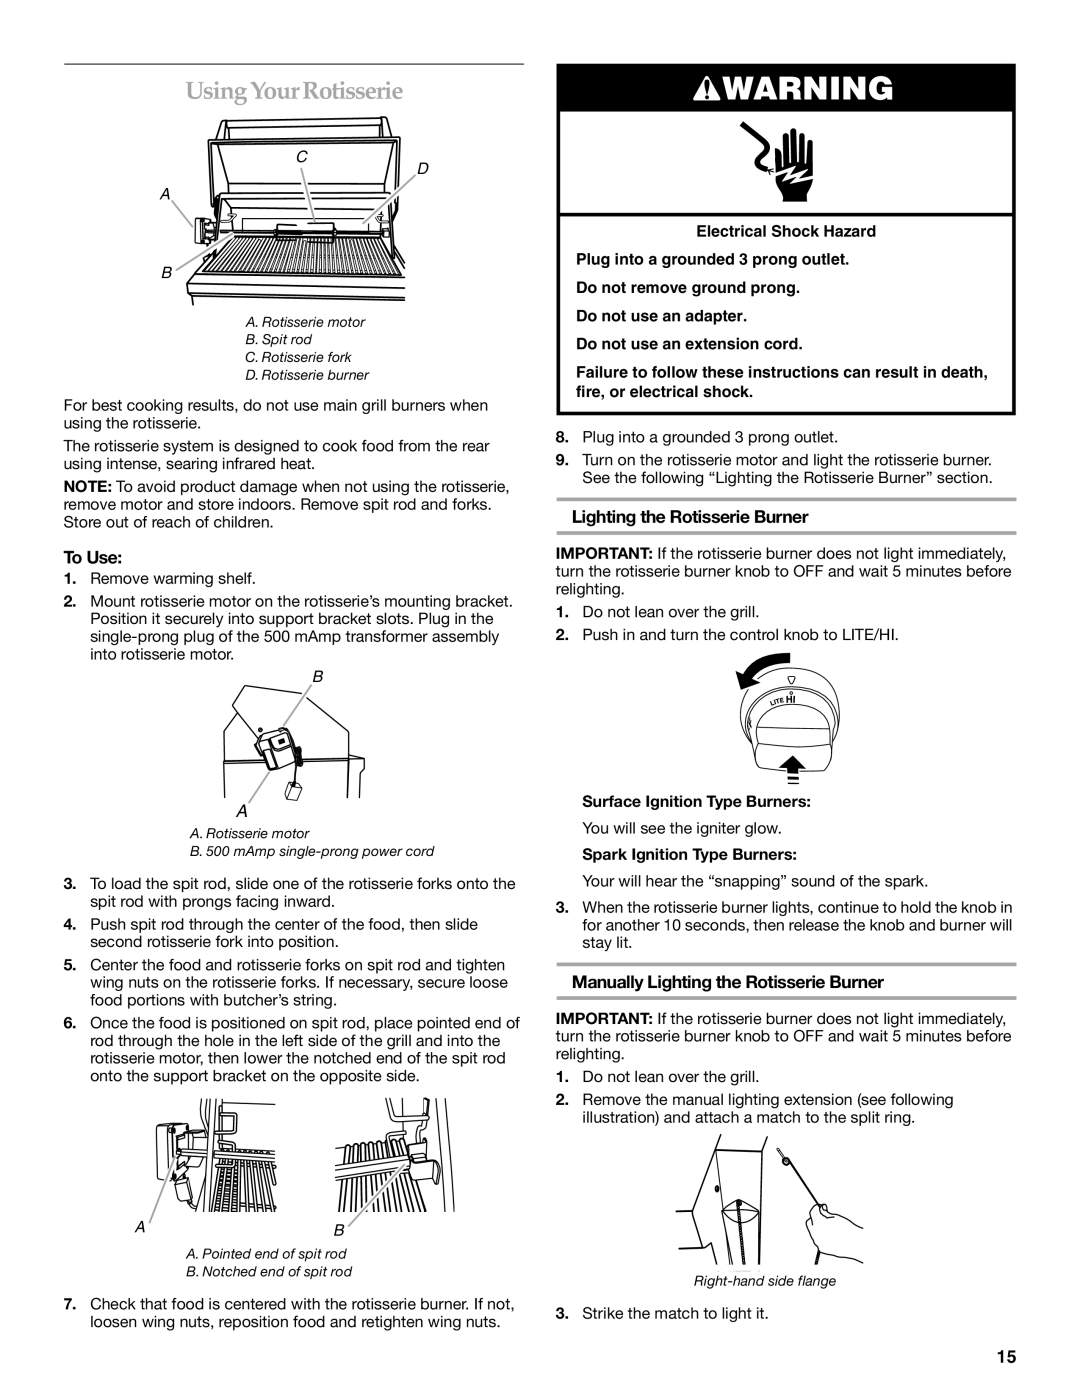
Using Your Rotisserie
C
D
A
B![]()
A.Rotisserie motor
B.Spit rod
C.Rotisserie fork
D.Rotisserie burner
For best cooking results, do not use main grill burners when using the rotisserie.
The rotisserie system is designed to cook food from the rear using intense, searing infrared heat.
NOTE: To avoid product damage when not using the rotisserie, remove motor and store indoors. Remove spit rod and forks. Store out of reach of children.
To Use:
1.Remove warming shelf.
2.Mount rotisserie motor on the rotisserie’s mounting bracket. Position it securely into support bracket slots. Plug in the
B
A
A. Rotisserie motor
B. 500 mAmp
3.To load the spit rod, slide one of the rotisserie forks onto the spit rod with prongs facing inward.
4.Push spit rod through the center of the food, then slide second rotisserie fork into position.
5.Center the food and rotisserie forks on spit rod and tighten wing nuts on the rotisserie forks. If necessary, secure loose food portions with butcher’s string.
6.Once the food is positioned on spit rod, place pointed end of rod through the hole in the left side of the grill and into the rotisserie motor, then lower the notched end of the spit rod onto the support bracket on the opposite side.
![]() WARNING
WARNING
Electrical Shock Hazard
Plug into a grounded 3 prong outlet.
Do not remove ground prong.
Do not use an adapter.
Do not use an extension cord.
Failure to follow these instructions can result in death, fire, or electrical shock.
8.Plug into a grounded 3 prong outlet.
9.Turn on the rotisserie motor and light the rotisserie burner. See the following “Lighting the Rotisserie Burner” section.
Lighting the Rotisserie Burner
IMPORTANT: If the rotisserie burner does not light immediately, turn the rotisserie burner knob to OFF and wait 5 minutes before relighting.
1.Do not lean over the grill.
2.Push in and turn the control knob to LITE/HI.
Surface Ignition Type Burners:
You will see the igniter glow.
Spark Ignition Type Burners:
Your will hear the “snapping” sound of the spark.
3.When the rotisserie burner lights, continue to hold the knob in for another 10 seconds, then release the knob and burner will stay lit.
Manually Lighting the Rotisserie Burner
IMPORTANT: If the rotisserie burner does not light immediately, turn the rotisserie burner knob to OFF and wait 5 minutes before relighting.
1.Do not lean over the grill.
2.Remove the manual lighting extension (see following illustration) and attach a match to the split ring.
AB
A. Pointed end of spit rod
B. Notched end of spit rod
7.Check that food is centered with the rotisserie burner. If not, loosen wing nuts, reposition food and retighten wing nuts.
3.Strike the match to light it.
15