How the Cycle Works

IMPORTANT: The heating and cooling of porcelain on steel in the oven may result in discoloring, loss of gloss, hairline cracks and popping sounds.

The Self-Cleaning cycle uses very high temperatures, burning soil to a powdery ash.

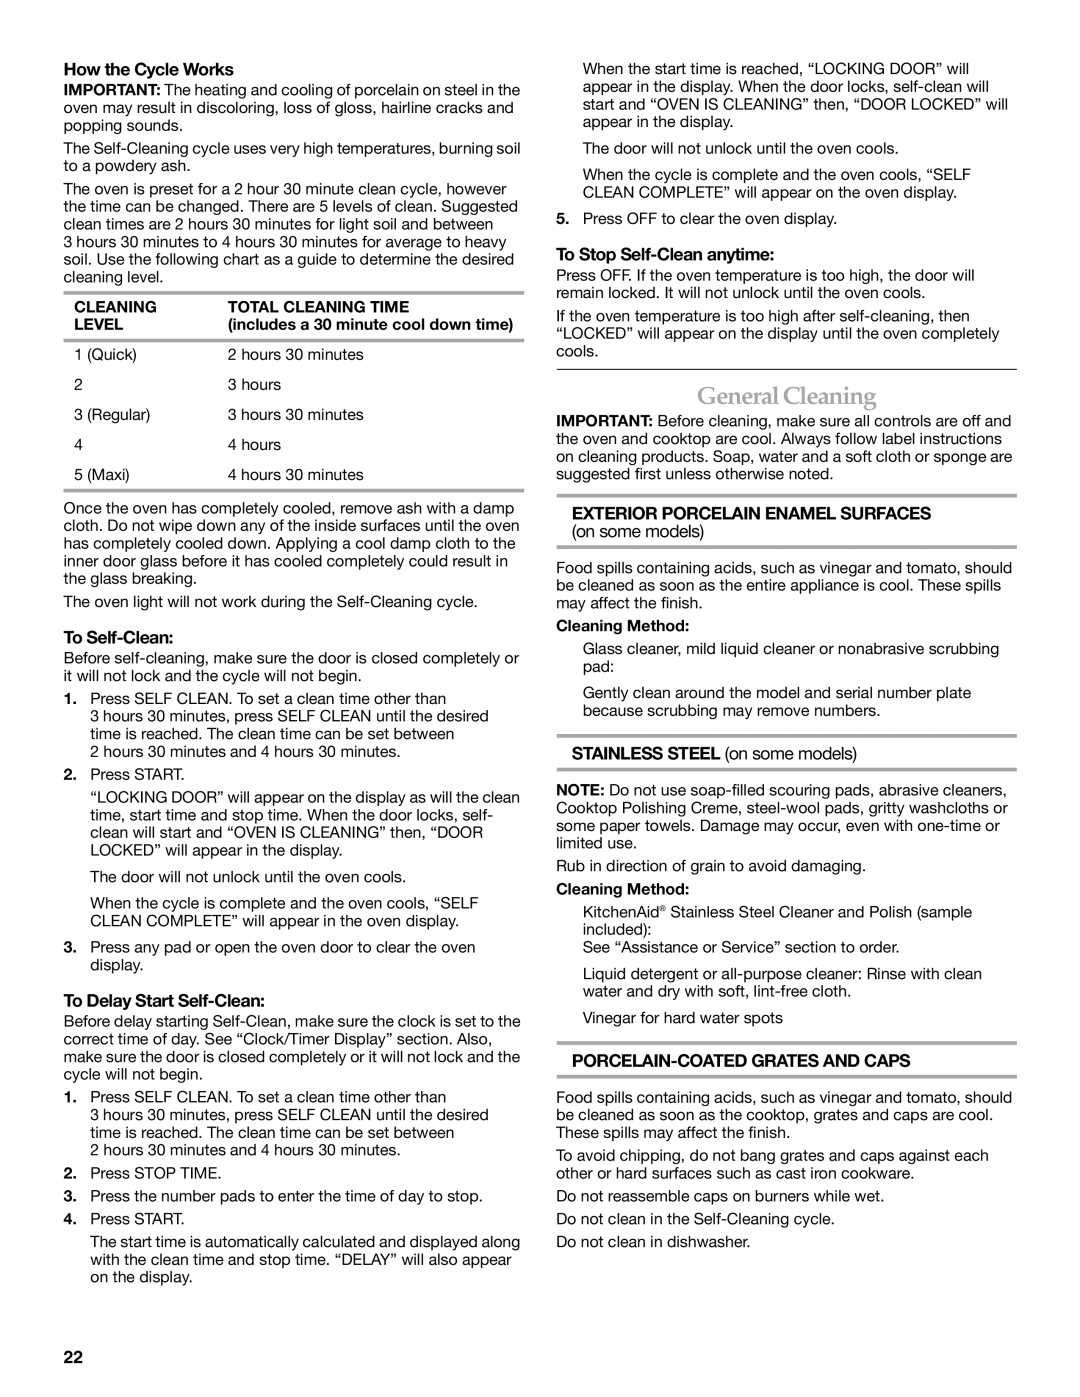
The oven is preset for a 2 hour 30 minute clean cycle, however the time can be changed. There are 5 levels of clean. Suggested clean times are 2 hours 30 minutes for light soil and between

3 hours 30 minutes to 4 hours 30 minutes for average to heavy soil. Use the following chart as a guide to determine the desired cleaning level.

CLEANING

TOTAL CLEANING TIME

LEVEL

(includes a 30 minute cool down time)


1

(Quick)

2 hours 30 minutes

2


3 hours

3

(Regular)

3 hours 30 minutes

4


4 hours

5

(Maxi)

4 hours 30 minutes


Once the oven has completely cooled, remove ash with a damp cloth. Do not wipe down any of the inside surfaces until the oven has completely cooled down. Applying a cool damp cloth to the inner door glass before it has cooled completely could result in the glass breaking.

The oven light will not work during the Self-Cleaning cycle.

To Self-Clean:

Before self-cleaning, make sure the door is closed completely or it will not lock and the cycle will not begin.

1.Press SELF CLEAN. To set a clean time other than

3 hours 30 minutes, press SELF CLEAN until the desired time is reached. The clean time can be set between

2 hours 30 minutes and 4 hours 30 minutes.

2.Press START.

“LOCKING DOOR” will appear on the display as will the clean time, start time and stop time. When the door locks, self- clean will start and “OVEN IS CLEANING” then, “DOOR LOCKED” will appear in the display.

The door will not unlock until the oven cools.

When the cycle is complete and the oven cools, “SELF CLEAN COMPLETE” will appear in the oven display.

3.Press any pad or open the oven door to clear the oven display.

To Delay Start Self-Clean:

Before delay starting Self-Clean, make sure the clock is set to the correct time of day. See “Clock/Timer Display” section. Also, make sure the door is closed completely or it will not lock and the cycle will not begin.

1.Press SELF CLEAN. To set a clean time other than

3 hours 30 minutes, press SELF CLEAN until the desired time is reached. The clean time can be set between

2 hours 30 minutes and 4 hours 30 minutes.

2.Press STOP TIME.

3.Press the number pads to enter the time of day to stop.

4.Press START.

The start time is automatically calculated and displayed along with the clean time and stop time. “DELAY” will also appear on the display.

When the start time is reached, “LOCKING DOOR” will appear in the display. When the door locks, self-clean will start and “OVEN IS CLEANING” then, “DOOR LOCKED” will appear in the display.

The door will not unlock until the oven cools.

When the cycle is complete and the oven cools, “SELF CLEAN COMPLETE” will appear on the oven display.

5.Press OFF to clear the oven display.

To Stop Self-Clean anytime:

Press OFF. If the oven temperature is too high, the door will remain locked. It will not unlock until the oven cools.

If the oven temperature is too high after self-cleaning, then “LOCKED” will appear on the display until the oven completely cools.

GeneralCleaning

IMPORTANT: Before cleaning, make sure all controls are off and the oven and cooktop are cool. Always follow label instructions on cleaning products. Soap, water and a soft cloth or sponge are suggested first unless otherwise noted.

EXTERIOR PORCELAIN ENAMEL SURFACES

(on some models)

Food spills containing acids, such as vinegar and tomato, should be cleaned as soon as the entire appliance is cool. These spills may affect the finish.

Cleaning Method:

Glass cleaner, mild liquid cleaner or nonabrasive scrubbing pad:

Gently clean around the model and serial number plate because scrubbing may remove numbers.

STAINLESS STEEL (on some models)

NOTE: Do not use soap-filled scouring pads, abrasive cleaners, Cooktop Polishing Creme, steel-wool pads, gritty washcloths or some paper towels. Damage may occur, even with one-time or limited use.

Rub in direction of grain to avoid damaging.

Cleaning Method:

KitchenAid® Stainless Steel Cleaner and Polish (sample included):

See “Assistance or Service” section to order.

Liquid detergent or all-purpose cleaner: Rinse with clean water and dry with soft, lint-free cloth.

Vinegar for hard water spots

PORCELAIN-COATED GRATES AND CAPS

Food spills containing acids, such as vinegar and tomato, should be cleaned as soon as the cooktop, grates and caps are cool. These spills may affect the finish.

To avoid chipping, do not bang grates and caps against each other or hard surfaces such as cast iron cookware.

Do not reassemble caps on burners while wet.

Do not clean in the Self-Cleaning cycle.

Do not clean in dishwasher.

22

Page 22
Image 22
KitchenAid YKDSS907, YKDRS807 manual GeneralCleaning, Exterior Porcelain Enamel Surfaces, PORCELAIN-COATED Grates and Caps

YKDRS807, KDSS907, YKDSS907 specifications

The KitchenAid YKDSS907, KDSS907, and YKDRS807 represent the pinnacle of culinary innovation, seamlessly blending advanced technology with user-friendly features to enhance the cooking experience. These ranges are designed for both the everyday home chef and the seasoned culinary enthusiast.

One of the standout features of these models is the powerful convection oven technology. This feature circulates hot air throughout the oven cavity to ensure even baking and roasting, eliminating hot spots. The result is perfectly cooked dishes, whether you're baking cookies or roasting a turkey. Additionally, the ovens come with an impressive range of cooking modes, including broil, bake, and a dedicated pizza setting, allowing for versatility in meal preparation.

The YKDSS907 and KDSS907 also boast a dual-fuel option, combining the benefits of gas cooking with electric baking. This configuration provides the precision of gas for stovetop cooking and the consistent heat of electric for baking, offering unparalleled control over your cooking results.

Moreover, these ranges are equipped with a self-cleaning feature, designed to simplify maintenance. The self-cleaning cycle uses high temperatures to burn off food residues, making post-cooking clean-up a breeze. The ergonomic design includes an easy-to-read digital display and intuitive controls, ensuring that all your cooking needs are met with minimal hassle.

Safety is also a priority in these KitchenAid ranges. They come with a built-in temperature probe, allowing users to monitor the internal temperature of meats without opening the oven door, reducing the risk of undercooking or overcooking. Additionally, the cooktop is outfitted with heavy-duty cast iron grates, providing a robust platform for all types of cookware and enhancing stability while cooking.

The YKDRS807 model further elevates the cooking experience with additional smart technology. Integration with smart home systems allows users to control the oven remotely, receive notifications about cooking times, and even access recipe guidance via a compatible device. This connectivity transforms cooking into a seamless part of modern life, ensuring convenience and efficiency.

In summary, KitchenAid's YKDSS907, KDSS907, and YKDRS807 models are a blend of functionality, style, and advanced technology. They cater to a variety of cooking styles and preferences, making them an invaluable addition to any kitchen. With their state-of-the-art features, they provide the perfect tools for creativity, precision, and culinary excellence.