Changing the Water Filter

1.Press the eject button to release the filter from the base grille.

2.Pull the filter straight out.

3.Turn the cap counterclockwise to remove it from the filter.

IMPORTANT: Do not discard the cap. It is part of your refrigerator. Keep the cap to use with the replacement filter.

4.Align the ridge on the cap with the arrow on the new filter and turn the cap until it snaps into place.

NOTE: You can run the dispenser without a filter. Your water will not be filtered. Simply insert the cap all of the way into the base grille and rotate the cap until it is firmly in place.

5.Remove the protective covers from the O-rings. Be sure the O-rings are still in place after the covers are removed.

6.Push the filter into the base grille. The eject button will pop back out when the filter is fully engaged.

7.Flush the water system. See “Water and Ice Dispensers.”

REFRIGERATOR CARE

Cleaning

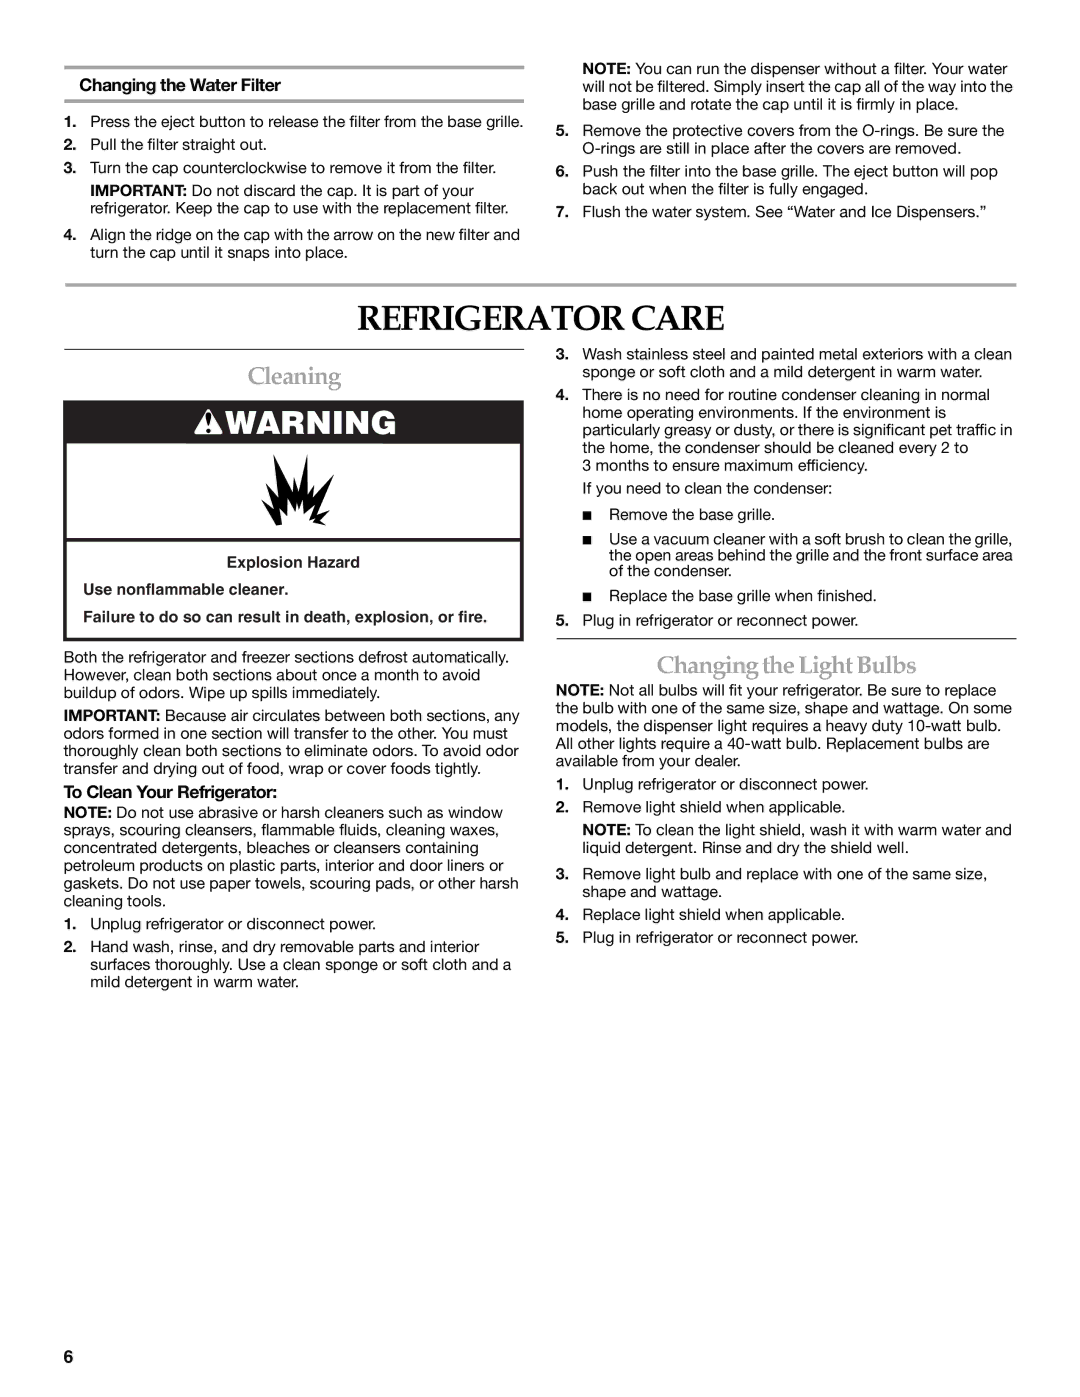
WARNING

Explosion Hazard

Use nonflammable cleaner.

Failure to do so can result in death, explosion, or fire.

Both the refrigerator and freezer sections defrost automatically. However, clean both sections about once a month to avoid buildup of odors. Wipe up spills immediately.

IMPORTANT: Because air circulates between both sections, any odors formed in one section will transfer to the other. You must thoroughly clean both sections to eliminate odors. To avoid odor transfer and drying out of food, wrap or cover foods tightly.

To Clean Your Refrigerator:

NOTE: Do not use abrasive or harsh cleaners such as window sprays, scouring cleansers, flammable fluids, cleaning waxes, concentrated detergents, bleaches or cleansers containing petroleum products on plastic parts, interior and door liners or gaskets. Do not use paper towels, scouring pads, or other harsh cleaning tools.

1.Unplug refrigerator or disconnect power.

2.Hand wash, rinse, and dry removable parts and interior surfaces thoroughly. Use a clean sponge or soft cloth and a mild detergent in warm water.

3.Wash stainless steel and painted metal exteriors with a clean sponge or soft cloth and a mild detergent in warm water.

4.There is no need for routine condenser cleaning in normal home operating environments. If the environment is particularly greasy or dusty, or there is significant pet traffic in the home, the condenser should be cleaned every 2 to

3 months to ensure maximum efficiency. If you need to clean the condenser:

Remove the base grille.

Use a vacuum cleaner with a soft brush to clean the grille, the open areas behind the grille and the front surface area of the condenser.

Replace the base grille when finished.

5.Plug in refrigerator or reconnect power.

Changing the Light Bulbs

NOTE: Not all bulbs will fit your refrigerator. Be sure to replace the bulb with one of the same size, shape and wattage. On some models, the dispenser light requires a heavy duty 10-watt bulb. All other lights require a 40-watt bulb. Replacement bulbs are available from your dealer.

1.Unplug refrigerator or disconnect power.

2.Remove light shield when applicable.

NOTE: To clean the light shield, wash it with warm water and liquid detergent. Rinse and dry the shield well.

3.Remove light bulb and replace with one of the same size, shape and wattage.

4.Replace light shield when applicable.

5.Plug in refrigerator or reconnect power.

6

Page 6
Image 6
KitchenAid KSCS25INWH01, KSBP23INSS01 Refrigerator Care, Cleaning, Changing the Light Bulbs, Changing the Water Filter

KSBS23INBL01, KSBS23INBT01, KSBP23INSS01, KSBS23INWH01, KSBP25INSS01 specifications

KitchenAid's line of appliances, including the KSCS25INWH01, KSBS23INSS01, KSBP25INSS01, KSBS23INWH01, and KSBP23INSS01, is renowned for blending functionality with contemporary design. These models cater to diverse kitchen needs, offering various features and technologies that enhance everyday cooking and food preservation.

The KSCS25INWH01 is a sleek side-by-side refrigerator that emphasizes efficiency and space optimization. With a spacious interior, it boasts adjustable spill-proof shelves that make organizing easy while minimizing the mess from accidental spills. Its dual cooling system preserves food freshness and flavor by maintaining optimal humidity levels in both the refrigerator and freezer compartments. Energy Star certification further ensures that this model operates efficiently, reducing energy costs.

The KSBS23INSS01, another stylish side-by-side refrigerator, features an external ice and water dispenser for added convenience. This model is equipped with specialized filtration technology that delivers clean and crisp water, enhancing hydration without compromising taste. The interior of the KSBS23INSS01 features bright LED lighting that illuminates the contents, making it easier to find items even in low light.

On the other hand, the KSBP25INSS01 is a standout refrigerator with a bottom freezer design. This model brings items at eye level, ensuring easy access to everyday essentials without bending down. The spacious freezer compartment is equipped with sliding bins for easy organization, and its frost-free technology means that you will never have to encounter the hassle of manual defrosting.

The KSBS23INWH01 continues that legacy, offering a combination of features that cater to families and busy households. The model's adjustable shelving, humidity-controlled crispers, and a filtered water dispenser add to its efficiency while remaining energy-efficient.

Lastly, the KSBP23INSS01 takes the bottom freezer concept a step further with added smart technology features. It allows users to monitor temperature settings and optimize storage via a mobile application, thus promoting ease of use and addressing concerns about food safety.

In summary, KitchenAid's KSCS25INWH01, KSBS23INSS01, KSBP25INSS01, KSBS23INWH01, and KSBP23INSS01 models exemplify the brand's commitment to innovative design and user-friendly technology. They all integrate modern solutions for food storage and convenience, making them ideal additions to any contemporary kitchen.