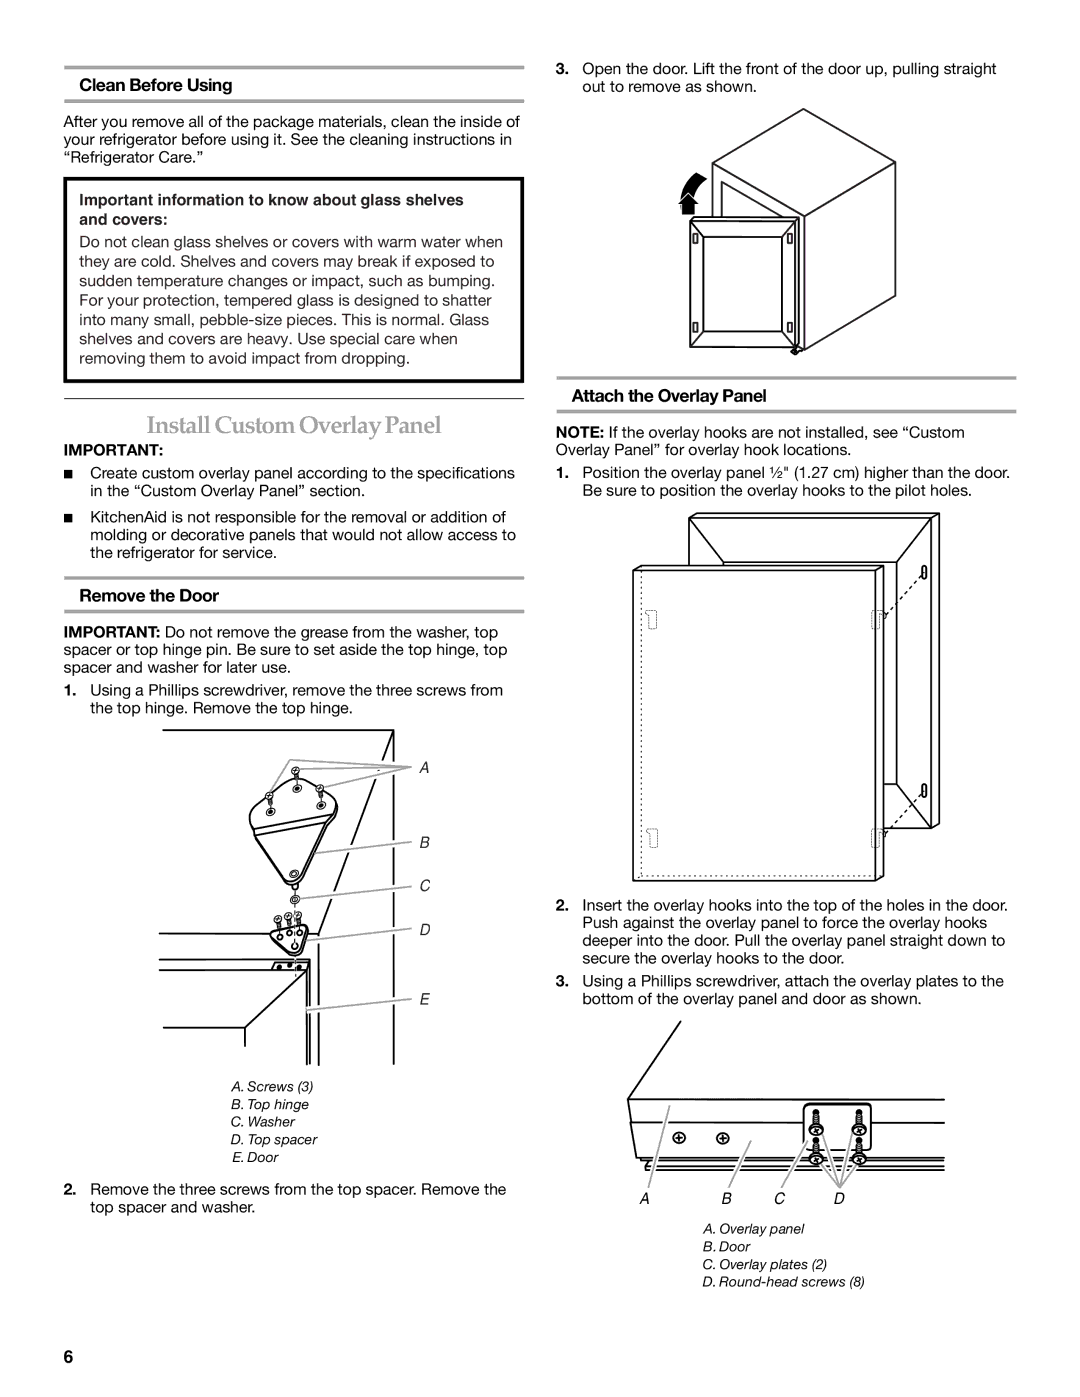
KURO24LSBX specifications
The KitchenAid KURO24LSBX is a remarkable compact refrigerator designed to meet the needs of modern kitchens and dining setups. This unit combines style, efficiency, and advanced technology, making it an ideal choice for both home and professional use. One of the standout features of the KURO24LSBX is its sleek, stainless steel finish, which complements any kitchen decor while providing a durable, easy-to-clean surface.With a capacity of 24 inches wide, this refrigerator offers ample storage space without overwhelming smaller areas. Equipped with adjustable shelves, the KURO24LSBX allows users to customize the interior layout to accommodate various foods and beverages. The frameless glass shelves make it easy to store taller items and offer a streamlined look, enhancing visibility and accessibility.
One of the notable technologies in this model is the advanced cooling system, which ensures optimal temperature and humidity levels for food preservation. The refrigerator utilizes a dual evaporator that helps maintain consistent temperatures, preventing freezer burn in the freezer compartment, while also keeping the fresh food section at ideal conditions.
The temperature management system features digital controls, allowing users to precisely set and monitor the internal environment. This technology is complemented by a bright LED lighting system, illuminating the interior and making it easy to find items even in low light.
The KitchenAid KURO24LSBX is also designed with energy efficiency in mind, utilizing an ENERGY STAR certification that signifies reduced energy consumption without sacrificing performance. This not only helps lower energy bills but also contributes to environmental sustainability.
Another impressive characteristic of this model is the integrated ice maker. This convenience ensures you always have ice available for drinks or entertaining guests, adhering to the demands of a busy kitchen.
In conclusion, the KitchenAid KURO24LSBX offers a blend of style, functionality, and advanced technologies. Its compact design, superior cooling features, and energy-efficient operation make it an ideal addition to any kitchen, ensuring that food and drinks are kept at their best while enhancing the overall aesthetic of the space. Whether for home use or in a commercial setting, the KURO24LSBX represents a thoughtful investment in quality and performance.

