To Delay Start Self-Clean:
Before delay starting
1.On double ovens only, press UPPER OVEN or LOWER OVEN.
The cavity symbol will flash indicating which oven was chosen. The left cavity symbol is the upper oven, the right cavity symbol is the lower oven.
2.Press CLEAN.
Press the number pads to set a clean time other than 3 hour 30 minutes. The clean time can be set between 2 hours 30 minutes and 4 hours 30 minutes.
3.Press STOP TIME.
4.Press the number pads to enter the time of day to stop.
5.Press START.
The start time is automatically calculated and displayed.
The door will automatically lock and "DOOR LOCKED", "DELAY", and the stop time will also appear on the display. The door will not unlock until the oven cools.
When the start time is reached, the oven will automatically turn on.
When the cycle is complete and the oven cools, “End” will appear on the oven display and “DOOR LOCKED” will disappear.
6.Press any pad or open the oven door to clear the oven display.
To Stop Self-Clean any time:
Press CANCEL OFF, UPPER OVEN CANCEL / OFF or LOWER OVEN CANCEL / OFF. If the oven temperature is too high, the door will remain locked. It will not unlock until the oven cools.
General Cleaning
IMPORTANT: Before cleaning, make sure all controls are off and the oven is cool. Always follow label instructions on cleaning products.
Soap, water and a soft cloth or sponge are suggested first unless otherwise noted.
OVEN DOOR EXTERIOR
■Glass cleaner and paper towels or
Apply glass cleaner to soft cloth or sponge, not directly on the door exterior.
OVEN CAVITY
Do not use commercial oven cleaners.
Food spills should be cleaned when oven cools. At high temperatures, foods react with porcelain and staining, etching, pitting or faint white spots can result.
■
See
OVEN RACKS
■
See
■Steel wool pad
BROILER PAN AND GRID
Do not clean in the
■Mildly abrasive cleanser: Scrub with wet scouring pad.
■Solution of ¹₂ cup (125 mL) ammonia to 1 gallon (3.75 L) water:
Soak for 20 minutes, then scrub with scouring or steel wool pad.
■Oven cleaner:
Follow product label instructions.
Porcelain enamel only, not chrome
■Dishwasher
Oven Lights
The oven lights are 12 volt,
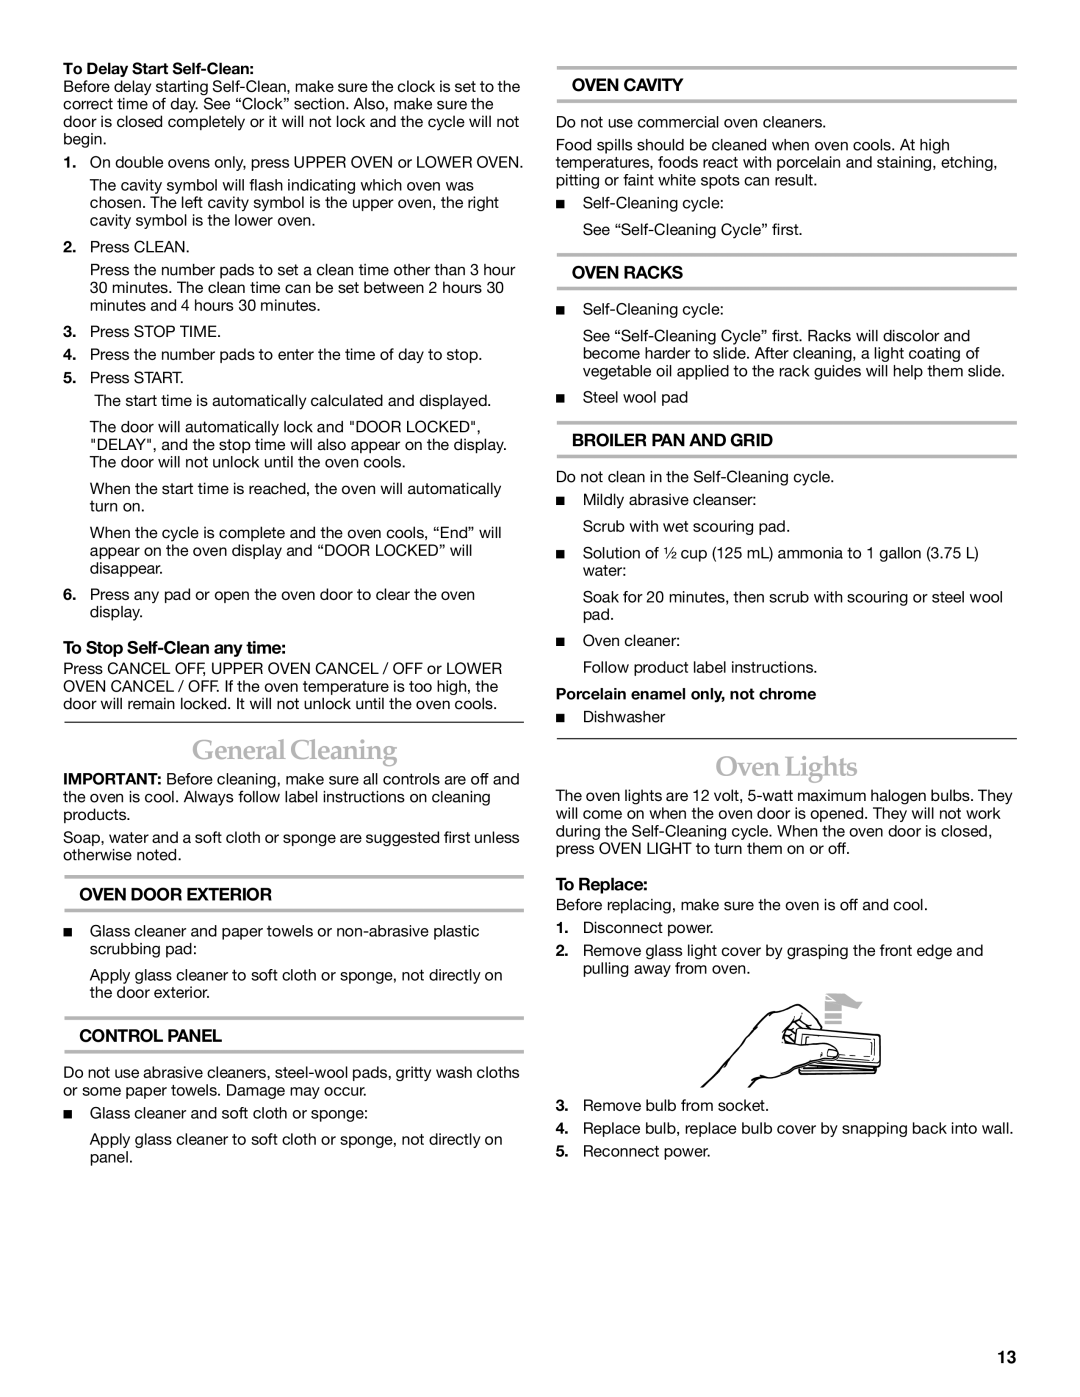
To Replace:
Before replacing, make sure the oven is off and cool.
1.Disconnect power.
2.Remove glass light cover by grasping the front edge and pulling away from oven.
CONTROL PANEL
Do not use abrasive cleaners,
■Glass cleaner and soft cloth or sponge:
Apply glass cleaner to soft cloth or sponge, not directly on panel.
3.Remove bulb from socket.
4.Replace bulb, replace bulb cover by snapping back into wall.
5.Reconnect power.
13