UNDER THE CABINET INSTALLATION
Preparation Before Installation
NOTE: TO AVOID DAMAGE TO YOUR HOOD, PREVENT DEBRIS FROM ENTERING THE VENT OPENING.
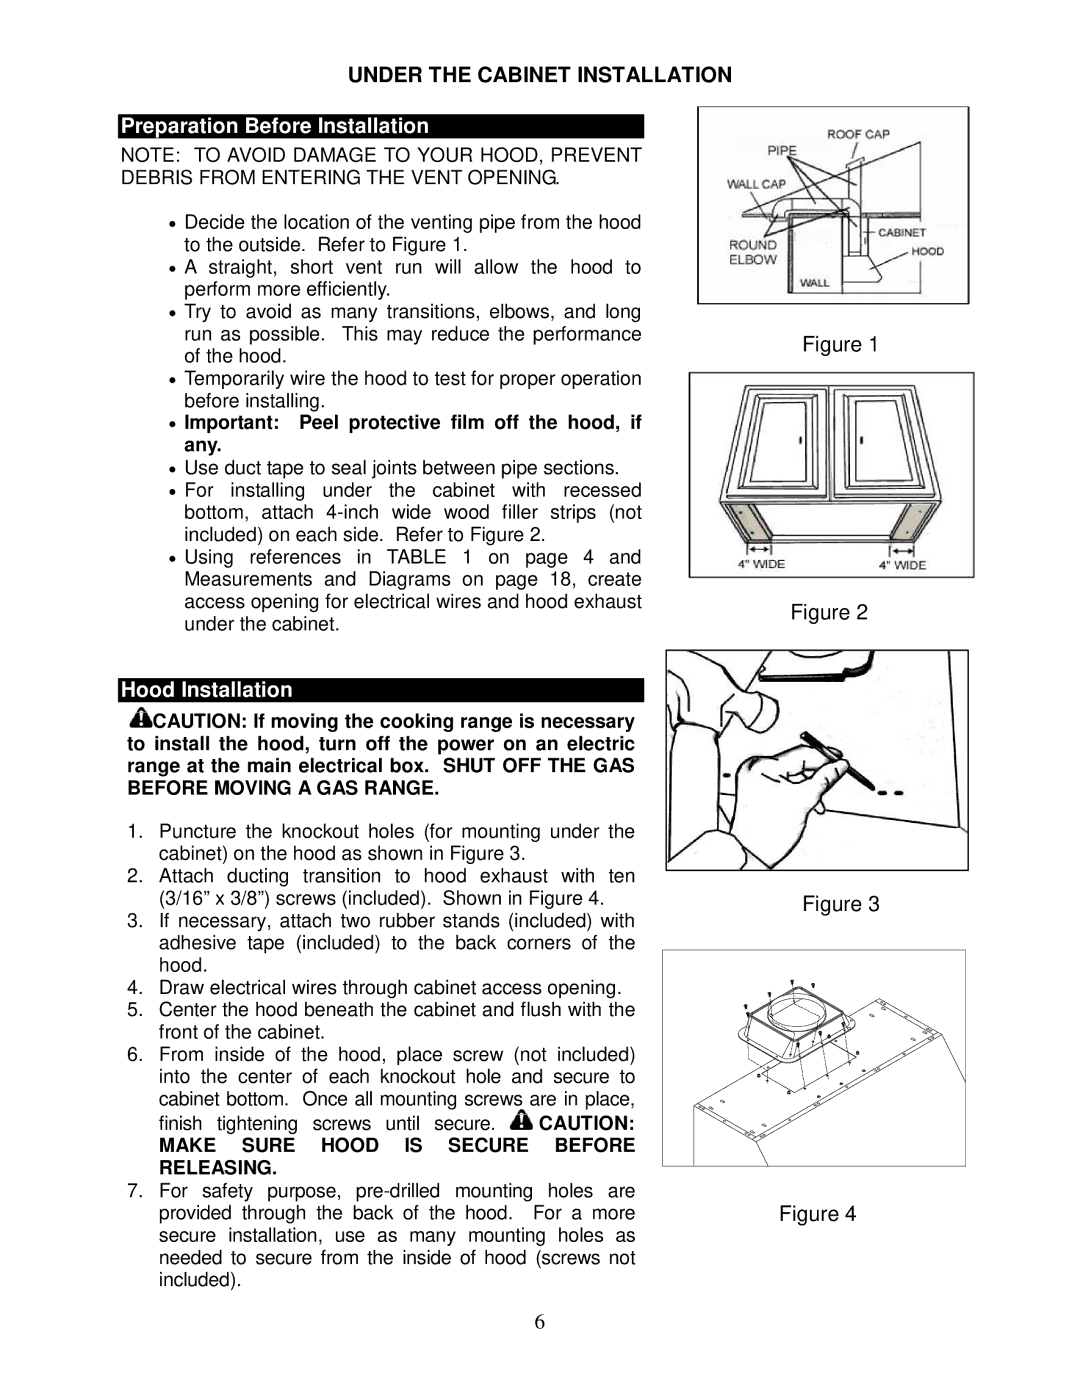
•Decide the location of the venting pipe from the hood to the outside. Refer to Figure 1.
•A straight, short vent run will allow the hood to perform more efficiently.
•Try to avoid as many transitions, elbows, and long run as possible. This may reduce the performance of the hood.
•Temporarily wire the hood to test for proper operation before installing.
•Important: Peel protective film off the hood, if any.
•Use duct tape to seal joints between pipe sections.
•For installing under the cabinet with recessed bottom, attach
•Using references in TABLE 1 on page 4 and Measurements and Diagrams on page 18, create access opening for electrical wires and hood exhaust under the cabinet.
Figure 1
Figure 2
Hood Installation
![]() CAUTION: If moving the cooking range is necessary to install the hood, turn off the power on an electric range at the main electrical box. SHUT OFF THE GAS BEFORE MOVING A GAS RANGE.
CAUTION: If moving the cooking range is necessary to install the hood, turn off the power on an electric range at the main electrical box. SHUT OFF THE GAS BEFORE MOVING A GAS RANGE.
1.Puncture the knockout holes (for mounting under the cabinet) on the hood as shown in Figure 3.
2.Attach ducting transition to hood exhaust with ten (3/16” x 3/8”) screws (included). Shown in Figure 4.
3.If necessary, attach two rubber stands (included) with adhesive tape (included) to the back corners of the hood.
4.Draw electrical wires through cabinet access opening.
5.Center the hood beneath the cabinet and flush with the front of the cabinet.
6.From inside of the hood, place screw (not included) into the center of each knockout hole and secure to
cabinet bottom. Once all mounting screws are in place,
finish tightening screws until secure. ![]() CAUTION:
CAUTION:
MAKE SURE HOOD IS SECURE BEFORE RELEASING.
7.For safety purpose,
Figure 3
Figure 4
6