DC280, DC240 specifications
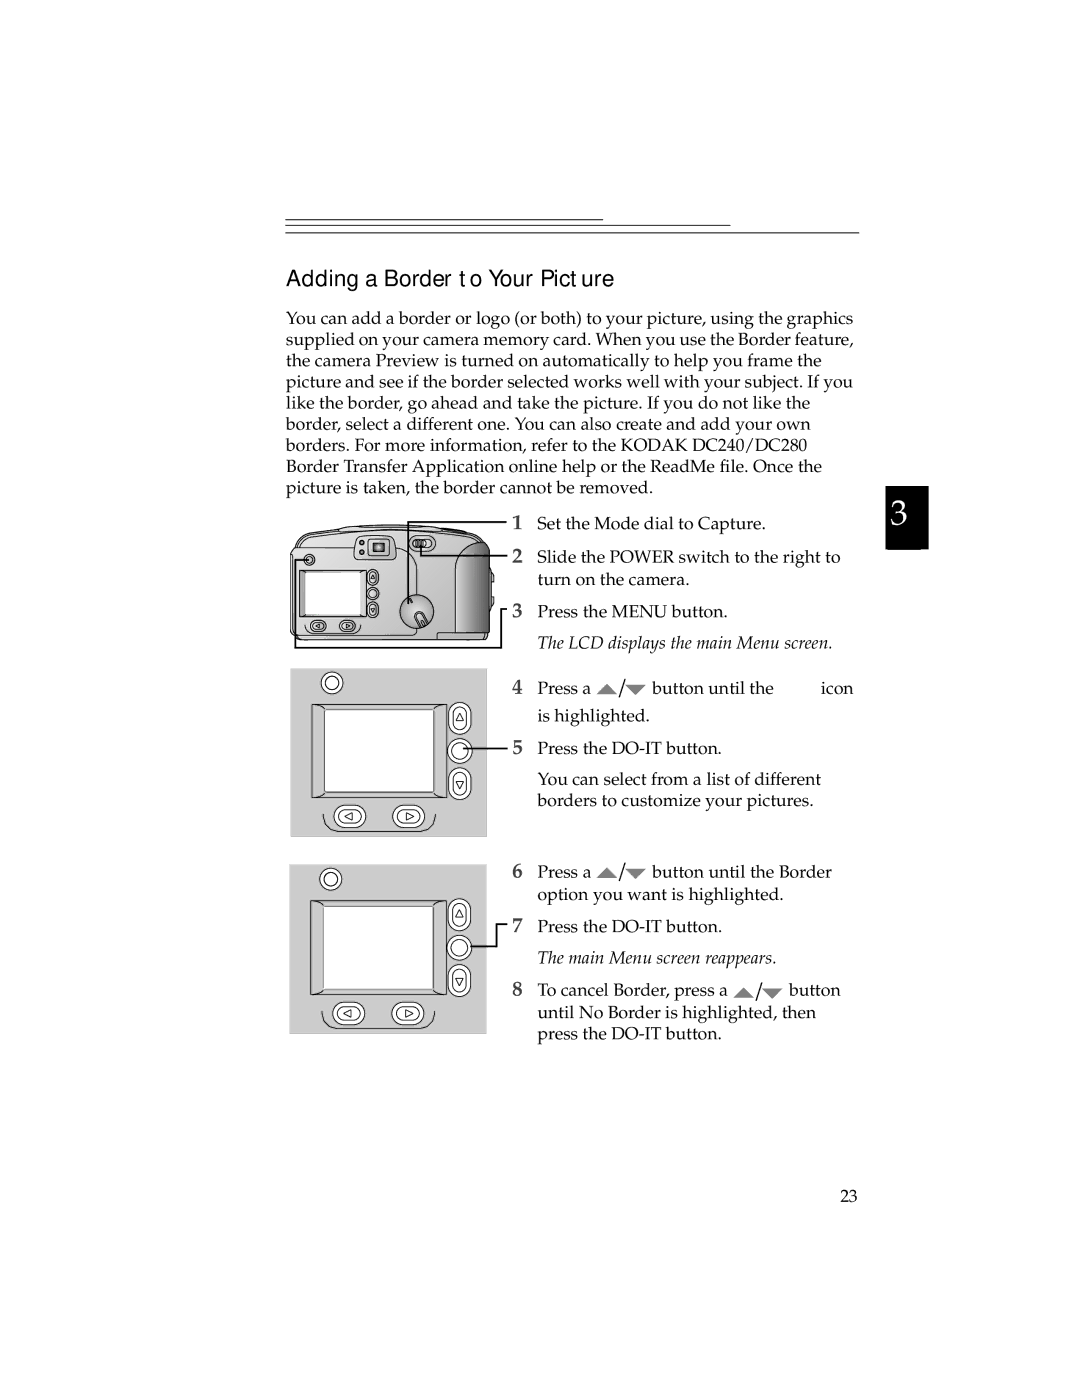
The Kodak DC240 and DC280 were two influential digital cameras released in the late 1990s, part of a pioneering wave that helped to establish mainstream digital photography. Designed for both amateur and advanced users, these models offered innovative features that set them apart from their contemporaries.The Kodak DC240 was introduced in 1999 and featured a 1.3-megapixel sensor, which was suitable for capturing images at 1280x960 resolution. One of its standout features was its ability to store images on CompactFlash cards, allowing users to easily expand their storage capabilities. The camera offered an optical viewfinder as well as an LCD screen, providing versatility in composing photos.
The DC240 was equipped with a fixed-focus lens, which, although not as adaptable as later zoom lenses, produced decent image quality for its time. The camera supported several color modes and had the capability to adjust exposure settings, offering users a degree of creative control. Its design was compact and lightweight, making it portable for everyday photography.
Following closely, the Kodak DC280 was launched in 2000, representing a refinement of its predecessor. It boasted a higher 2.1-megapixel resolution, allowing for clearer, more detailed images at 1600x1200 resolution. The DC280 introduced a more sophisticated autofocus system, enabling users to capture sharper images with less effort.
Another notable advancement in the DC280 was its improved image processing capabilities, which enhanced the overall color accuracy and exposure control. The camera featured a 3x zoom lens, providing greater flexibility in framing shots at various distances. Additionally, the DC280 held a larger LCD screen with improved visibility, catering to users wanting to preview their images before capturing.
Both models utilized Kodak's Image processing technology, which was designed to optimize image quality and reduce noise, particularly in low-light conditions. They were capable of connecting to computers via USB, allowing for convenient image transfers to enhance the digital workflow.
In conclusion, the Kodak DC240 and DC280 not only advanced Kodak's position in the digital camera market but also contributed significantly to the evolution of digital photography. Their blend of user-friendly features, improved technology, and solid image quality marked a pivotal transition from film to digital media, paving the way for the versatility and convenience that modern photographers enjoy today.

