EA-1 specifications
The Korg EA-1 is a distinctive and innovative synthesizer that has captured the attention of electronic musicians and producers since its release. As part of Korg's Electribe series, the EA-1 offers a unique combination of features, technologies, and characteristics that make it an ideal choice for those looking to create cutting-edge sounds and rhythms.One of the main features of the Korg EA-1 is its analog modeling synthesis engine. This technology allows users to create rich and dynamic sounds with an impressive level of detail and complexity. The EA-1 is designed to emulate classic analog synthesizers, providing a warm and organic tone that is often sought after in electronic music. With its versatility, the EA-1 is capable of producing a wide range of sounds, from punchy bass lines to shimmering leads and atmospheric pads.
The EA-1 also includes a powerful sequencer that allows for intricate pattern creation. Musicians can easily create and edit sequences, adjusting parameters such as pitch, rhythm, and modulation in real-time. The sequencer features up to 64 patterns, each of which can be arranged into a complete song. This feature is ideal for live performances, enabling musicians to switch between different patterns seamlessly.
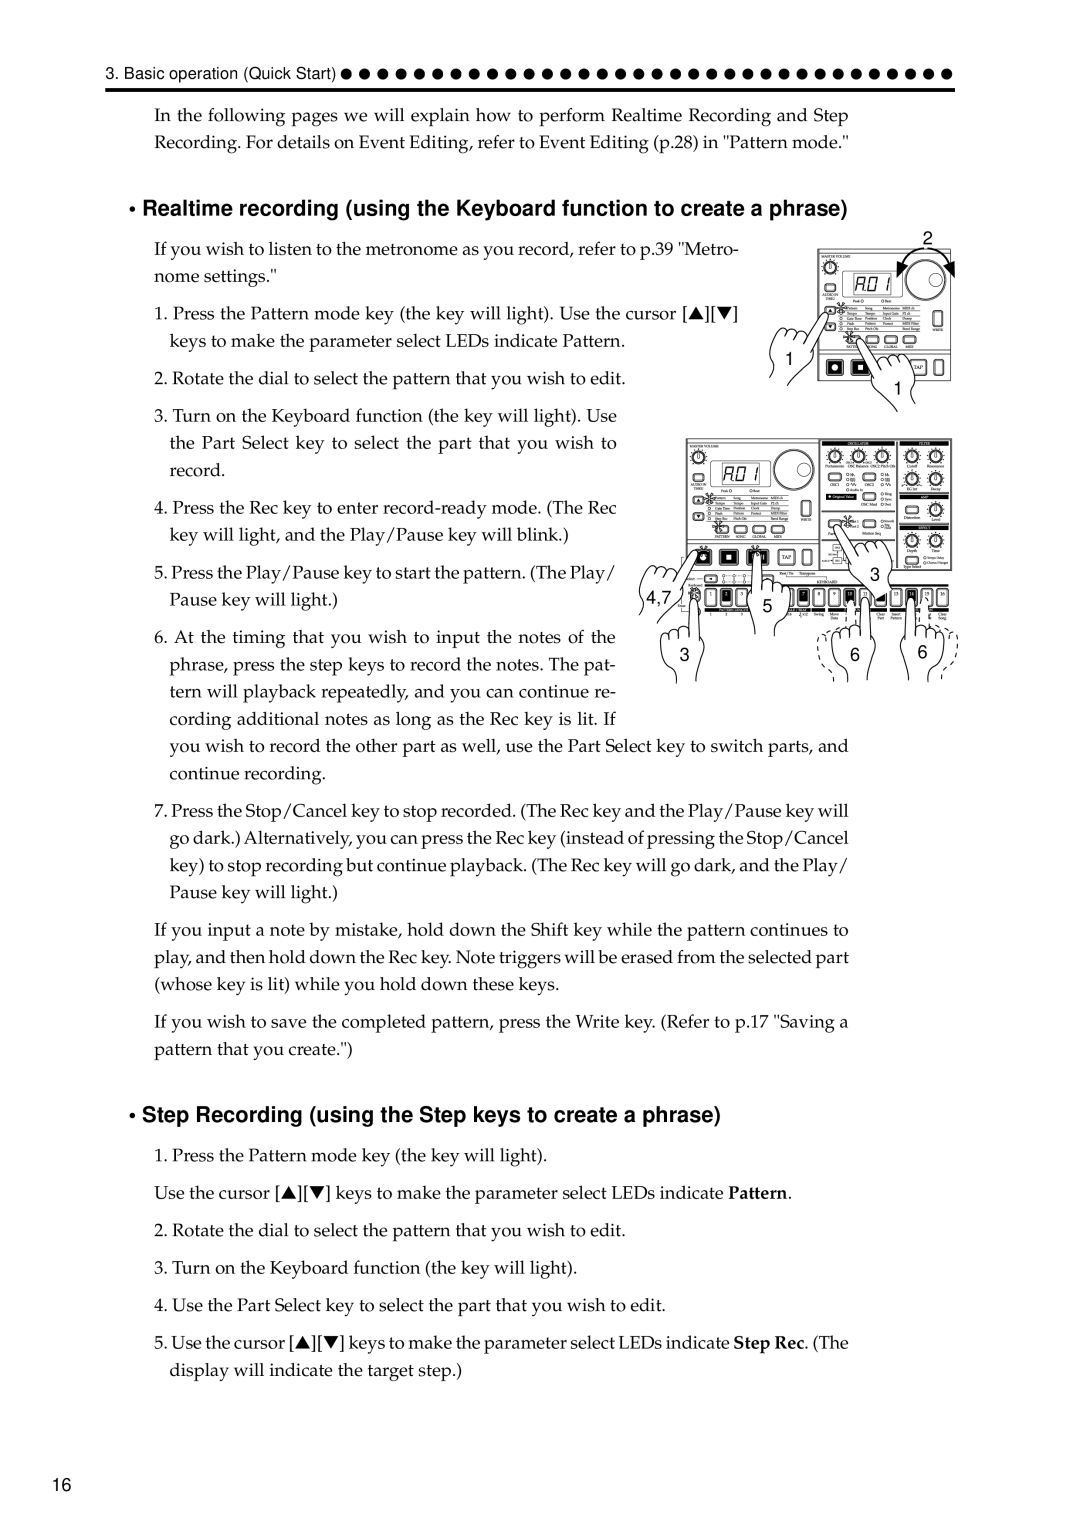
Another standout characteristic of the Korg EA-1 is its user-friendly interface. The device boasts a clear layout, with dedicated knobs and buttons that make it easy for users to navigate its various features. The large LCD display provides essential information at a glance, allowing for quick adjustments during live sessions or studio work.
In terms of connectivity, the Korg EA-1 is equipped with MIDI in and out ports, enabling it to be easily integrated into any setup. Musicians can connect the EA-1 with other instruments and software, enhancing their creative possibilities. Additionally, the EA-1 supports audio input, allowing users to process external sounds through its built-in effects.
The EA-1 also features a range of built-in effects, including delay and reverb, which help to shape and enhance the sounds created with the synthesizer. These effects can be applied in real-time, providing added depth and character to the music.
In summary, the Korg EA-1 synthesizer stands out due to its analog modeling synthesis, powerful sequencer, user-friendly interface, extensive connectivity options, and built-in effects. This combination of features and technologies makes it a valuable tool for electronic musicians seeking to create unique and inspiring sounds. With its ability to emulate classic tones while offering modern flexibility, the Korg EA-1 continues to be a popular choice for music creators across various genres.

