Using the
8.Overwrite the word “unnamed”1 by typing a new name in its place (optional) and insert a floppy disk in the floppy disk drive on your computer and click Continue.
The logo is saved on the floppy disk with the file name: “logo.Igo”. Since a logo is always saved with the identical file name and file name extension, you can only save one logo on the same floppy disk at any time, otherwise saving an additional logo would replace the previous one.
9.Remove the floppy disk from the floppy disk drive on your computer and insert it in the floppy disk drive2 on the
8.3Adding Transparency to a Logo
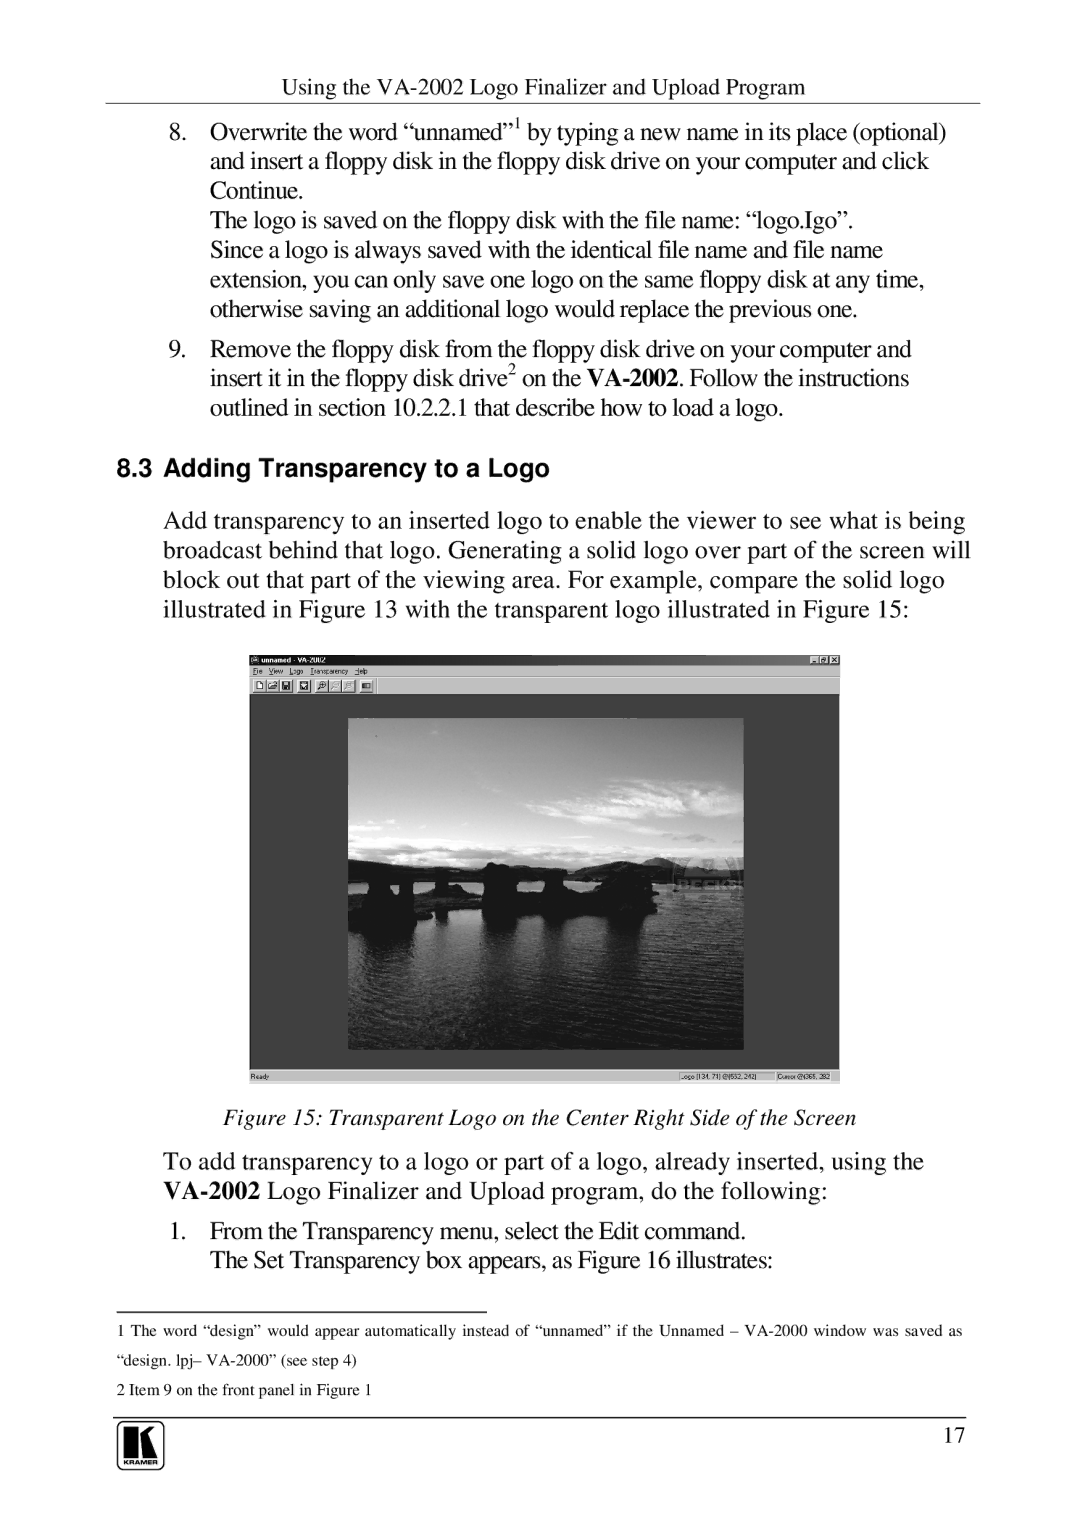
Add transparency to an inserted logo to enable the viewer to see what is being broadcast behind that logo. Generating a solid logo over part of the screen will block out that part of the viewing area. For example, compare the solid logo illustrated in Figure 13 with the transparent logo illustrated in Figure 15:
Figure 15: Transparent Logo on the Center Right Side of the Screen
To add transparency to a logo or part of a logo, already inserted, using the
1.From the Transparency menu, select the Edit command. The Set Transparency box appears, as Figure 16 illustrates:
1 The word “design” would appear automatically instead of “unnamed” if the Unnamed –
2 Item 9 on the front panel in Figure 1
17
