VII. 12 OR 24 HOUR TIME SETTING
1. Press and hold the SET button for 5 seconds.
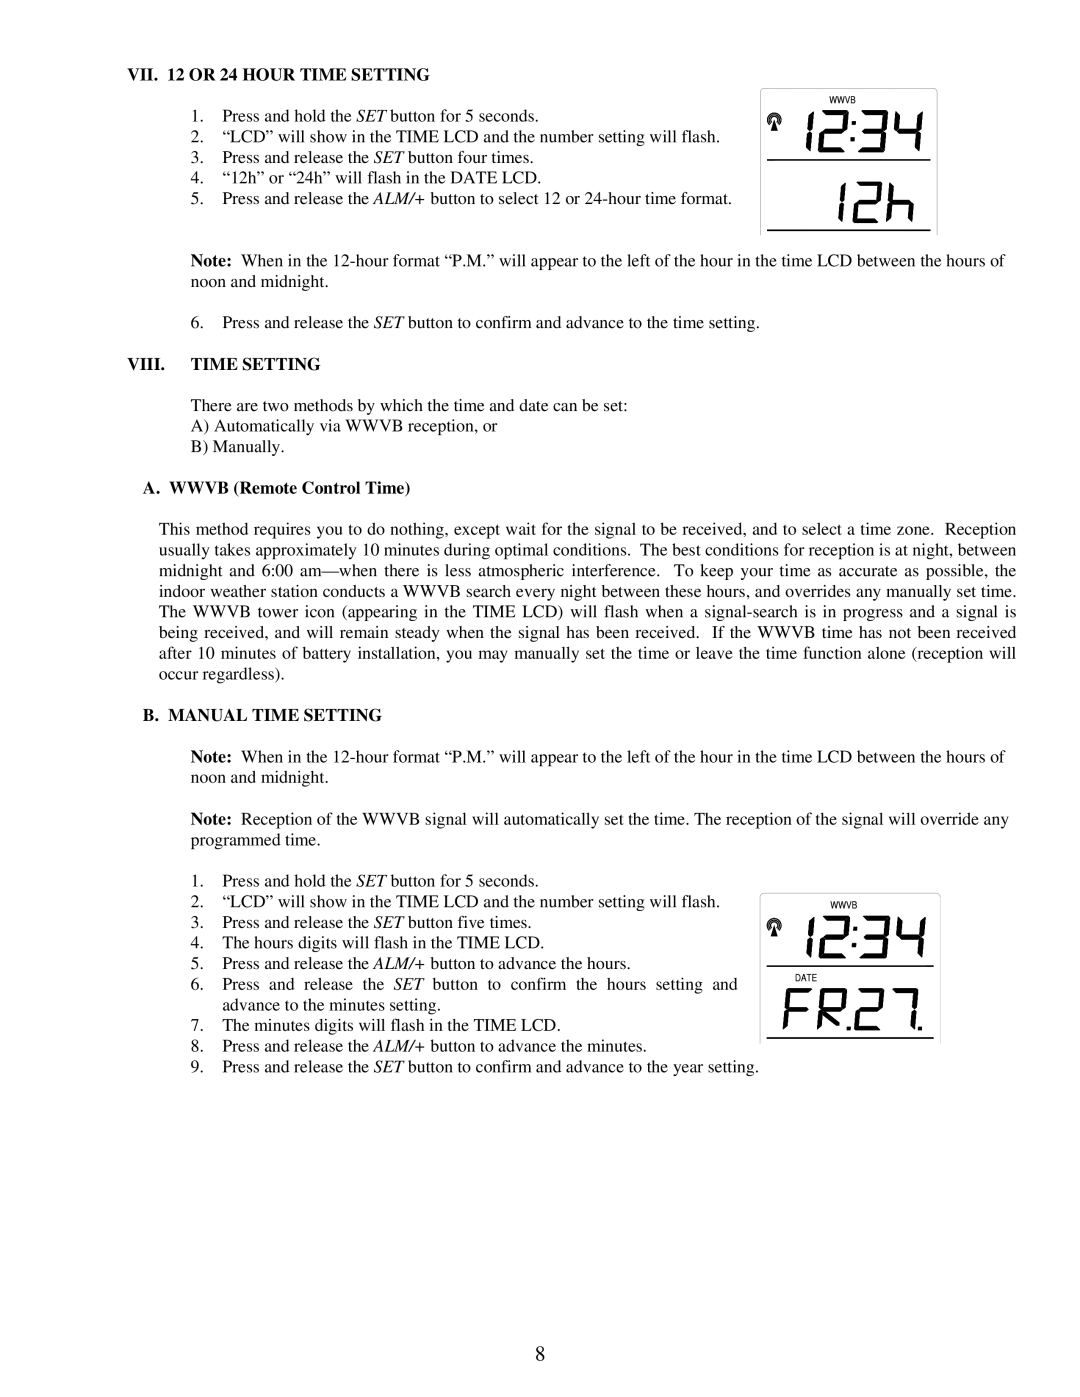
2. “LCD” will show in the TIME LCD and the number setting will flash.
3. Press and release the SET button four times.
4.“12h” or “24h” will flash in the DATE LCD.
5. Press and release the ALM/+ button to select 12 or
Note: When in the
6.Press and release the SET button to confirm and advance to the time setting.
VIII. TIME SETTING
There are two methods by which the time and date can be set:
A)Automatically via WWVB reception, or
B)Manually.
A. WWVB (Remote Control Time)
This method requires you to do nothing, except wait for the signal to be received, and to select a time zone. Reception usually takes approximately 10 minutes during optimal conditions. The best conditions for reception is at night, between midnight and 6:00
B. MANUAL TIME SETTING
Note: When in the
Note: Reception of the WWVB signal will automatically set the time. The reception of the signal will override any programmed time.
1.Press and hold the SET button for 5 seconds.
2. “LCD” will show in the TIME LCD and the number setting will flash.
3. Press and release the SET button five times.
4. The hours digits will flash in the TIME LCD.
5. Press and release the ALM/+ button to advance the hours.
6. Press and release the SET button to confirm the hours setting and advance to the minutes setting.
7. The minutes digits will flash in the TIME LCD.
8.Press and release the ALM/+ button to advance the minutes.
9.Press and release the SET button to confirm and advance to the year setting.
8