POSITIONING THE OUTDOOR TEMPERATURE TRANSMITTER
The outdoor temperature transmitter can be mounted in two ways:
•with the use of screws, or
•using the adhesive tape.
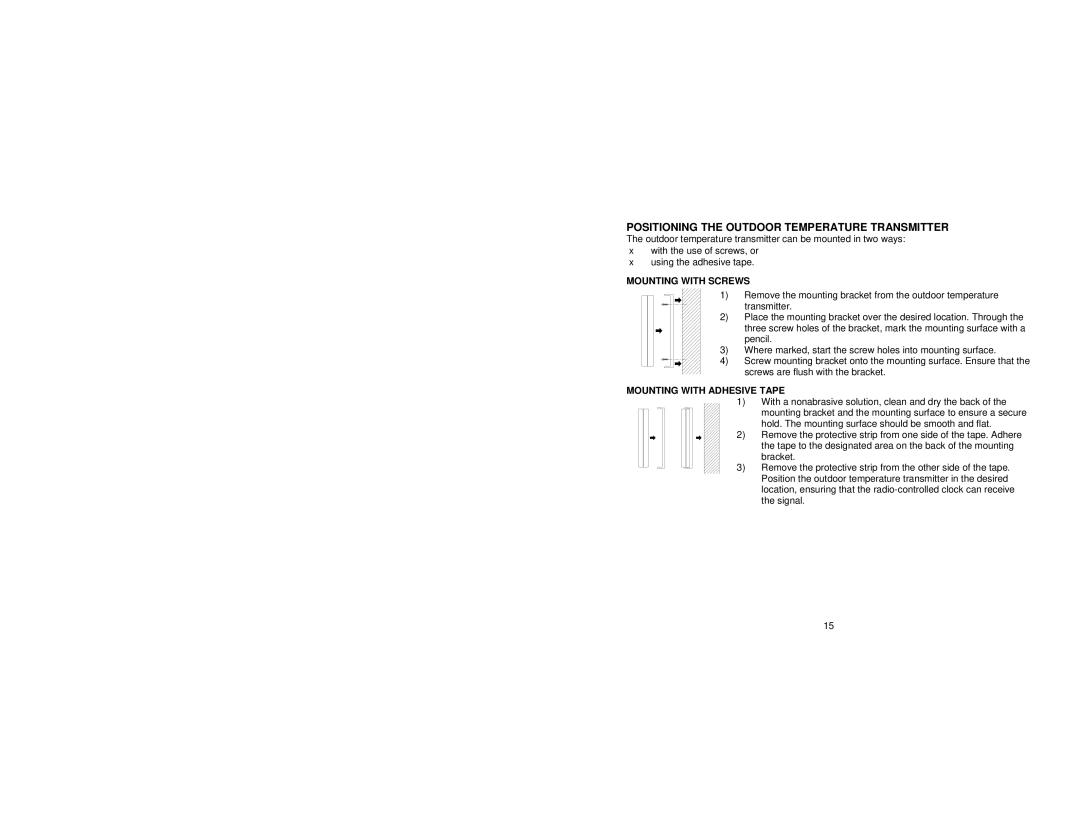
MOUNTING WITH SCREWS
1)Remove the mounting bracket from the outdoor temperature
transmitter.
2)Place the mounting bracket over the desired location. Through the
three screw holes of the bracket, mark the mounting surface with a pencil.
3)Where marked, start the screw holes into mounting surface.
4) Screw mounting bracket onto the mounting surface. Ensure that the screws are flush with the bracket.
MOUNTING WITH ADHESIVE TAPE
1)With a nonabrasive solution, clean and dry the back of the mounting bracket and the mounting surface to ensure a secure hold. The mounting surface should be smooth and flat.
2) Remove the protective strip from one side of the tape. Adhere the tape to the designated area on the back of the mounting bracket.
3)Remove the protective strip from the other side of the tape. Position the outdoor temperature transmitter in the desired location, ensuring that the
15