Progressive Scan
Progressive Scan Video provides the highest quality pictures with less flickering.
If you are using the Component Video jacks for connection to a TV or monitor that is compatible with a progressive scan signal, set Progressive Scan to On.
To Turn ON progressive scan:
Connect component out of the DVD to the input of your monitor/television, set your television or monitor to Component Input.
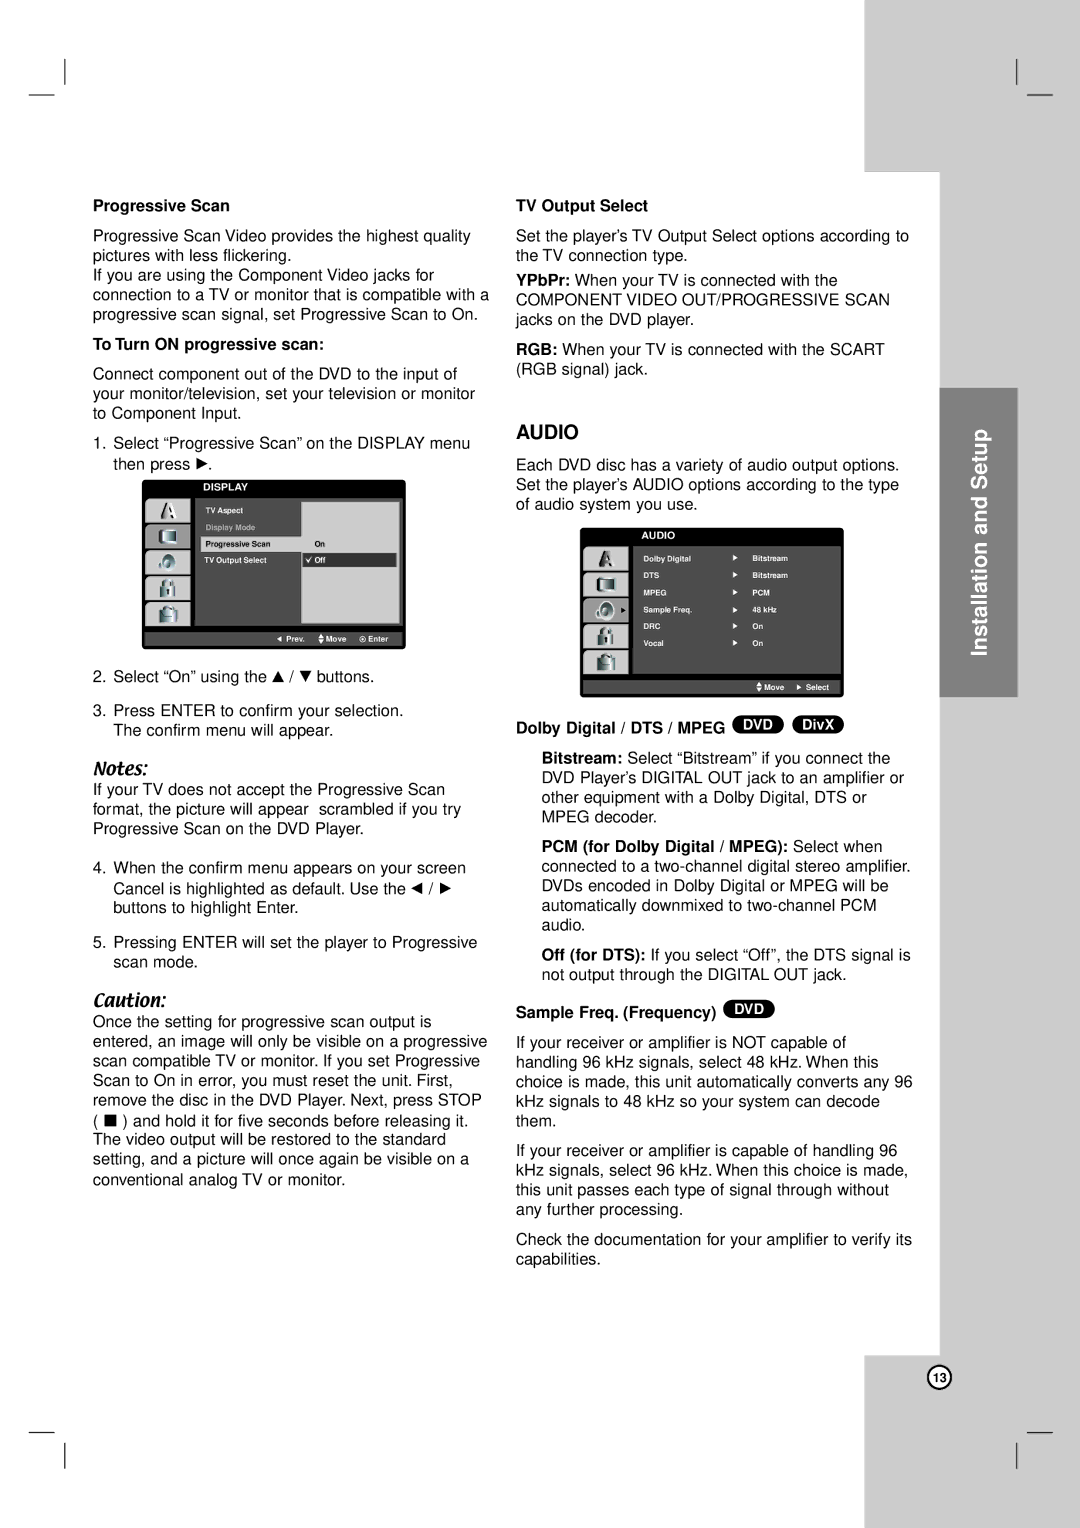
1.Select “Progressive Scan” on the DISPLAY menu then press B.
DISPLAY
TV Aspect |
|
Display Mode |
|
Progressive Scan | On |
TV Output Select |
|
Off | |
|
|
Prev. | Move | Enter |
2.Select “On” using thev / V buttons.
3.Press ENTER to confirm your selection. The confirm menu will appear.
Notes:
If your TV does not accept the Progressive Scan format, the picture will appear scrambled if you try Progressive Scan on the DVD Player.
4.When the confirm menu appears on your screen Cancel is highlighted as default. Use the b / B buttons to highlight Enter.
5.Pressing ENTER will set the player to Progressive scan mode.
Caution:
Once the setting for progressive scan output is entered, an image will only be visible on a progressive scan compatible TV or monitor. If you set Progressive Scan to On in error, you must reset the unit. First, remove the disc in the DVD Player. Next, press STOP ( x ) and hold it for five seconds before releasing it. The video output will be restored to the standard setting, and a picture will once again be visible on a conventional analog TV or monitor.
TV Output Select
Set the player’s TV Output Select options according to the TV connection type.
YPbPr: When your TV is connected with the
COMPONENT VIDEO OUT/PROGRESSIVE SCAN jacks on the DVD player.
RGB: When your TV is connected with the SCART (RGB signal) jack.
AUDIO
Each DVD disc has a variety of audio output options. Set the player’s AUDIO options according to the type of audio system you use.
AUDIO
|
|
| Dolby Digital | Bitstream |
|
|
|
| DTS | Bitstream |
|
|
|
| MPEG | PCM |
|
|
|
|
| ||
|
|
| Sample Freq. | 48 kHz |
|
|
|
| DRC | On |
|
|
|
| Vocal | On |
|
|
|
|
|
|
|
|
|
|
| Move | Select |
Dolby Digital / DTS / MPEG | DVD | DivX | |||
Bitstream: Select “Bitstream” if you connect the DVD Player’s DIGITAL OUT jack to an amplifier or other equipment with a Dolby Digital, DTS or MPEG decoder.
PCM (for Dolby Digital / MPEG): Select when connected to a
Off (for DTS): If you select “Off”, the DTS signal is not output through the DIGITAL OUT jack.
Sample Freq. (Frequency) DVD
If your receiver or amplifier is NOT capable of handling 96 kHz signals, select 48 kHz. When this choice is made, this unit automatically converts any 96 kHz signals to 48 kHz so your system can decode them.
If your receiver or amplifier is capable of handling 96 kHz signals, select 96 kHz. When this choice is made, this unit passes each type of signal through without any further processing.
Check the documentation for your amplifier to verify its capabilities.
Installation and Setup
13