Manual
If your local TV station does not send date and time information, or sends incorrect information, you can set the clock manually.
1.Select the [Clock Set] > [Manual] option.
2.Press ENTER.
3.Enter the necessary information for year, date and time.
b / B (left/right): Moves the cursor to the previous or next column.
v / V (up/down): Changes the setting at the current cursor position.
4.Press ENTER to confirm your setting.
5.Press HOME to exit the Setup menu.
TV Aspect
4:3 Letter Box:
Select when a standard 4:3 TV is connected. Displays theatrical images with masking bars above and below the picture.
4:3 Pan Scan:
Select when a standard 4:3 TV is connected. Displays pictures cropped to fill your TV screen. Both sides of the picture are cut off.
16:9 Wide:
Select when a 16:9 wide TV is connected.
Power Save Mode
Set Power Save Mode to [ON] to place your Recorder into an economic power save mode.
Factory Set
You can reset the Recorder to its original factory settings.
1.Select the [Factory Set] option.
2.Press B to select [SET] then press ENTER.
3.Select [OK] and press ENTER.
4.Follow the Initial Setup Wizard on page 19.
Language Settings
Display Menu
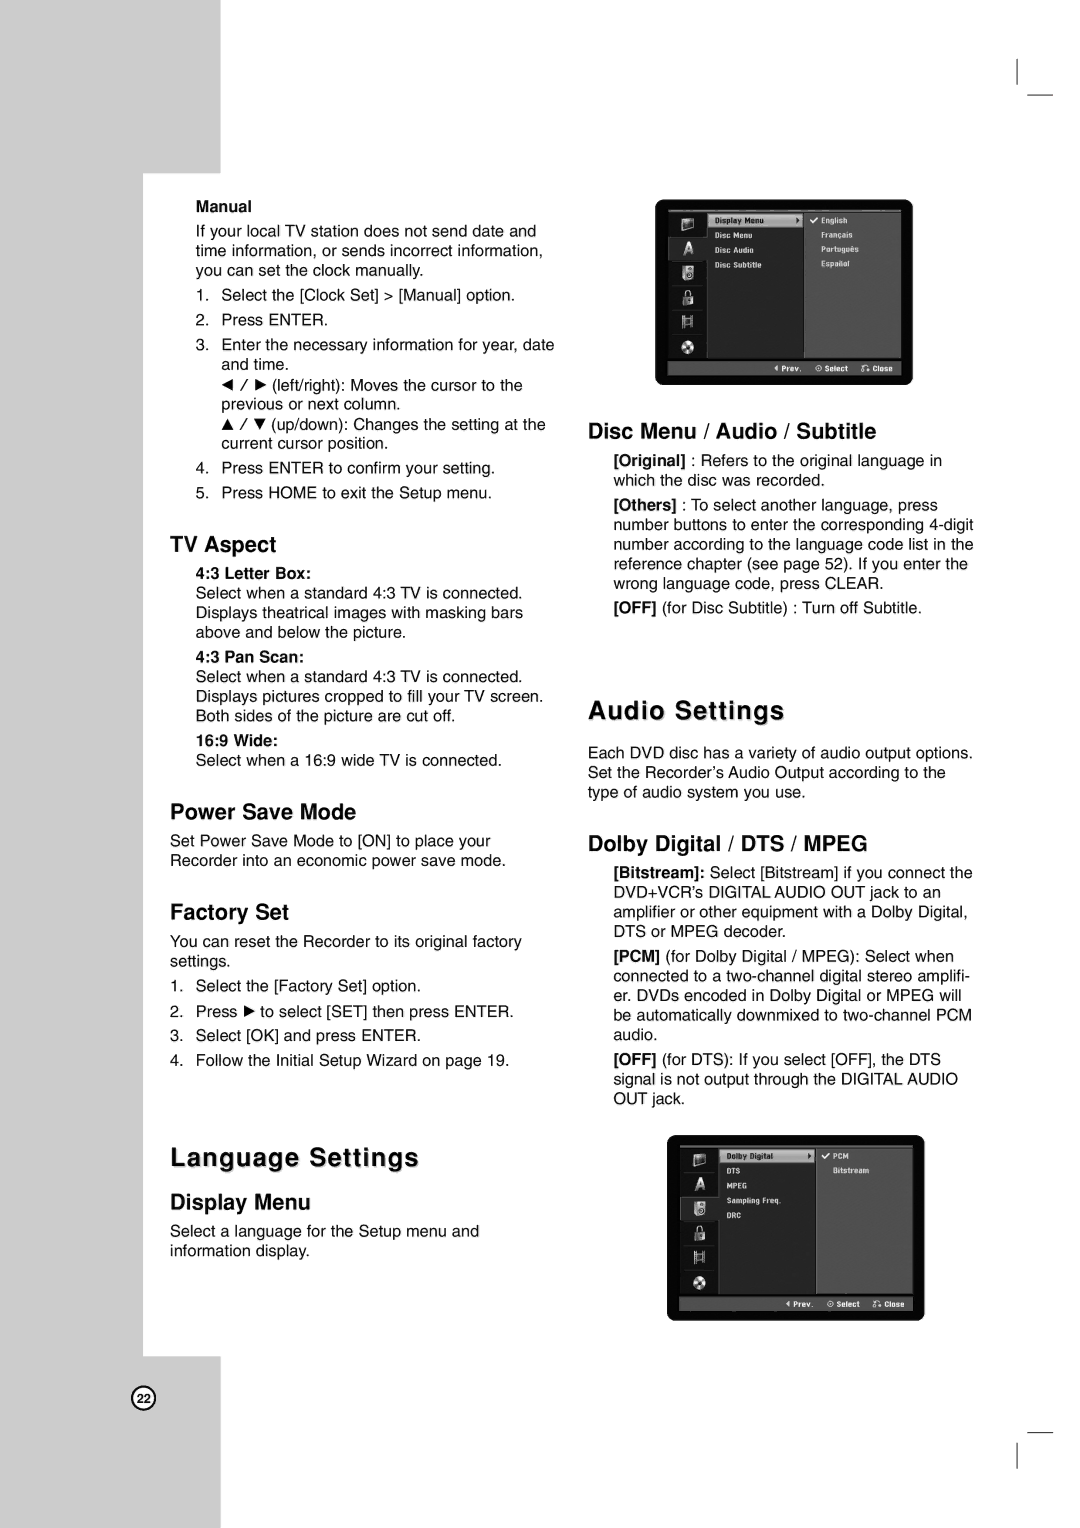
Select a language for the Setup menu and information display.
Disc Menu / Audio / Subtitle
[Original] : Refers to the original language in which the disc was recorded.
[Others] : To select another language, press number buttons to enter the corresponding
[OFF] (for Disc Subtitle) : Turn off Subtitle.
Audio Settings
Each DVD disc has a variety of audio output options. Set the Recorder’s Audio Output according to the type of audio system you use.
Dolby Digital / DTS / MPEG
[Bitstream]: Select [Bitstream] if you connect the DVD+VCR’s DIGITAL AUDIO OUT jack to an amplifier or other equipment with a Dolby Digital, DTS or MPEG decoder.
[PCM] (for Dolby Digital / MPEG): Select when connected to a
[OFF] (for DTS): If you select [OFF], the DTS signal is not output through the DIGITAL AUDIO OUT jack.
22
