3ASSEMBLY
For safety, and to save time and effort, read this Owner’s Manual completely before installing your Life Fitness Treadmill. Place the treadmill near where it will be used before beginning the unpacking procedure.
3.1UNPACKING
These unpacking instructions assume you have already done the following:
•Removed the top of the shipping carton.
•Removed this Owner’s Manual from the top of the packaged material.
The best method for unpacking the rest of the treadmill is as follows:
•Remove all items on top of the running belt.
•Break down the sides of the inner shipping carton.
•DO NOT remove or unlatch the strap that is positioned over the walking surface.
•Follow assembly instructions starting on page 9.
WARNING: Fold the treadmill into the upright and locked position before rolling it over on its side or picking it up from the floor. The base or folding frame can swing around unexpectedly if this procedure is not followed.
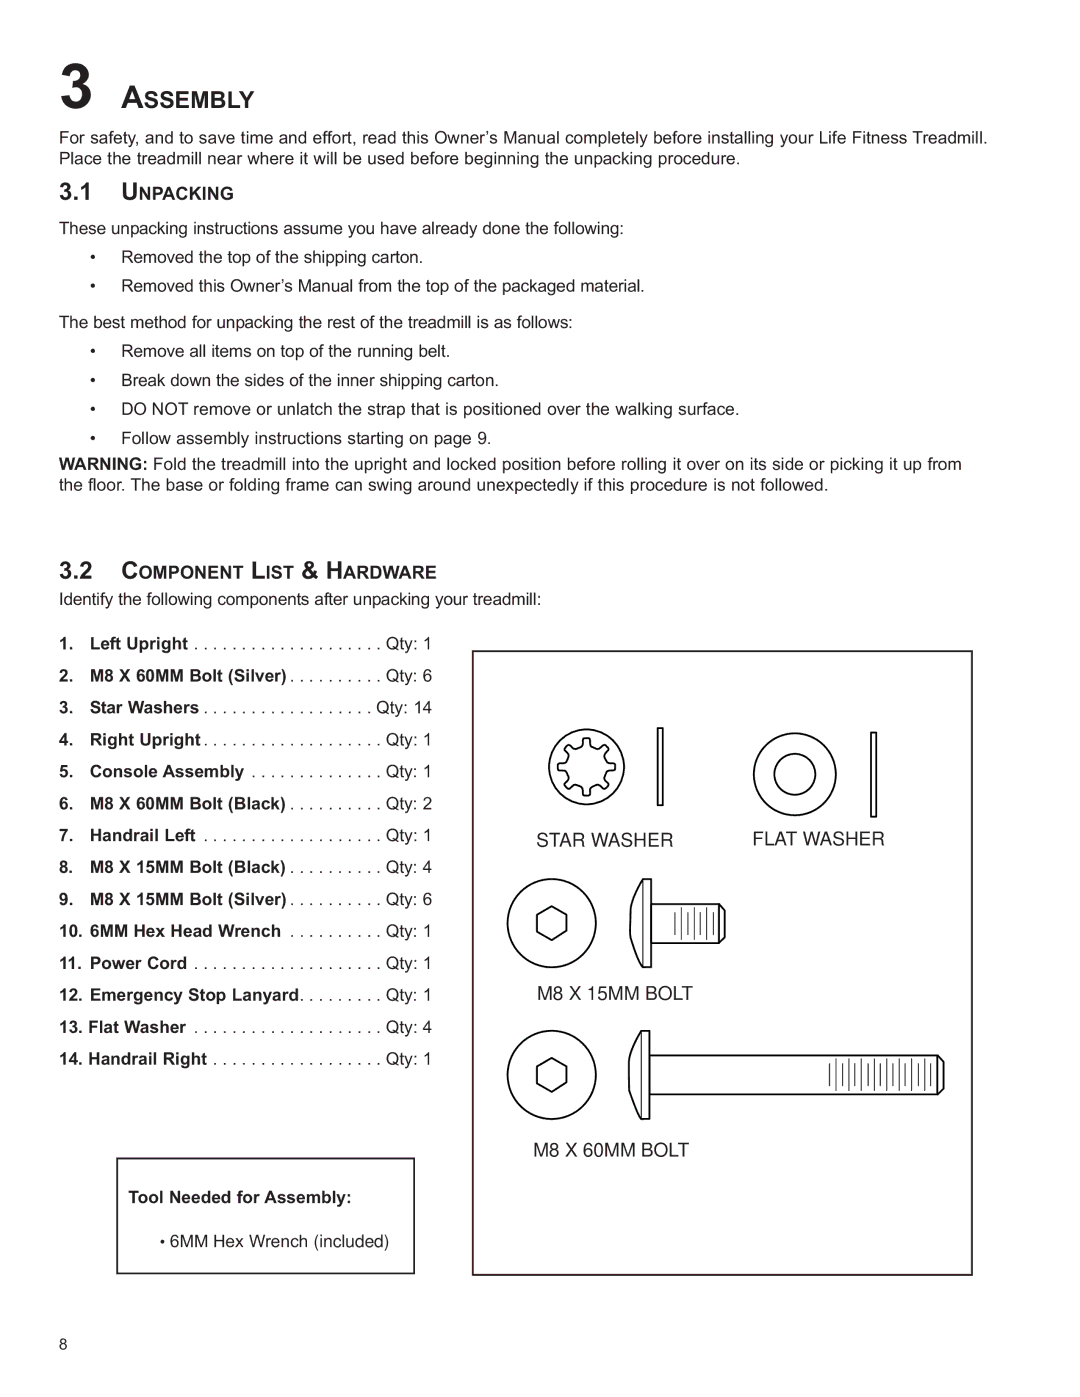
3.2COMPONENT LIST & HARDWARE
Identify the following components after unpacking your treadmill:
1. Left Upright . . . . . . . . . . . . . . . . . . . . Qty: 1
2. M8 X 60MM Bolt (Silver) . . . . . . . . . . Qty: 6
3. Star Washers . . . . . . . . . . . . . . . . . . Qty: 14
4. Right Upright . . . . . . . . . . . . . . . . . . . Qty: 1
5. Console Assembly . . . . . . . . . . . . . . Qty: 1
6. M8 X 60MM Bolt (Black) . . . . . . . . . . Qty: 2
7. Handrail Left . . . . . . . . . . . . . . . . . . . Qty: 1
8. M8 X 15MM Bolt (Black) . . . . . . . . . . Qty: 4
9. M8 X 15MM Bolt (Silver) . . . . . . . . . . Qty: 6
10. 6MM Hex Head Wrench . . . . . . . . . . Qty: 1
11. Power Cord . . . . . . . . . . . . . . . . . . . . Qty: 1
12. Emergency Stop Lanyard. . . . . . . . . Qty: 1
13. Flat Washer . . . . . . . . . . . . . . . . . . . . Qty: 4
14. Handrail Right . . . . . . . . . . . . . . . . . . Qty: 1
STAR WASHER | FLAT WASHER |
M8 X 15MM BOLT
M8 X 60MM BOLT
Tool Needed for Assembly:
•6MM Hex Wrench (included)
8
