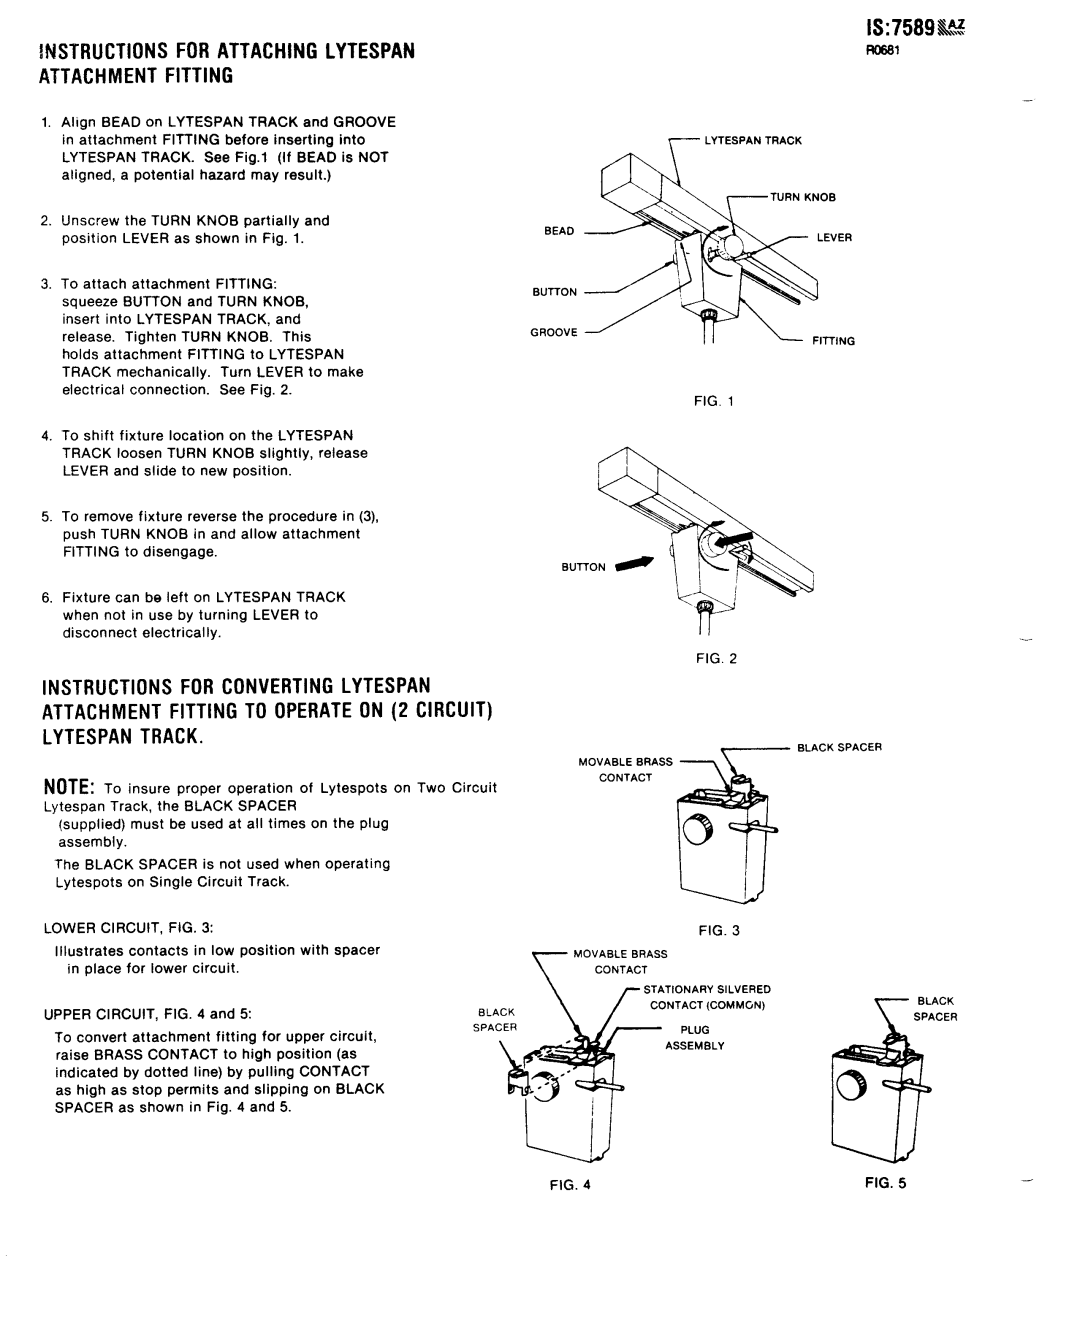
7589AZ specifications
The Lightolier 7589AZ is a cutting-edge lighting fixture that combines elegance with advanced technology, designed to enhance both residential and commercial spaces. Known for its sleek design and versatile functionality, this fixture is a popular choice among interior designers and homeowners alike.One of the main features of the Lightolier 7589AZ is its energy efficiency. The fixture utilizes LED technology, which not only provides bright and vibrant illumination but also significantly reduces energy consumption compared to traditional lighting options. This makes it an eco-friendly choice that can lead to lower energy bills over time, making it an attractive option for those looking to create a sustainable living environment.
The design of the Lightolier 7589AZ is another key characteristic. With its modern aesthetic, it seamlessly integrates into various décor styles, from contemporary to more traditional settings. The fixture is available in multiple finishes, allowing users to select the perfect complement for their interior design scheme. Its minimalist appearance ensures that it can serve as both a functional light source and an elegant piece of décor.
In terms of technology, the Lightolier 7589AZ features innovative dimming capabilities. This allows users to adjust the brightness to suit different activities and moods, whether it’s a bright light for tasks or a soft glow for relaxation. The flexibility in lighting options contributes to a personalized experience, making it ideal for living rooms, offices, or any space that requires adaptable lighting solutions.
The fixture is designed with user convenience in mind. Installation is straightforward, making it accessible for both DIY enthusiasts and professional electricians. Furthermore, the durable construction ensures longevity and resilience, promising years of reliable performance without the need for frequent replacements.
Overall, the Lightolier 7589AZ stands out due to its blend of sophisticated design, energy efficiency, advanced technology, and user-friendly features. Whether illuminating a dining room, enhancing an office workspace, or adding ambiance to a retail setting, the Lightolier 7589AZ delivers outstanding lighting solutions that cater to a variety of needs. With its commitment to quality and innovation, it continues to be a top choice in contemporary lighting designs.

