D-3

MAINTENANCE

D-3


4.Slide the new element onto the grommet post on the bottom of the filter header until the element no longer easily moves up into the filter header. Now rotate the element (may take almost 1 full turn) with a slight upward pressure until the element begins to further engage the header. With the proper orientation now established apply additional pressure to seat the ele- ment in the filter header. You should feel the element popinto place when properly seated.

Note: The element will only go on one way. Never use excessive force when mounting the element to the header.

5.Slide the quick change ring up over the element and rotate counter clockwise until an audible click or pop is heard. If you do not hear the click you have not rotat- ed the ring far enough and the element is not in the locked position. Another indication that the ring is in the locked position is that one set (it doesnt matter which one) of arrows located on the outside of the ring should be located directly under the air vent valve.

6.Open the fuel shutoff valve (lever in line with the hose).

7.Open the air vent valve on the front of the filter head- er until fuel emerges free of air bubbles and then close the air vent valve.

Note : Consult your engine operation manual for infor- mation on air bleeding the entire fuel system.

SECONDARY FUEL FILTER

The Secondary Fuel Filter is a spin on cartridge type mount directly to the engine. Consult your engine opera- tion manual for complete information on service intervals and element changing procedures.

COOLING SYSTEM

The cooling system of the Deutz engine needs to be checked and cleaned periodically. Consult the engine owners manual for the proper frequency and procedure.

COOLING BLOWER BELT

The following procedure should be followed to replace the cooling blower belt:

1.Allow the machine to cool.

2.Unfasten and slide the battery holder out from the welder.

3.Disconnect the negative battery cable.

4.Remove engine case side.

5.Loosen air cleaner hose clamp and detach hose.

6.Remove the engine end panel with air box and air clean- er attached for access to the engine.

7.Loosen the alternator mounting bolts and rotate the alternator towards the engine.

8.Remove the old cooling blower belt and install a new one.

9.Adjust the cold belt tension to 63-73 lbs. midway between any two pulleys.

10.Reinstall the air cleaner hose, engine case side and end panel. Reattach the negative battery cable. Slide in and refasten the battery holder.

11.Check the cooling blower belt tension after 100 hours of operation. (Follow steps 1,2,3,4,5,6,9 & 10)

BATTERY HANDLING

WARNING

GASES FROM BATTERY can explode.

Keep sparks, flame and cigarettes away from bat-

tery.

To prevent EXPLOSION when:

INSTALLING A NEW BATTERY - disconnect nega- tive cable from old battery first and connect to new battery last.

CONNECTING A BATTERY CHARGER - Remove bat- tery from welder by disconnecting negative cable first, then positive cable and battery clamp. When reinstalling, connect negative cable last. Keep well ventilated.

• USING A BOOSTER - connect positive lead to bat- tery first then connect negative lead to engine foot.

BATTERY ACID CAN BURN EYES AND SKIN.

Wear gloves and eye protection and be careful

when working near battery. Follow instructions printed on battery.

-------------------------------------------------------

-----------------

PREVENTING ELECTRICAL DAMAGE

1.When replacing, jumping, or otherwise connecting the battery to the battery cables, the proper polarity must be observed. Failure to observe the proper polarity could result in damage to the charging circuit. The positive (+) battery cable has a red terminal cover.

2.If the battery requires charging from an external charg- er, disconnect the negative battery cable first and then the positive battery cable before attaching the charger leads. Failure to do so can result in damage to the internal charger components. When reconnecting the cables, connect the positive cable first and the negative cable last.

PREVENTING BATTERY DISCHARGE

If you have an ignition switch, turn it off when engine is not running.

PREVENTING BATTERY BUCKLING

Tighten nuts on battery clamp until snug.

COMMANDER 500

Page 32
Image 32
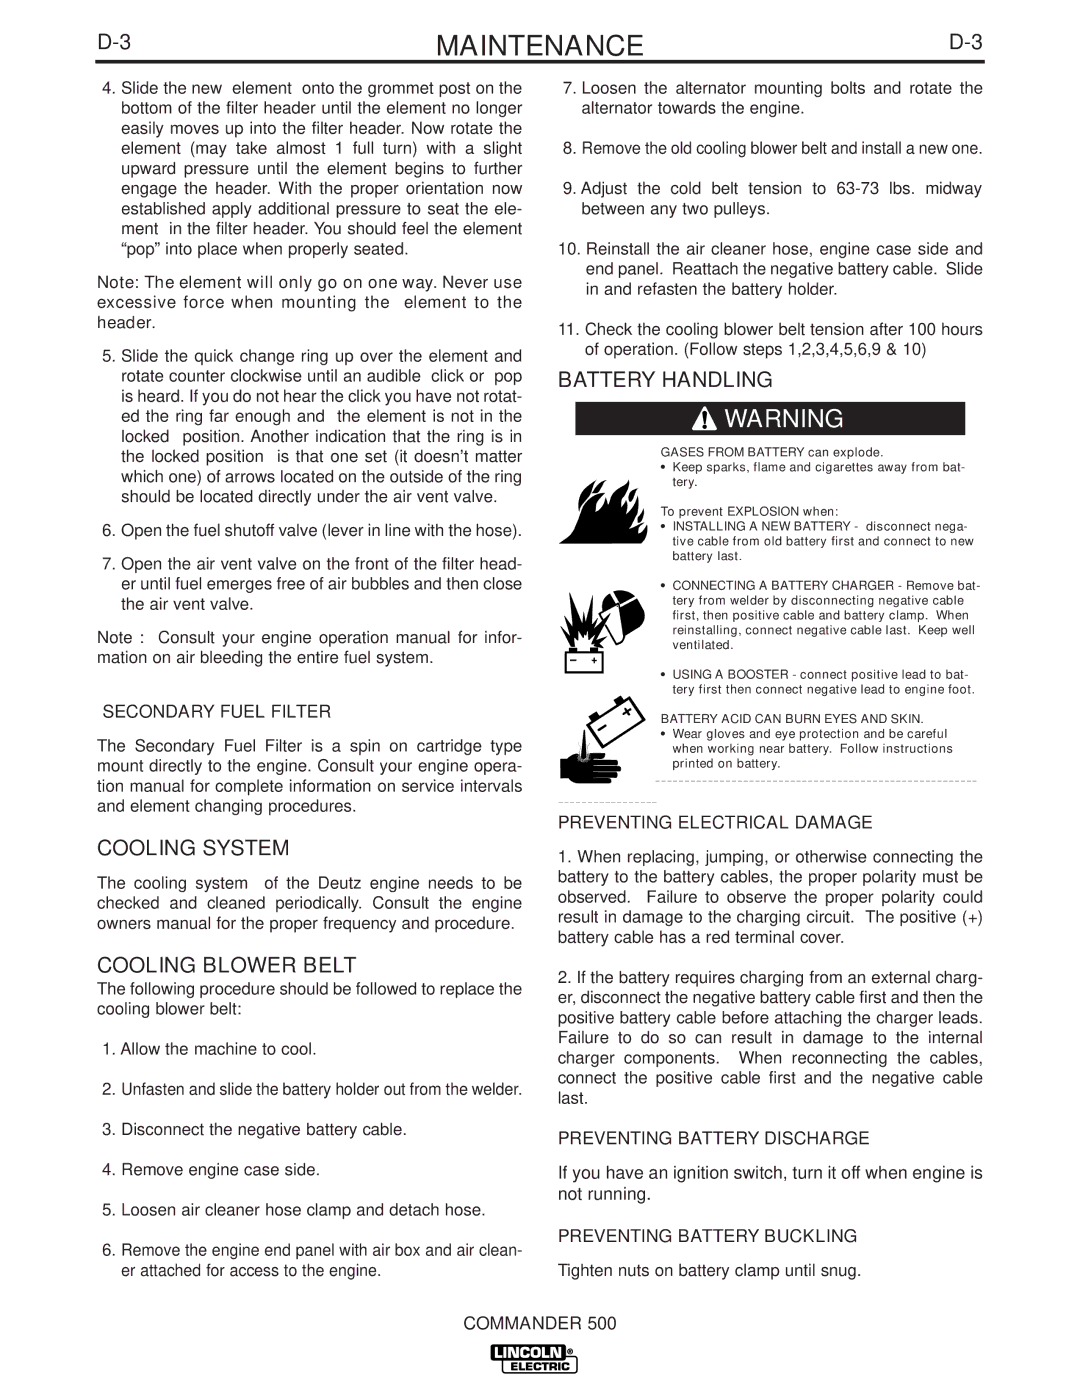
Lincoln Electric 500 manual Cooling System Cooling Blower Belt, Battery Handling

500 specifications

The Lincoln Electric 500 is a hallmark of innovation in arc welding technology, designed to cater to the rigorous demands of both industrial applications and serious hobbyist projects. This powerful machine is known for its reliability, versatility, and user-friendly design, making it an essential tool for professional welders and those looking to tackle various welding tasks with ease.

One of the standout features of the Lincoln Electric 500 is its robust power output. With a capability of up to 500 amps, it can handle a wide range of welding processes, including Stick, TIG, and MIG welding. This flexibility allows welders to use the machine for different types of metals, including steel, stainless steel, and aluminum, making it suitable for diverse applications from automotive to construction industries.

The machine's digital interface enhances user experience by providing precise control over the welding parameters. The intuitive display allows for easy adjustments of voltage and wire speed, ensuring optimal welding conditions are achieved. This feature is especially beneficial for beginners who may require additional support as they learn the intricacies of welding.

The Lincoln Electric 500 is also equipped with advanced technologies that enhance efficiency and welding quality. One such technology is the inverter system, which optimizes the power source for superior arc stability and improved penetration. This results in cleaner welds with minimal spatter, reducing the need for post-welding cleanup. Furthermore, the machine’s duty cycle is impressive, meaning it can operate for extended periods without overheating, a critical factor in high-production environments.

Another significant characteristic of the Lincoln Electric 500 is its portability. Weighing in at a manageable level and designed with built-in carrying handles, it’s easy to transport between job sites. This feature is particularly valuable for mobile welders who need to work in various locations.

Safety is paramount in welding operations, and the Lincoln Electric 500 integrates various safety features designed to protect the user. Overload protection and thermal overload indicators help prevent damage to the machine and injury to the operator, ensuring a reliable and safe working environment.

Overall, the Lincoln Electric 500 stands out not only for its performance but also for its thoughtful engineering that prioritizes user safety, comfort, and versatility. It is a dependable choice for anyone looking to produce high-quality welds while enjoying the benefits of advanced welding technology.