Section D
Barrel Assemblies
All barrels are rated at 100% duty cycle
Barrels
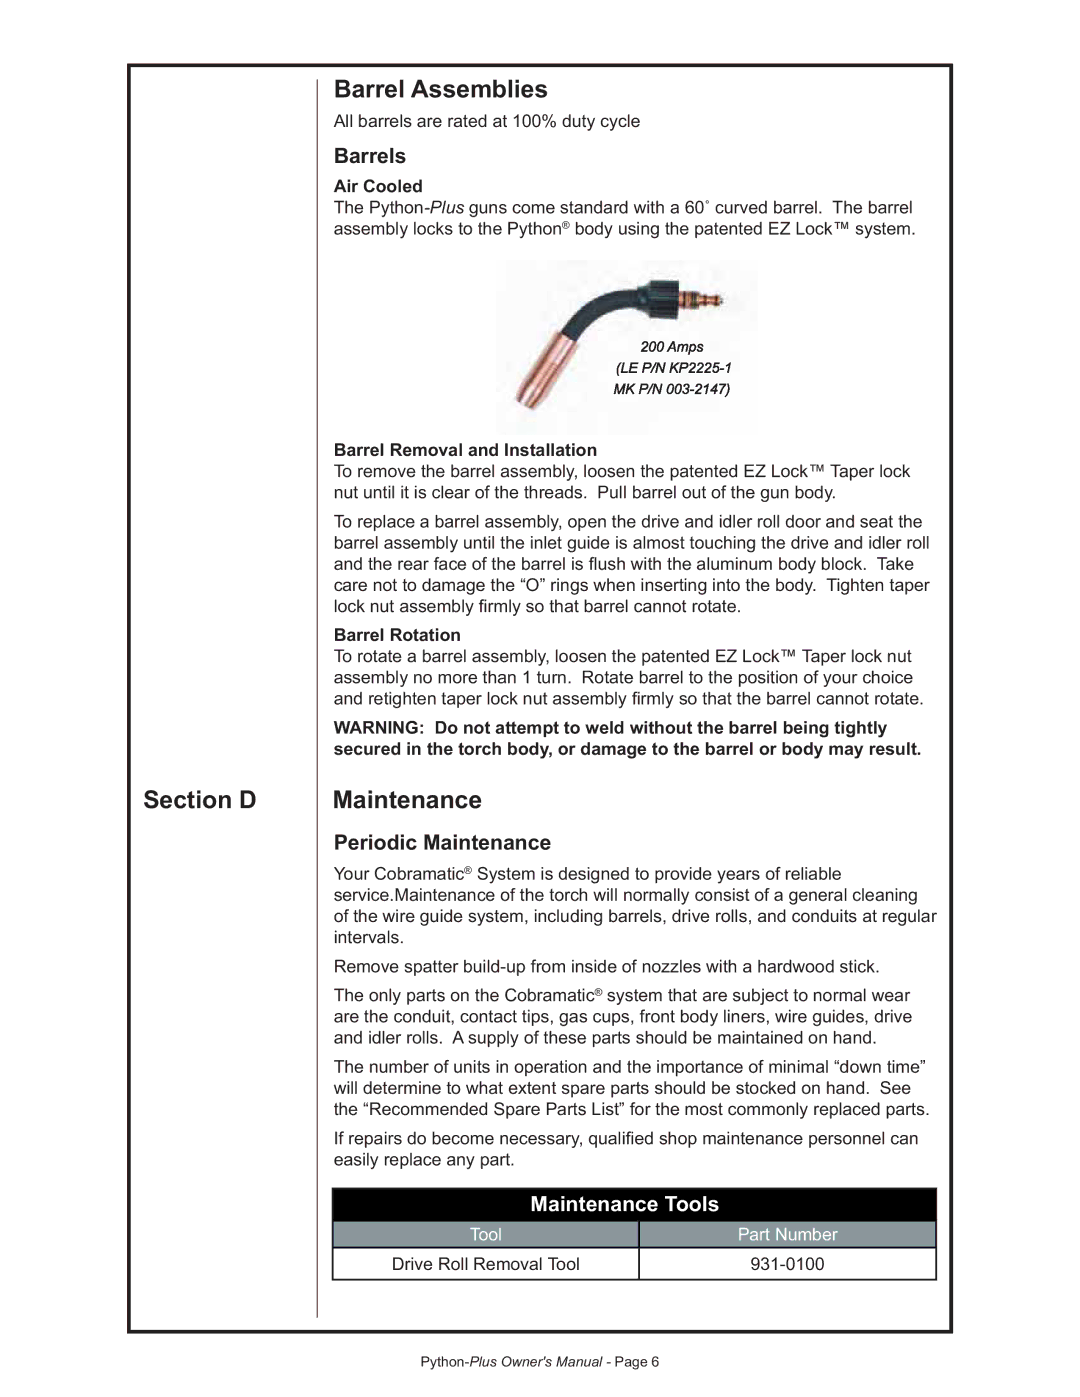
Air Cooled
The
Barrel Removal and Installation
To remove the barrel assembly, loosen the patented EZ Lock™ Taper lock nut until it is clear of the threads. Pull barrel out of the gun body.
To replace a barrel assembly, open the drive and idler roll door and seat the barrel assembly until the inlet guide is almost touching the drive and idler roll and the rear face of the barrel is flush with the aluminum body block. Take care not to damage the “O” rings when inserting into the body. Tighten taper lock nut assembly fi rmly so that barrel cannot rotate.
Barrel Rotation
To rotate a barrel assembly, loosen the patented EZ Lock™ Taper lock nut assembly no more than 1 turn. Rotate barrel to the position of your choice and retighten taper lock nut assembly firmly so that the barrel cannot rotate.
WARNING: Do not attempt to weld without the barrel being tightly secured in the torch body, or damage to the barrel or body may result.
Maintenance
Periodic Maintenance
Your Cobramatic® System is designed to provide years of reliable service.Maintenance of the torch will normally consist of a general cleaning of the wire guide system, including barrels, drive rolls, and conduits at regular intervals.
Remove spatter
The only parts on the Cobramatic® system that are subject to normal wear are the conduit, contact tips, gas cups, front body liners, wire guides, drive and idler rolls. A supply of these parts should be maintained on hand.
The number of units in operation and the importance of minimal “down time” will determine to what extent spare parts should be stocked on hand. See the “Recommended Spare Parts List” for the most commonly replaced parts.
If repairs do become necessary, qualified shop maintenance personnel can easily replace any part.
Maintenance Tools
Tool | Part Number |
Drive Roll Removal Tool |
