MAINTENANCE | ||
|
|
|
9. Untape and remove the insulation.
10.Separate the torch head from the cable using two 5/8" open end wrenches.
11.Replace the torch head or cable assembly as fol- lows:
a.To replace the torch head, remove the fitting from the old torch head by using a 5/8" open end wrench and a 7/16" open end wrench. Discard the old torch head and obtain a new torch head. Place the fitting on the new torch head and tighten with the wrenches.
b. For replacing the cable assembly, slide the insulating tube, barrel, strain relief and boot off of the old cable. Obtain a new cable and dis- card the old cable. If the boot becomes sepa- rated from the strain relief, insert the boot under the fingers of the strain relief before sliding the parts onto the new cable. Slide the following
parts on to the new cable in this order: Boot and strain relief, barrel, insulating tube.
12.Assembly the torch head to the cable and tighten the fittings using two 5/8" open end wrenches.
13.Attach the insulation sheet as follows:
a.Use a piece of electrical tape to attach the insu- lation to the fitting. Center the insulation so that all of the fittings and the hose clamp will be completely covered.
b.Tightly wrap the insulation sheet around the fit- tings and underneath the stem for the pilot con- nection of the torch head. Secure the insulation in place with two pieces of electrical tape.
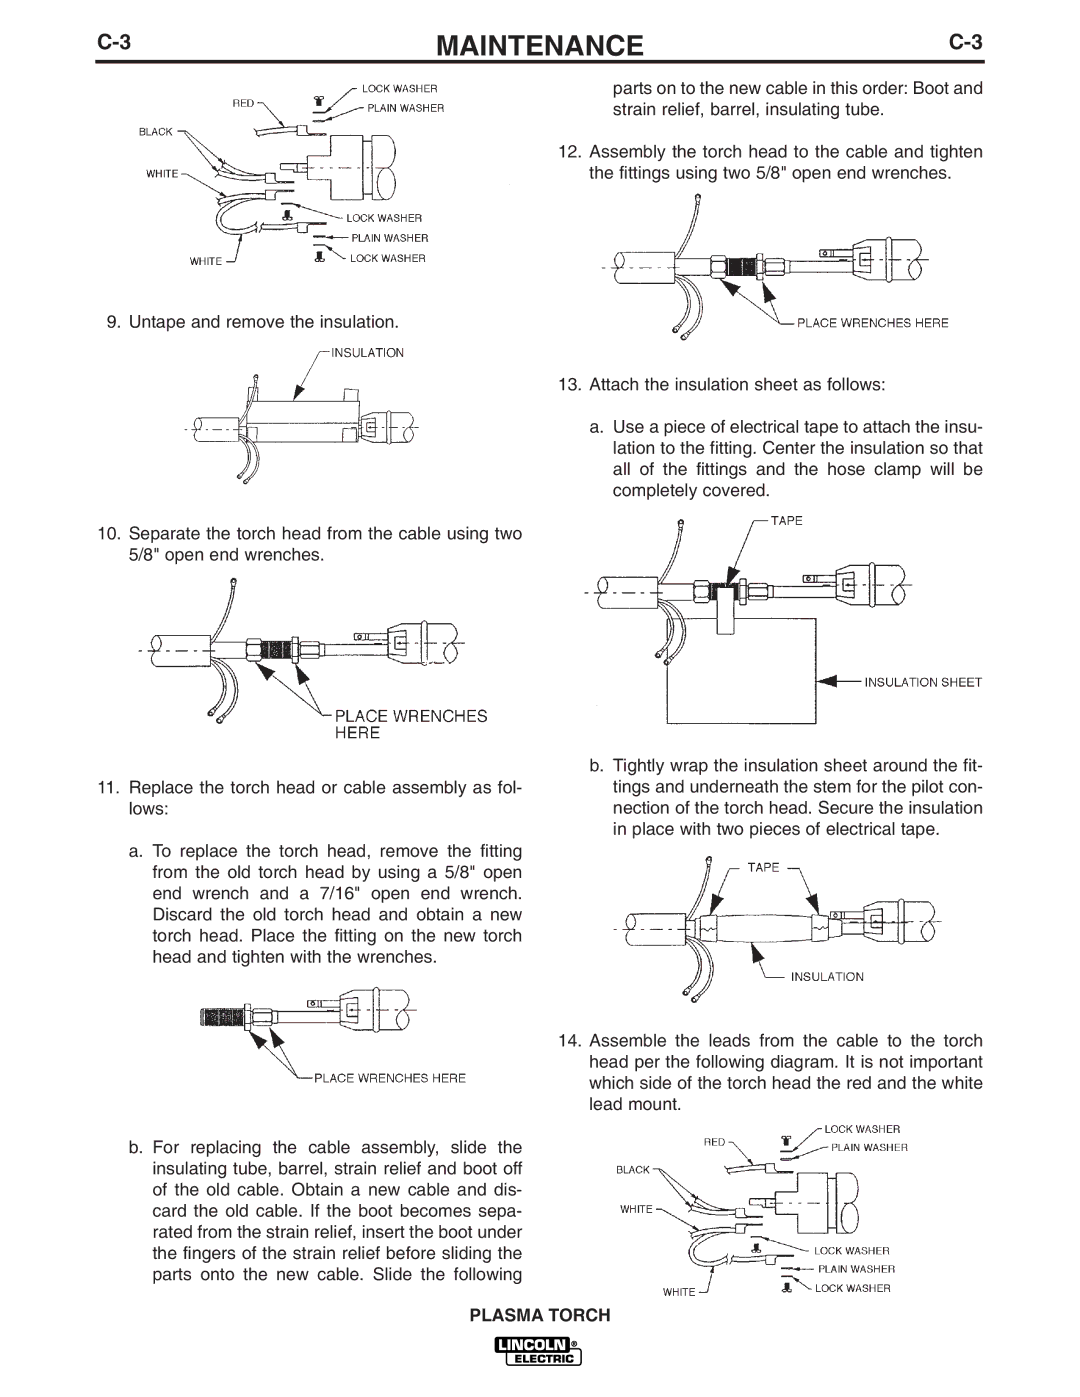
14.Assemble the leads from the cable to the torch head per the following diagram. It is not important which side of the torch head the red and the white lead mount.
PLASMA TORCH