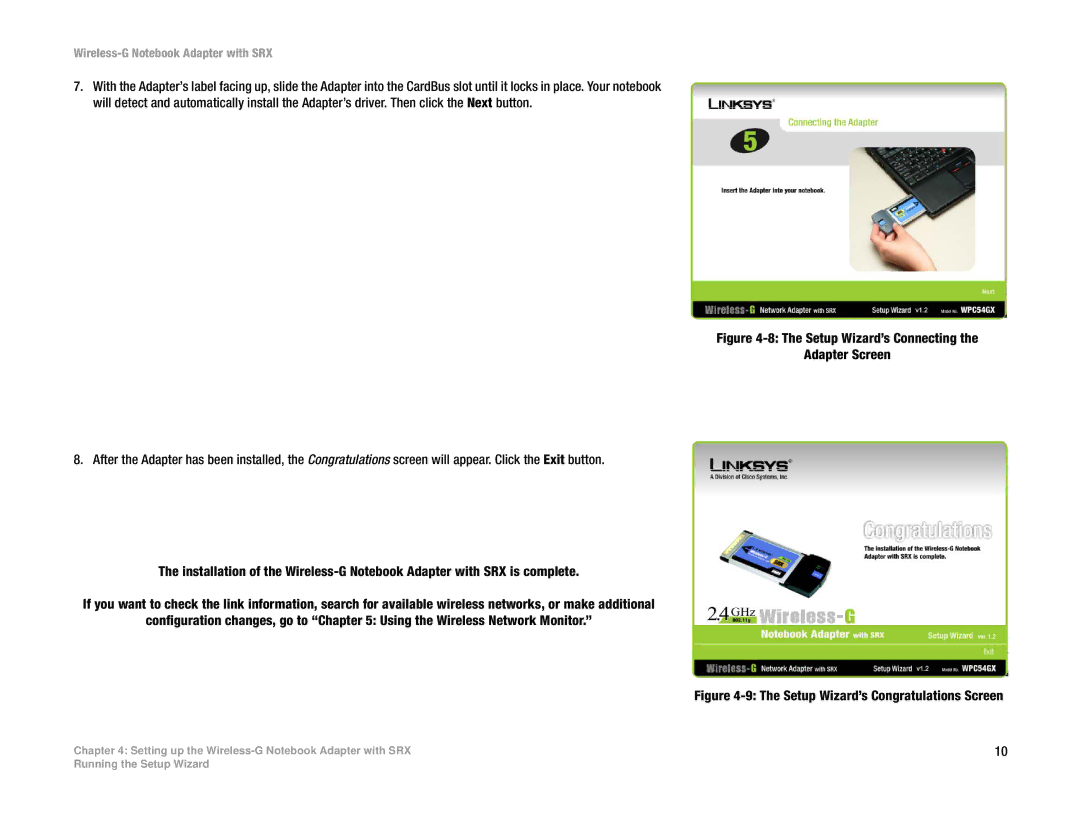
7.With the Adapter’s label facing up, slide the Adapter into the CardBus slot until it locks in place. Your notebook will detect and automatically install the Adapter’s driver. Then click the Next button.
Figure 4-8: The Setup Wizard’s Connecting the
Adapter Screen
8. After the Adapter has been installed, the Congratulations screen will appear. Click the Exit button.
The installation of the Wireless-G Notebook Adapter with SRX is complete.
If you want to check the link information, search for available wireless networks, or make additional
configuration changes, go to “Chapter 5: Using the Wireless Network Monitor.”
Figure 4-9: The Setup Wizard’s Congratulations Screen
Chapter 4: Setting up the | 10 |
Running the Setup Wizard
