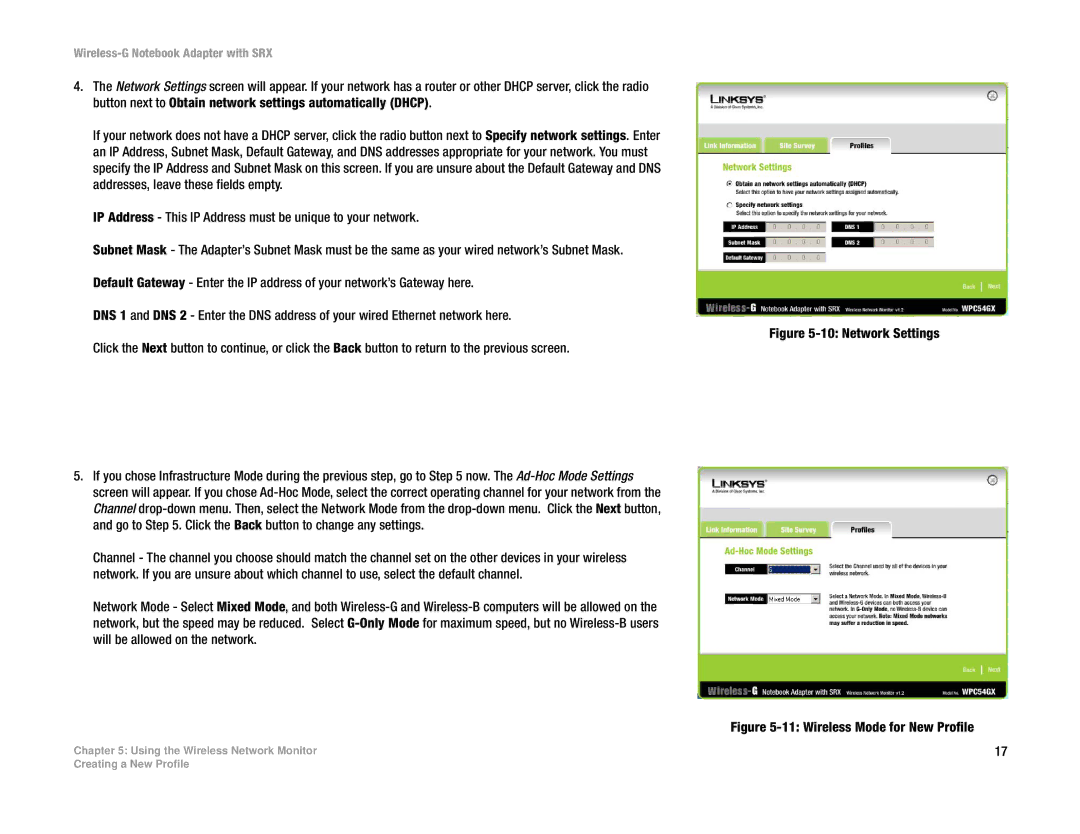
4.The Network Settings screen will appear. If your network has a router or other DHCP server, click the radio button next to Obtain network settings automatically (DHCP).
If your network does not have a DHCP server, click the radio button next to Specify network settings. Enter an IP Address, Subnet Mask, Default Gateway, and DNS addresses appropriate for your network. You must specify the IP Address and Subnet Mask on this screen. If you are unsure about the Default Gateway and DNS addresses, leave these fields empty.
IP Address - This IP Address must be unique to your network.
Subnet Mask - The Adapter’s Subnet Mask must be the same as your wired network’s Subnet Mask. Default Gateway - Enter the IP address of your network’s Gateway here.
DNS 1 and DNS 2 - Enter the DNS address of your wired Ethernet network here.
Figure 5-10: Network Settings
Click the Next button to continue, or click the Back button to return to the previous screen.
5.If you chose Infrastructure Mode during the previous step, go to Step 5 now. The
Channel - The channel you choose should match the channel set on the other devices in your wireless network. If you are unsure about which channel to use, select the default channel.
Network Mode - Select Mixed Mode, and both
Figure 5-11: Wireless Mode for New Profile
Chapter 5: Using the Wireless Network Monitor | 17 |
Creating a New Profile