Chapter 3
Advanced Configuration
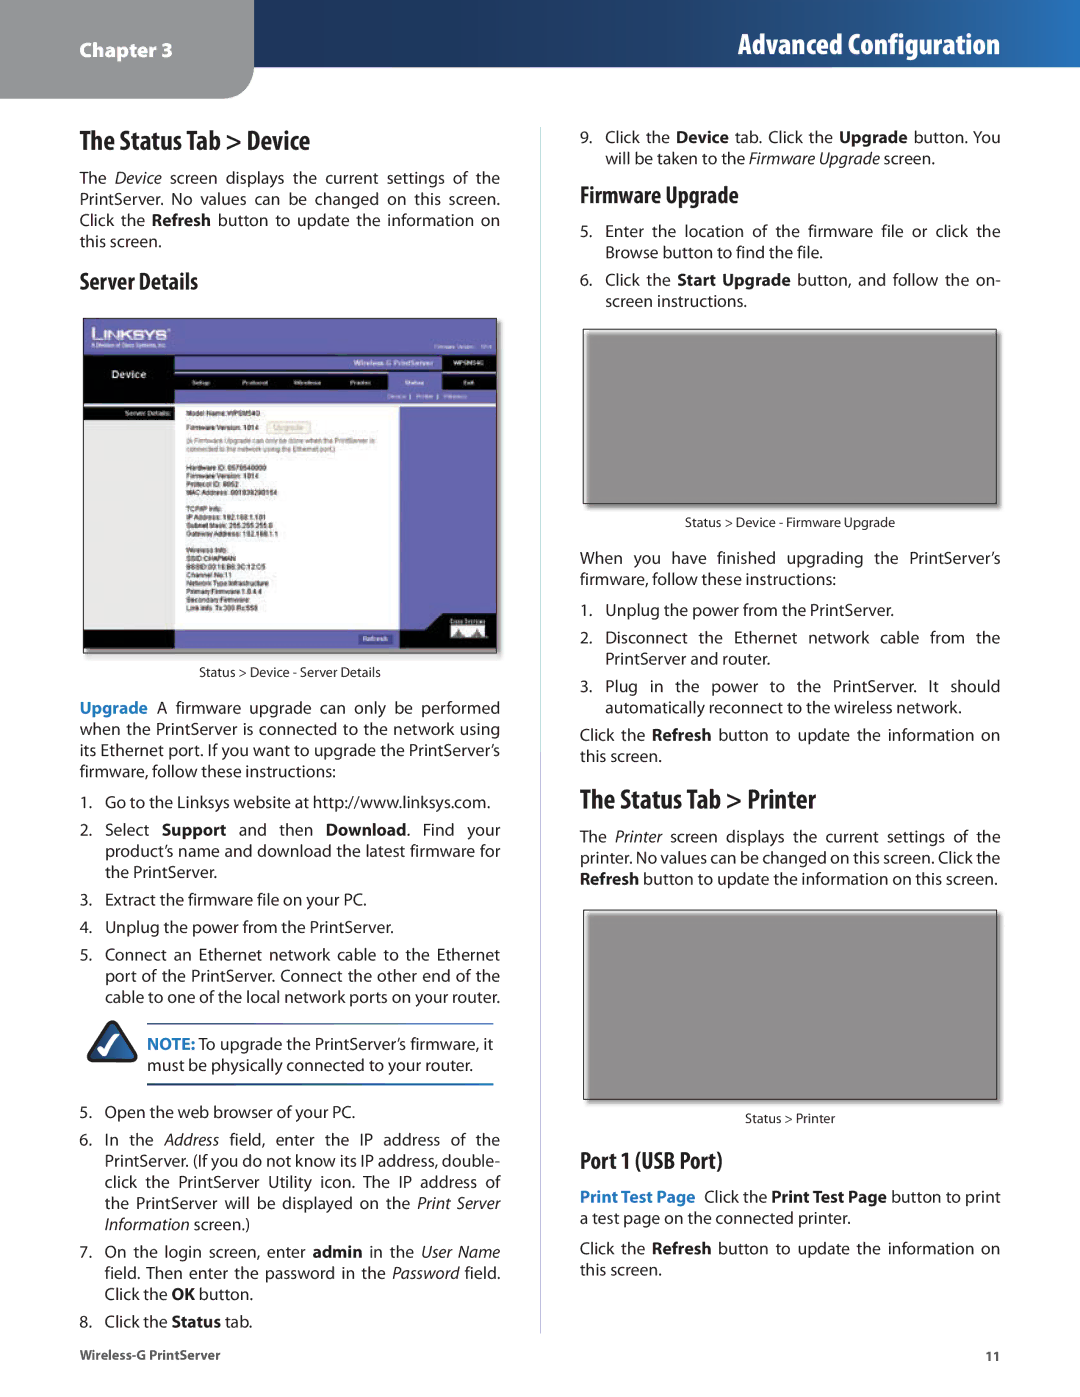
The Status Tab > Device
The Device screen displays the current settings of the PrintServer. No values can be changed on this screen. Click the Refresh button to update the information on this screen.
Server Details
Status > Device - Server Details
Upgrade A firmware upgrade can only be performed when the PrintServer is connected to the network using its Ethernet port. If you want to upgrade the PrintServer’s firmware, follow these instructions:
1.Go to the Linksys website at http://www.linksys.com.
2.Select Support and then Download. Find your product’s name and download the latest firmware for the PrintServer.
3.Extract the firmware file on your PC.
4.Unplug the power from the PrintServer.
5.Connect an Ethernet network cable to the Ethernet port of the PrintServer. Connect the other end of the cable to one of the local network ports on your router.
NOTE: To upgrade the PrintServer’s firmware, it must be physically connected to your router.
5.Open the web browser of your PC.
6.In the Address field, enter the IP address of the PrintServer. (If you do not know its IP address, double- click the PrintServer Utility icon. The IP address of the PrintServer will be displayed on the Print Server Information screen.)
7.On the login screen, enter admin in the User Name field. Then enter the password in the Password field. Click the OK button.
8.Click the Status tab.
9.Click the Device tab. Click the Upgrade button. You will be taken to the Firmware Upgrade screen.
Firmware Upgrade
5.Enter the location of the firmware file or click the Browse button to find the file.
6.Click the Start Upgrade button, and follow the on- screen instructions.
Status > Device - Firmware Upgrade
When you have finished upgrading the PrintServer’s firmware, follow these instructions:
1.Unplug the power from the PrintServer.
2.Disconnect the Ethernet network cable from the PrintServer and router.
3.Plug in the power to the PrintServer. It should automatically reconnect to the wireless network.
Click the Refresh button to update the information on this screen.
The Status Tab > Printer
The Printer screen displays the current settings of the printer. No values can be changed on this screen. Click the Refresh button to update the information on this screen.
Status > Printer
Port 1 (USB Port)
Print Test Page Click the Print Test Page button to print a test page on the connected printer.
Click the Refresh button to update the information on this screen.
11 |