Chapter 1
Product Overview
Chapter 1:
Product Overview
Thank you for choosing the Linksys
Front Panel
USB (Green/Orange) The USB LED lights up green when there is a printer connected to the USB port. It flashes green when the PrintServer is sending data through the USB port. The LED lights up orange when there is a problem with the printer.
Wireless (Green) The Wireless LED lights up when there is a wireless connection. It flashes when the PrintServer is sending or receiving data over the wireless network.
Ethernet (Green/Orange) The Ethernet LED lights up green when the PrintServer is connected to a device through the Ethernet port. It flashes green when the PrintServer is sending or receiving data over that port. It flashes orange when collisions are detected on the Ethernet port.
Power (Green/Orange) The Power LED lights up green when the PrintServer is ready for use. It flashes green when the PrintServer is booting up, a system
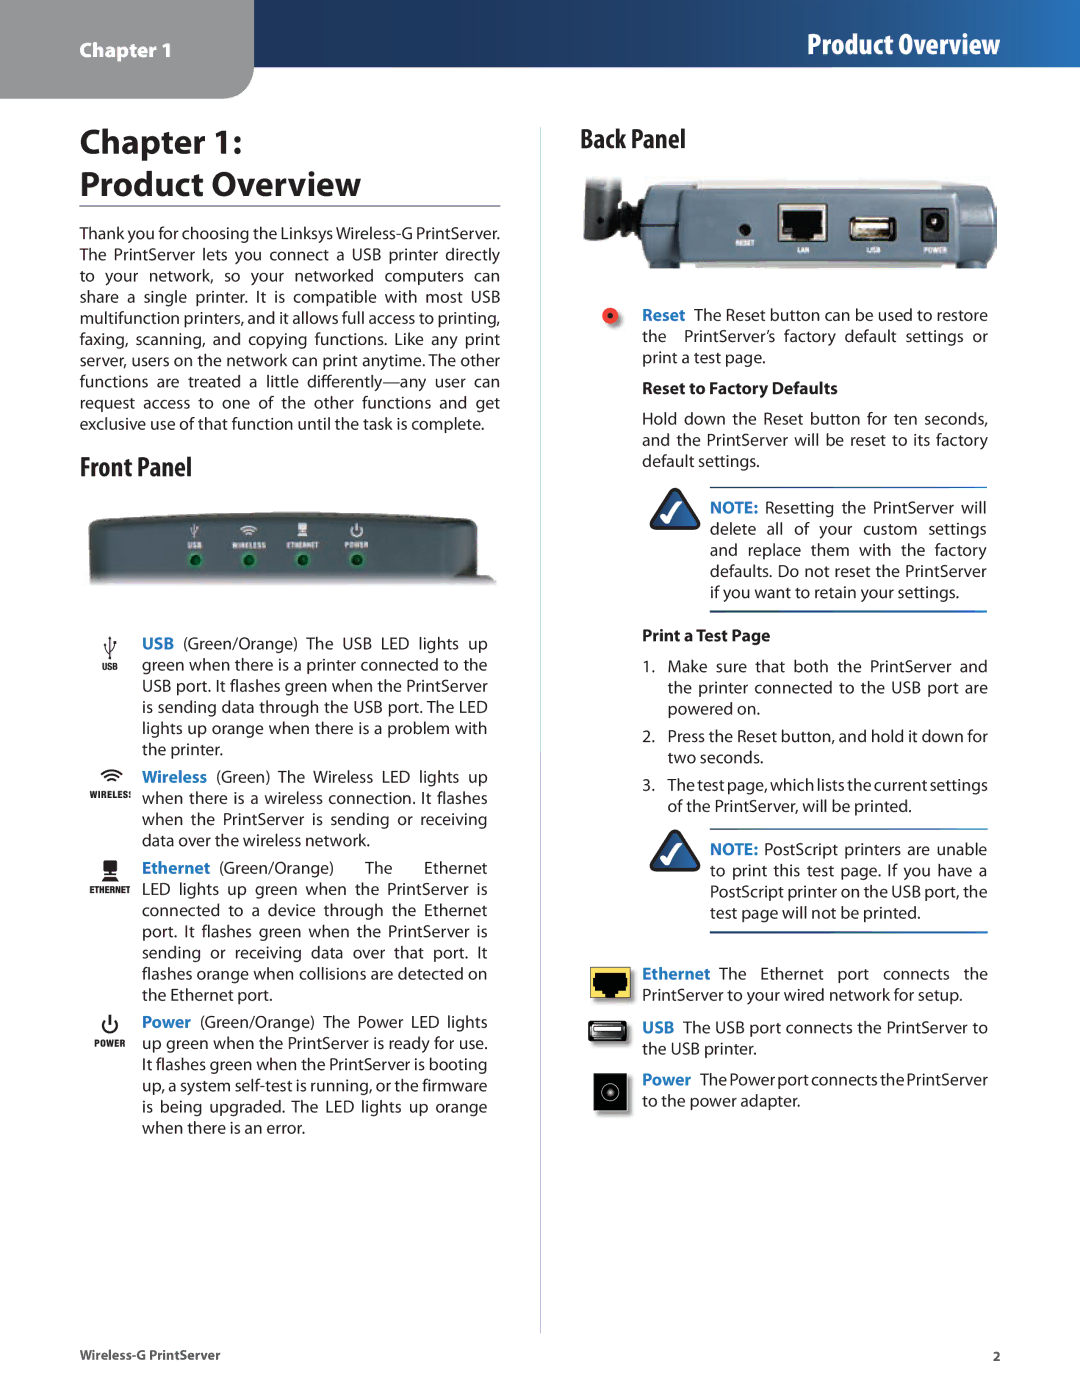
Back Panel
Reset The Reset button can be used to restore the PrintServer’s factory default settings or print a test page.
Reset to Factory Defaults
Hold down the Reset button for ten seconds, and the PrintServer will be reset to its factory default settings.
NOTE: Resetting the PrintServer will delete all of your custom settings and replace them with the factory defaults. Do not reset the PrintServer if you want to retain your settings.
Print a Test Page
1.Make sure that both the PrintServer and the printer connected to the USB port are powered on.
2.Press the Reset button, and hold it down for two seconds.
3.The test page, which lists the current settings of the PrintServer, will be printed.
NOTE: PostScript printers are unable to print this test page. If you have a PostScript printer on the USB port, the test page will not be printed.
Ethernet The Ethernet port connects the PrintServer to your wired network for setup.
USB The USB port connects the PrintServer to the USB printer.
Power The Power port connects the PrintServer to the power adapter.
2 |