Chapter 3
Advanced Configuration
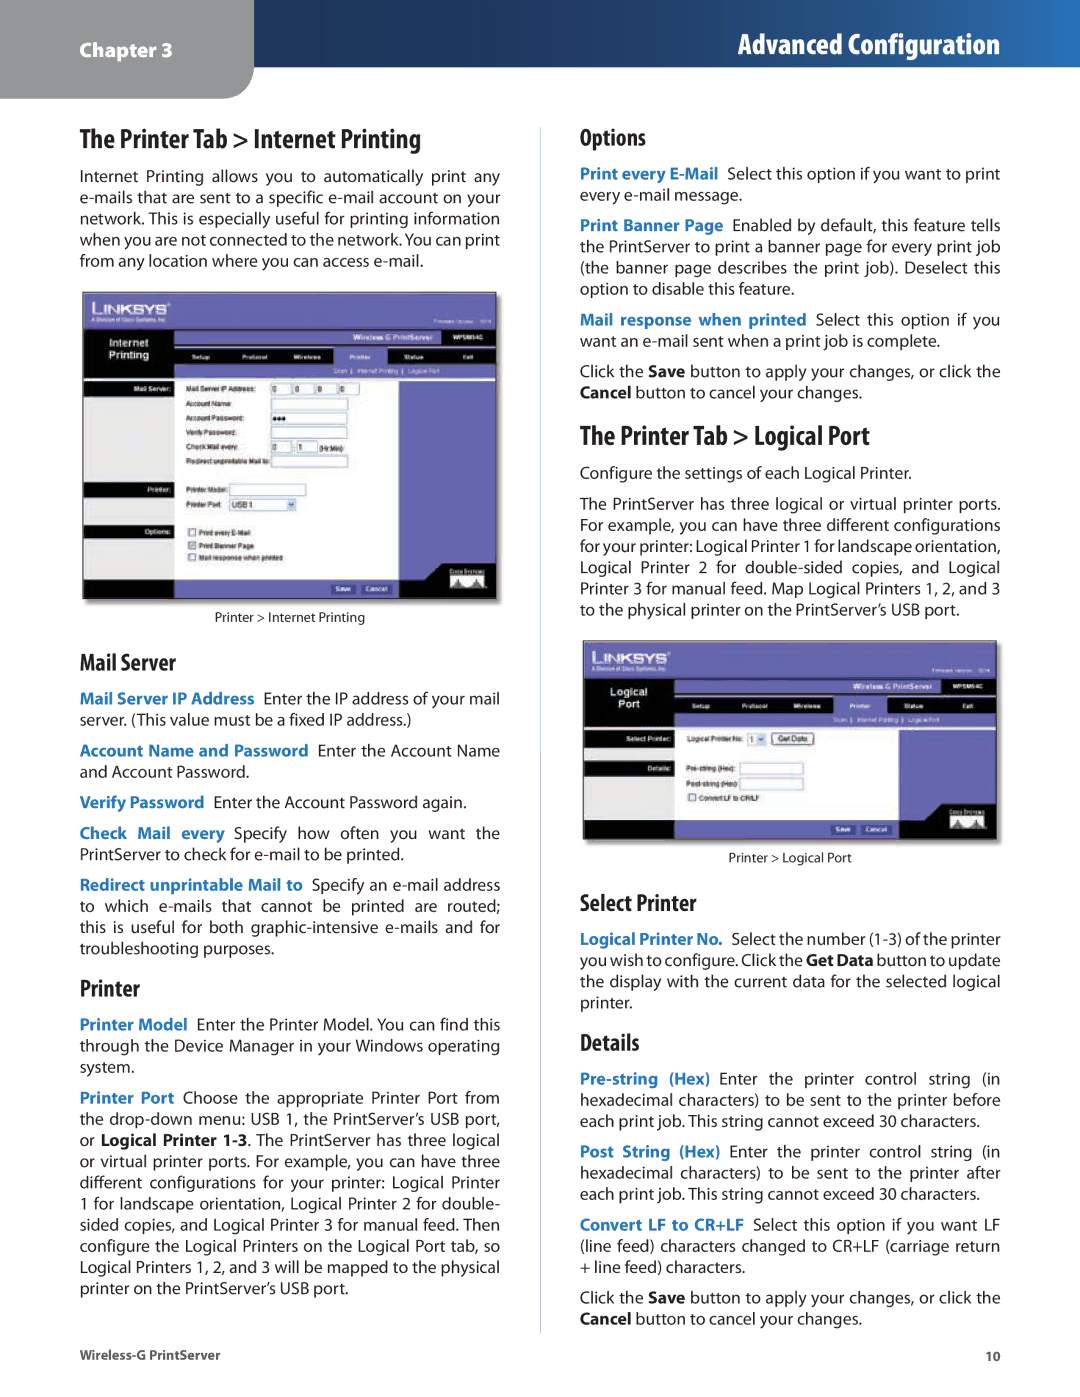
The Printer Tab > Internet Printing
Internet Printing allows you to automatically print any
Printer > Internet Printing
Mail Server
Mail Server IP Address Enter the IP address of your mail server. (This value must be a fixed IP address.)
Account Name and Password Enter the Account Name and Account Password.
Verify Password Enter the Account Password again.
Check Mail every Specify how often you want the PrintServer to check for
Redirect unprintable Mail to Specify an
Printer
Printer Model Enter the Printer Model. You can find this through the Device Manager in your Windows operating system.
Printer Port Choose the appropriate Printer Port from the
Options
Print every
Print Banner Page Enabled by default, this feature tells the PrintServer to print a banner page for every print job (the banner page describes the print job). Deselect this option to disable this feature.
Mail response when printed Select this option if you want an
Click the Save button to apply your changes, or click the Cancel button to cancel your changes.
The Printer Tab > Logical Port
Configure the settings of each Logical Printer.
The PrintServer has three logical or virtual printer ports. For example, you can have three different configurations for your printer: Logical Printer 1 for landscape orientation, Logical Printer 2 for
Printer > Logical Port
Select Printer
Logical Printer No. Select the number
Details
Post String (Hex) Enter the printer control string (in hexadecimal characters) to be sent to the printer after each print job. This string cannot exceed 30 characters.
Convert LF to CR+LF Select this option if you want LF (line feed) characters changed to CR+LF (carriage return + line feed) characters.
Click the Save button to apply your changes, or click the Cancel button to cancel your changes.
10 |