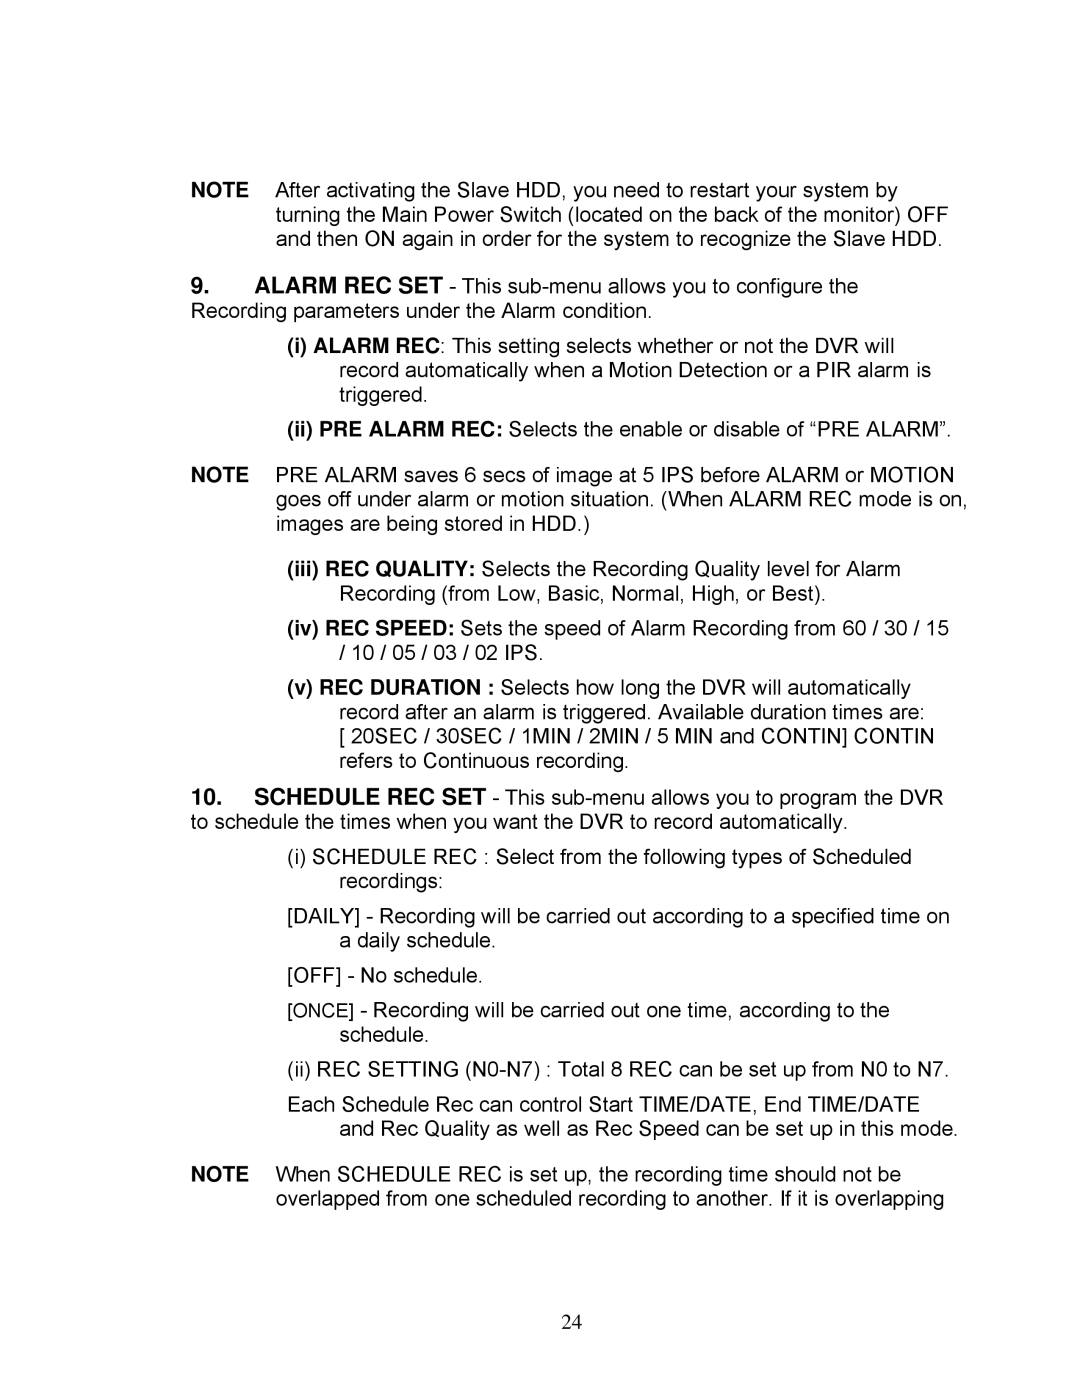
DXR43000 Series specifications
The LOREX Technology DXR43000 Series is a cutting-edge security camera system designed for both residential and commercial environments. This series is characterized by advanced technology, exceptional image quality, and versatile functionality, making it an ideal choice for those looking to enhance their security surveillance.One of the standout features of the DXR43000 Series is its impressive 4K Ultra HD resolution. With four times the resolution of 1080p, users can expect crystal-clear images, allowing for finer details to be captured and recorded. This level of clarity is crucial for identifying faces, license plates, and other important details in various lighting conditions.
The DXR43000 Series supports a range of advanced technologies, including HDR (High Dynamic Range). This feature enables the cameras to perform optimally in contrasting light conditions, such as bright sunlight and deep shadows. As a result, users can view high-quality footage without the risk of overexposure or loss of detail in darker areas.
Another hallmark of the DXR43000 Series is its extensive night vision capabilities. With advanced infrared technology, these cameras can capture clear images even in pitch-black environments. This is particularly important for those seeking round-the-clock surveillance, as it ensures that security is maintained at all hours, day or night.
The system is designed with flexibility in mind, offering a variety of camera options, including indoor and outdoor models. The cameras are also weatherproof and built to withstand various environmental conditions, making them suitable for deployment in diverse settings.
LOREX has incorporated user-friendly features within the DXR43000 Series, such as remote access through a mobile app. This functionality allows users to monitor their properties in real-time from anywhere, giving them peace of mind while on the go. Additionally, the system supports smart notifications, alerting users to any detected motion or unusual activity.
For those concerned with storage, the DXR43000 Series offers extensive storage options. Users have the ability to store footage on local hard drives or utilize cloud storage solutions for added security and accessibility.
In summary, the LOREX Technology DXR43000 Series is a robust security solution noted for its 4K Ultra HD resolution, HDR technology, exceptional night vision, and user-friendly features. Its versatility makes it suitable for a wide range of applications, ensuring that users can effectively safeguard their properties with confidence.
