Connecting The Camera
Connecting The Camera
•Before you install the camera, carefully plan where and how it will be positioned,andwhereyouwillroutethecablethatconnectsthecamera to the power adapter.
•Before starting permanent installation, verify its performance by observing the image on a monitor when camera is positioned in the same location/position where it will be permanently installed.
Installation Warnings
•Aim the Cameras to best optimize the viewing area: Select a location for the camera that provides a clear view of the area you want to monitor, which is free from dust, and is not in
•Avoid installing the cameras where there are thick walls or obstructions between the Cameras and the Receiver*.
•Select a location for the camera that has an ambient temperature between 14°F~122°F
•For outdoor use, installation under a shelter is recommended.
*Avoid installing in a location which requires the wireless signal to pass through cement, concrete, and metal structures. This will reduce the range of transmission.
For details, see “Appendix C: Facts About Digital Wireless Cameras” on page 11.
Camera Setup
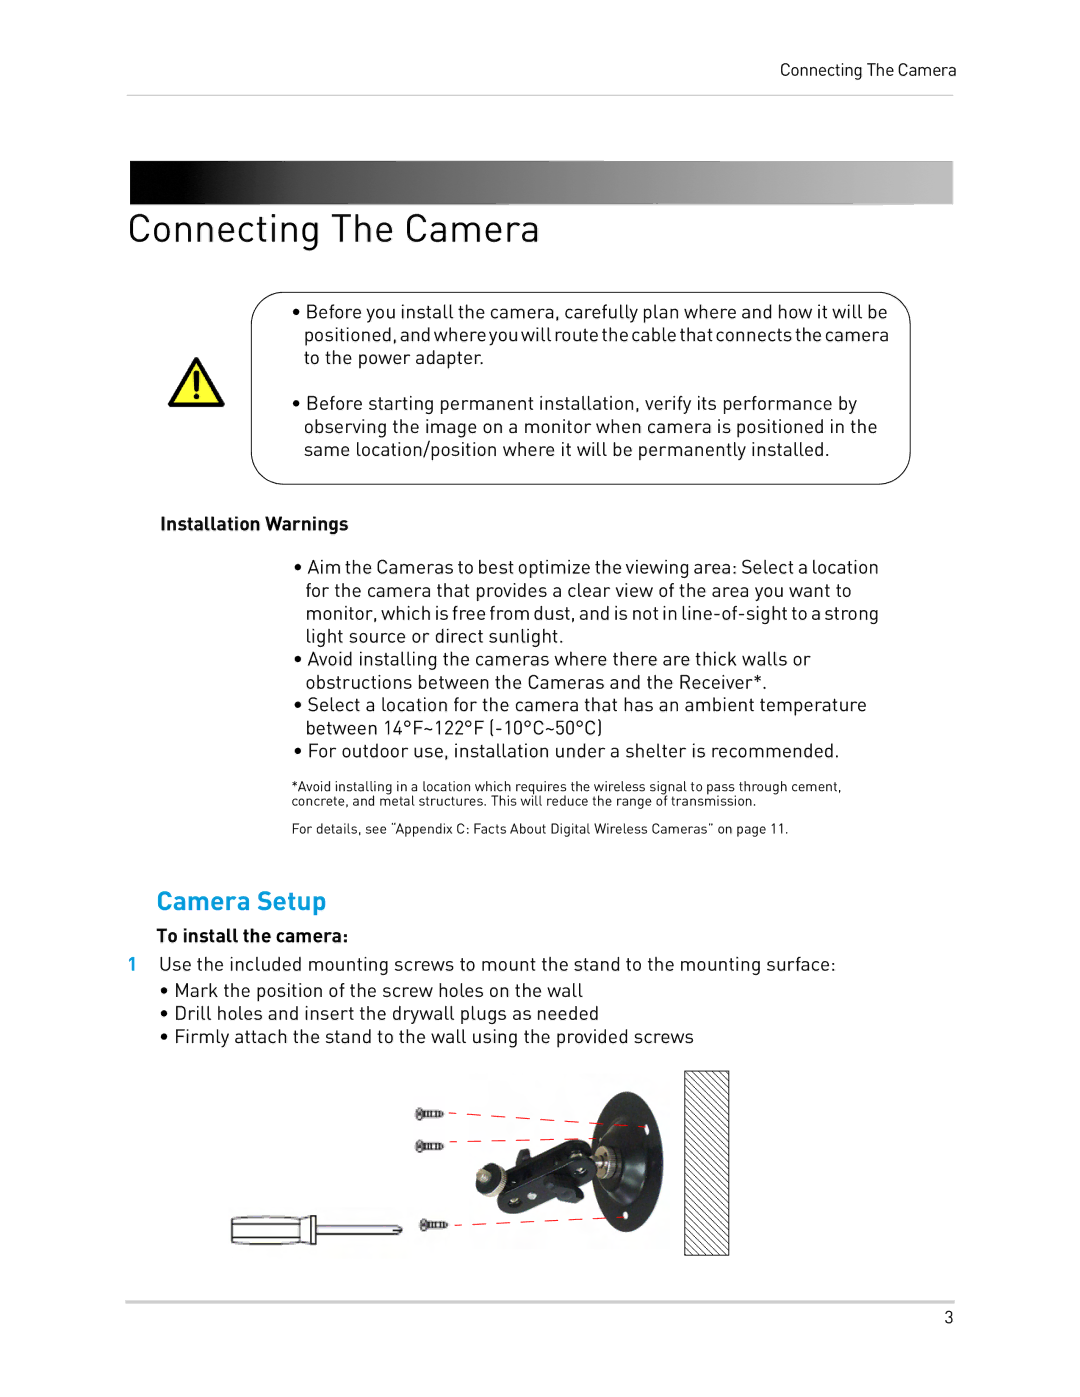
To install the camera:
1Use the included mounting screws to mount the stand to the mounting surface:
•Mark the position of the screw holes on the wall
•Drill holes and insert the drywall plugs as needed
•Firmly attach the stand to the wall using the provided screws
3