
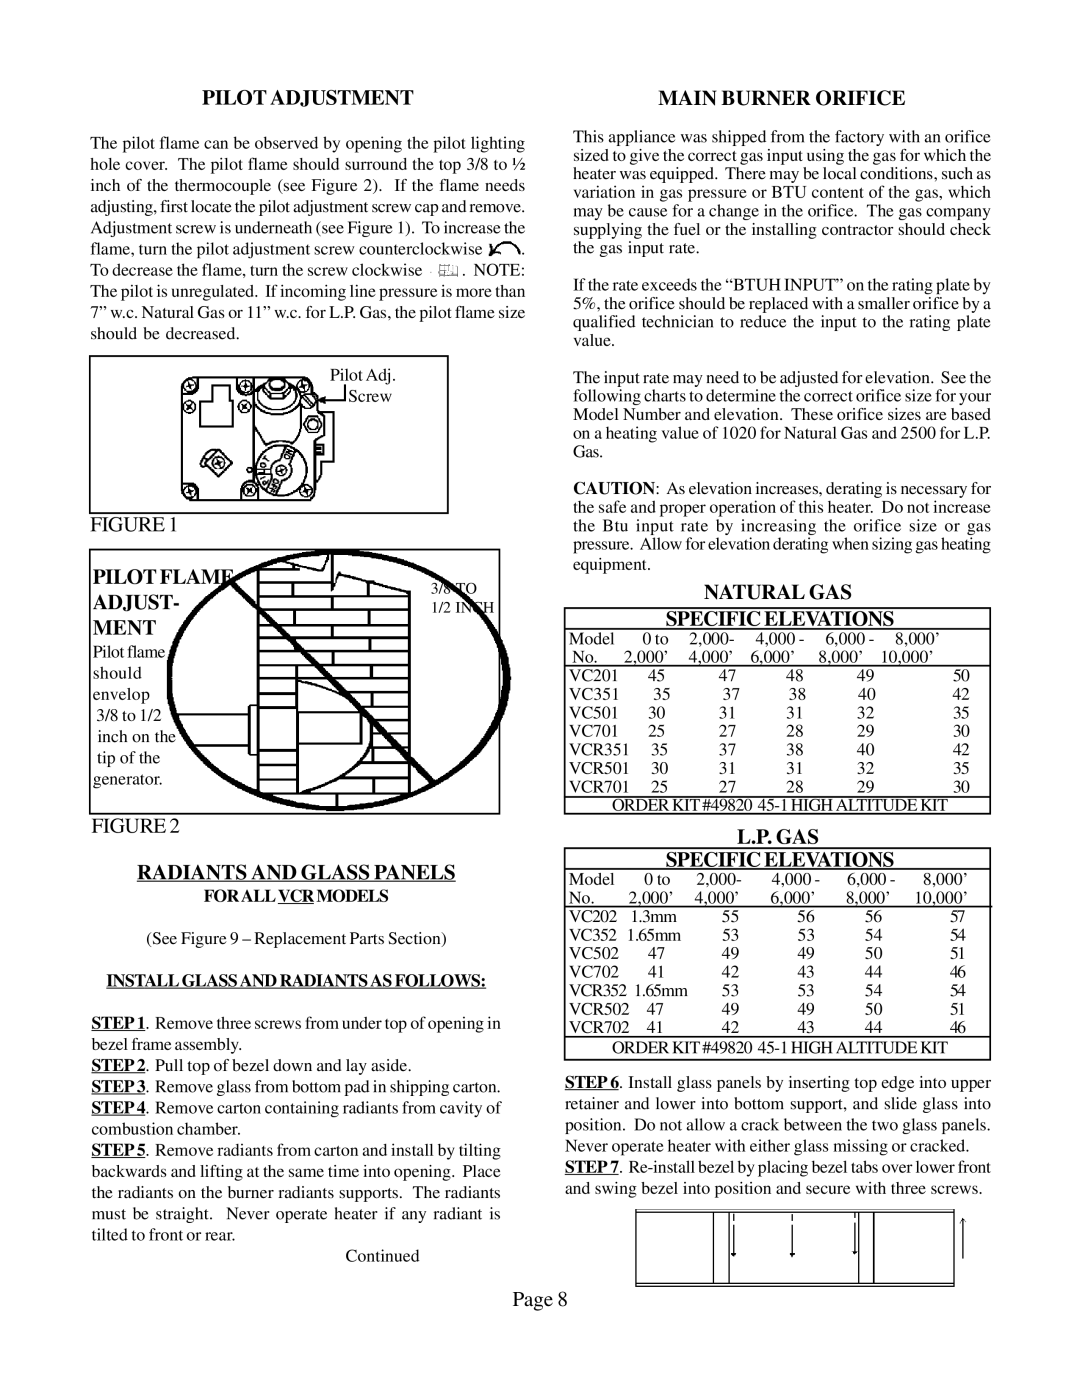
VC352A, VC202A, VC502A, VC701A, VCR501A specifications
The Louisville Tin and Stove line of products, featuring models like the VC501A, VC201A, VC351A, VCR701A, and VC352A, presents a comprehensive range of high-performance heating solutions designed for efficiency, durability, and user comfort. Each model is tailored to meet diverse needs, from residential heating to more specialized applications, while maintaining a commitment to quality and innovation.Starting with the VC501A, this model is particularly noted for its impressive heating capacity, making it suitable for larger spaces. It incorporates advanced combustion technologies that maximize fuel efficiency, ensuring longer burn times and reduced emissions. Users can enjoy customizable temperature settings, enhancing comfort in any environment.
The VC201A model offers a compact design, optimized for smaller areas without compromising on performance. Its straightforward controls allow for easy operation, making it ideal for those looking to heat a single room or supplement their main heating system. The sleek design ensures that it seamlessly fits into various home decors while maintaining effective heating capabilities.
Moving to the VC351A, this model is distinguished by its dual-fuel capability, allowing users to switch between propane and natural gas. This flexibility not only caters to different user preferences but also enhances reliability, particularly during power outages. The generous viewing window provided by this model adds an aesthetic touch while allowing users to enjoy the ambiance of the flames.
The VCR701A stands out with its robust build quality, designed to withstand rugged conditions. This model is ideal for those who require a heater that can function efficiently in more demanding environments, such as workshops or garages. Its high-efficiency technology minimizes energy consumption while delivering substantial heat output, making it both economical and effective.
Finally, the VC352A rounds out the lineup with its advanced safety features. This model includes an automatic shut-off mechanism that engages in case of overheating or fuel supply interruption, giving users peace of mind. Additionally, its environmentally friendly design meets the latest emissions standards, making it a responsible choice for conscientious consumers.
In summary, the Louisville Tin and Stove models VC501A, VC201A, VC351A, VCR701A, and VC352A bring together innovative technologies, user-focused designs, and reliable performance. Whether for home, workshop, or specialty applications, these models cater to various heating demands, providing warmth, comfort, and safety to users.