8. HARDWARE SETUP OPTIONS
NOTE:
All of the settings, options, and components listed in the following section are located on the rear of the thermostat, on the circuit board.
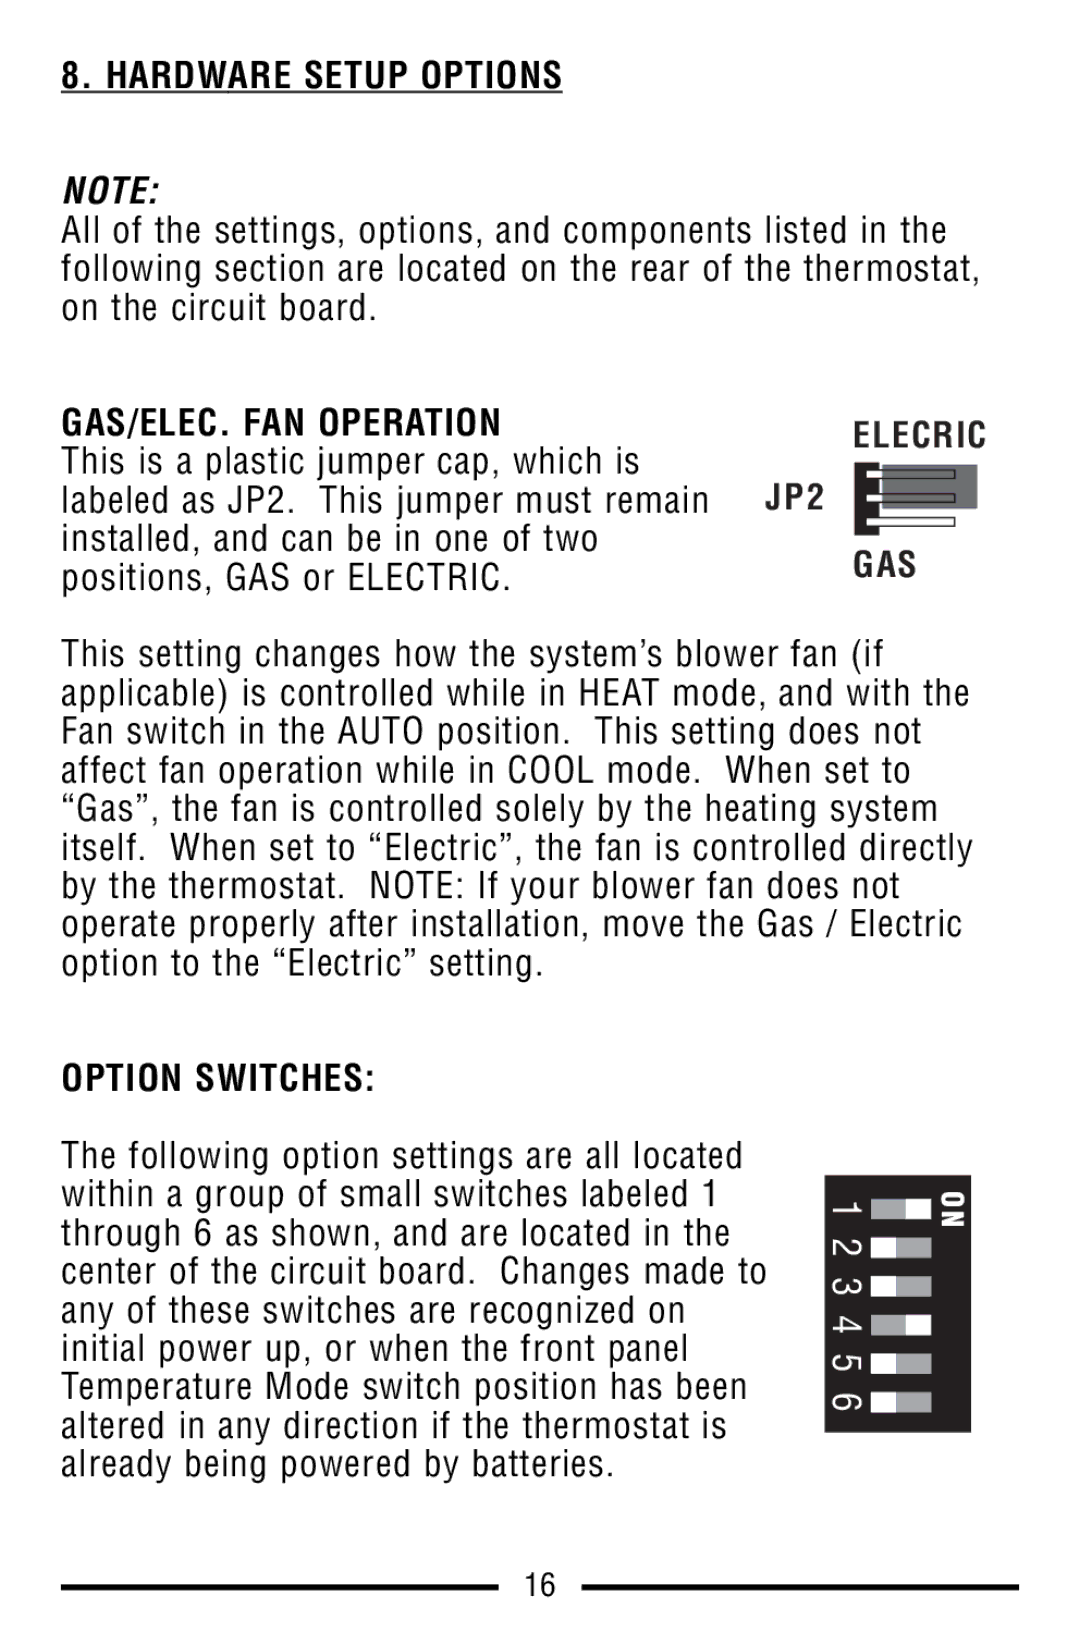
GAS/ELEC. FAN OPERATION | ELECRIC | |||
This is a plastic jumper cap, which is | ||||
|
|
| ||
labeled as JP2. This jumper must remain JP2 |
|
|
| |
|
|
| ||
installed, and can be in one of two |
|
|
| |
GAS | ||||
positions, GAS or ELECTRIC. | ||||
|
|
| ||
This setting changes how the system’s blower fan (if applicable) is controlled while in HEAT mode, and with the Fan switch in the AUTO position. This setting does not affect fan operation while in COOL mode. When set to “Gas”, the fan is controlled solely by the heating system itself. When set to “Electric”, the fan is controlled directly by the thermostat. NOTE: If your blower fan does not operate properly after installation, move the Gas / Electric option to the “Electric” setting.
OPTION SWITCHES:
The following option settings are all located within a group of small switches labeled 1 through 6 as shown, and are located in the center of the circuit board. Changes made to any of these switches are recognized on initial power up, or when the front panel Temperature Mode switch position has been altered in any direction if the thermostat is already being powered by batteries.
1 |
| ON |
| ||
2 |
|
|
3 |
|
|
|
| |
4 |
|
|
|
| |
5 |
|
|
|
| |
6 |
|
|
|
| |
|
|
|
16