3.Remove the body from the thermostat’s base by pressing the thumb latch at the bottom center of the unit and swinging the body away from the base.
NOTE:
If you are mounting the base to soft material like plasterboard or if you are using the old mounting holes, the screws may not hold. Drill a 3/16 in. (4.8mm) hole at each screw, and insert the plastic anchors provided.
4.Hold the base against the wall. Route the wires through the hole below the terminal block. Position the base for best appearance (to hide any marks from an old thermostat). Attach the base to the wall with the two screws provided.
7.WIRING INFORMATION AND DIAGRAMS CONNECTING THE WIRES
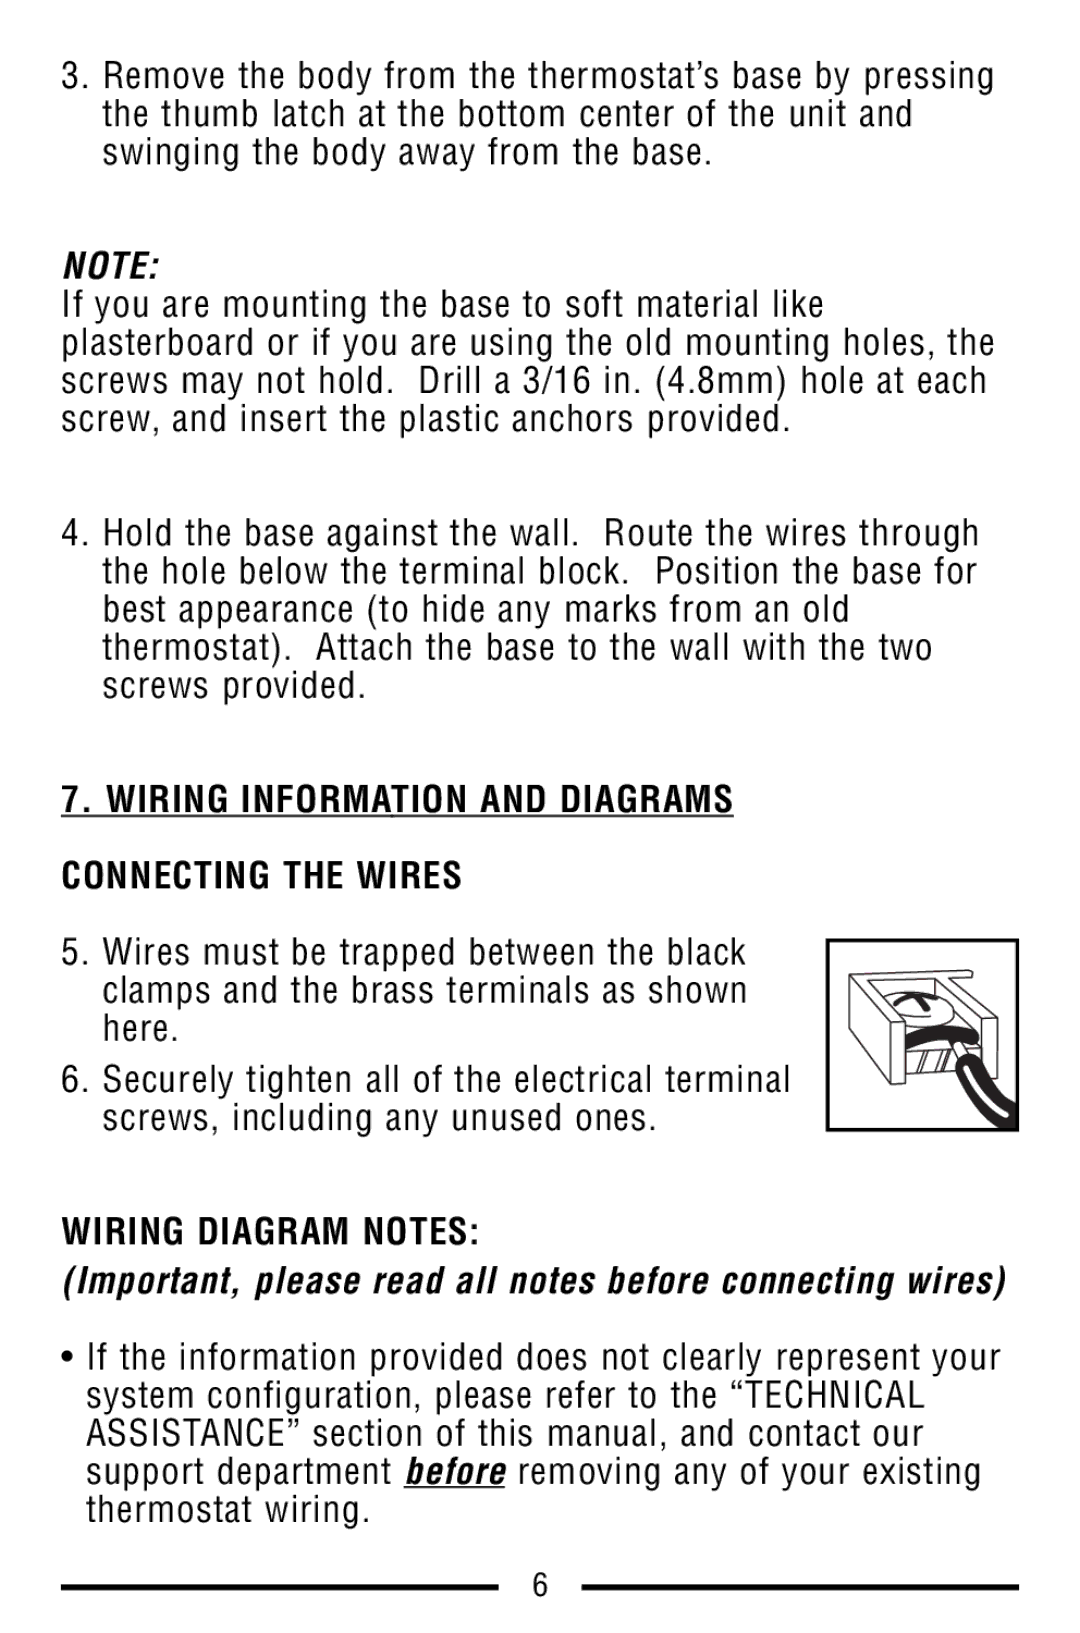
5. Wires must be trapped between the black clamps and the brass terminals as shown here.
6. Securely tighten all of the electrical terminal screws, including any unused ones.
WIRING DIAGRAM NOTES:
(Important, please read all notes before connecting wires)
•If the information provided does not clearly represent your system configuration, please refer to the “TECHNICAL ASSISTANCE” section of this manual, and contact our support department before removing any of your existing thermostat wiring.
6