Nail head
Nail shank ![]()
![]()
![]() Nail tip
Nail tip ![]()
Magnet | |
Nail |
|
Nail guide | Contact arm |
| |
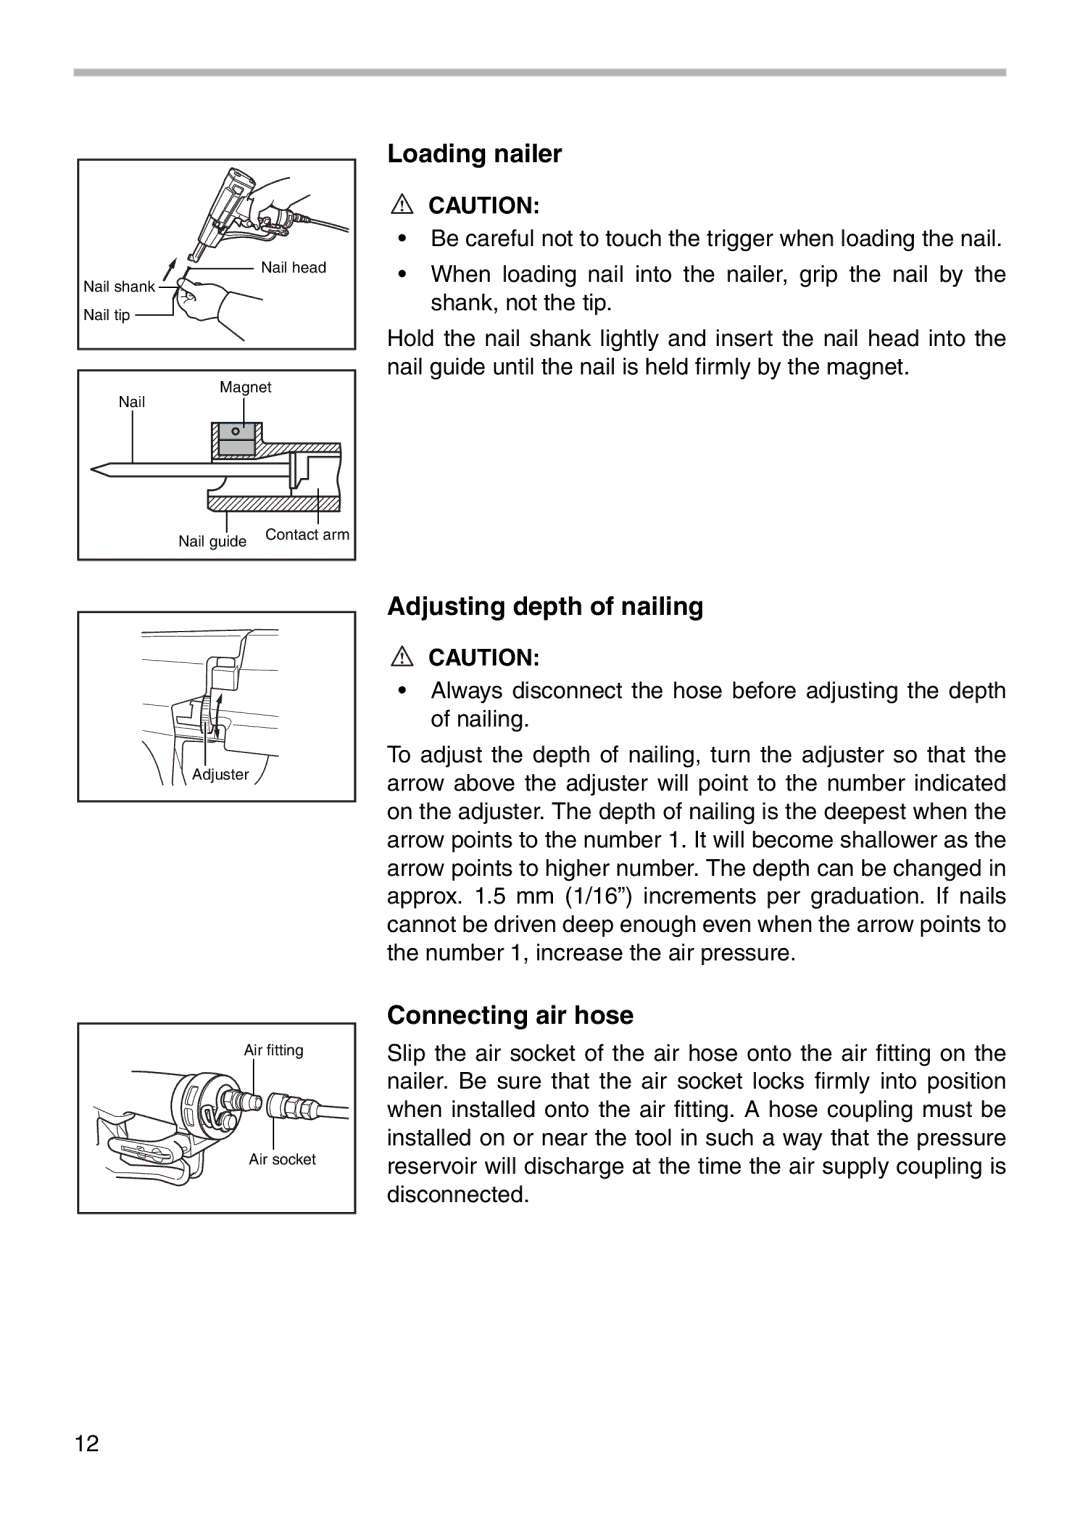
Loading nailer
CAUTION:
•Be careful not to touch the trigger when loading the nail.
•When loading nail into the nailer, grip the nail by the shank, not the tip.
Hold the nail shank lightly and insert the nail head into the nail guide until the nail is held firmly by the magnet.
Adjuster ![]()
Air fitting
Air socket
Adjusting depth of nailing
CAUTION:
•Always disconnect the hose before adjusting the depth of nailing.
To adjust the depth of nailing, turn the adjuster so that the arrow above the adjuster will point to the number indicated on the adjuster. The depth of nailing is the deepest when the arrow points to the number 1. It will become shallower as the arrow points to higher number. The depth can be changed in approx. 1.5 mm (1/16”) increments per graduation. If nails cannot be driven deep enough even when the arrow points to the number 1, increase the air pressure.
Connecting air hose
Slip the air socket of the air hose onto the air fitting on the nailer. Be sure that the air socket locks firmly into position when installed onto the air fitting. A hose coupling must be installed on or near the tool in such a way that the pressure reservoir will discharge at the time the air supply coupling is disconnected.
12