Overheat protection for tool
When the tool is overheated, the tool stops automatically and the battery indicator shows following state. In this situation, let the tool cool before turning the tool on again.
Battery indicator |
|
| On |
|
|
| Off |
|
| Blinking |
|
|
|
|
|
|
| ||||
|
|
|
|
|
|
| ||||
|
|
|
|
|
|
|
|
|
|
|
|
|
|
| Tool is overheated | ||||||
|
|
|
|
|
|
|
|
|
|
|
015176
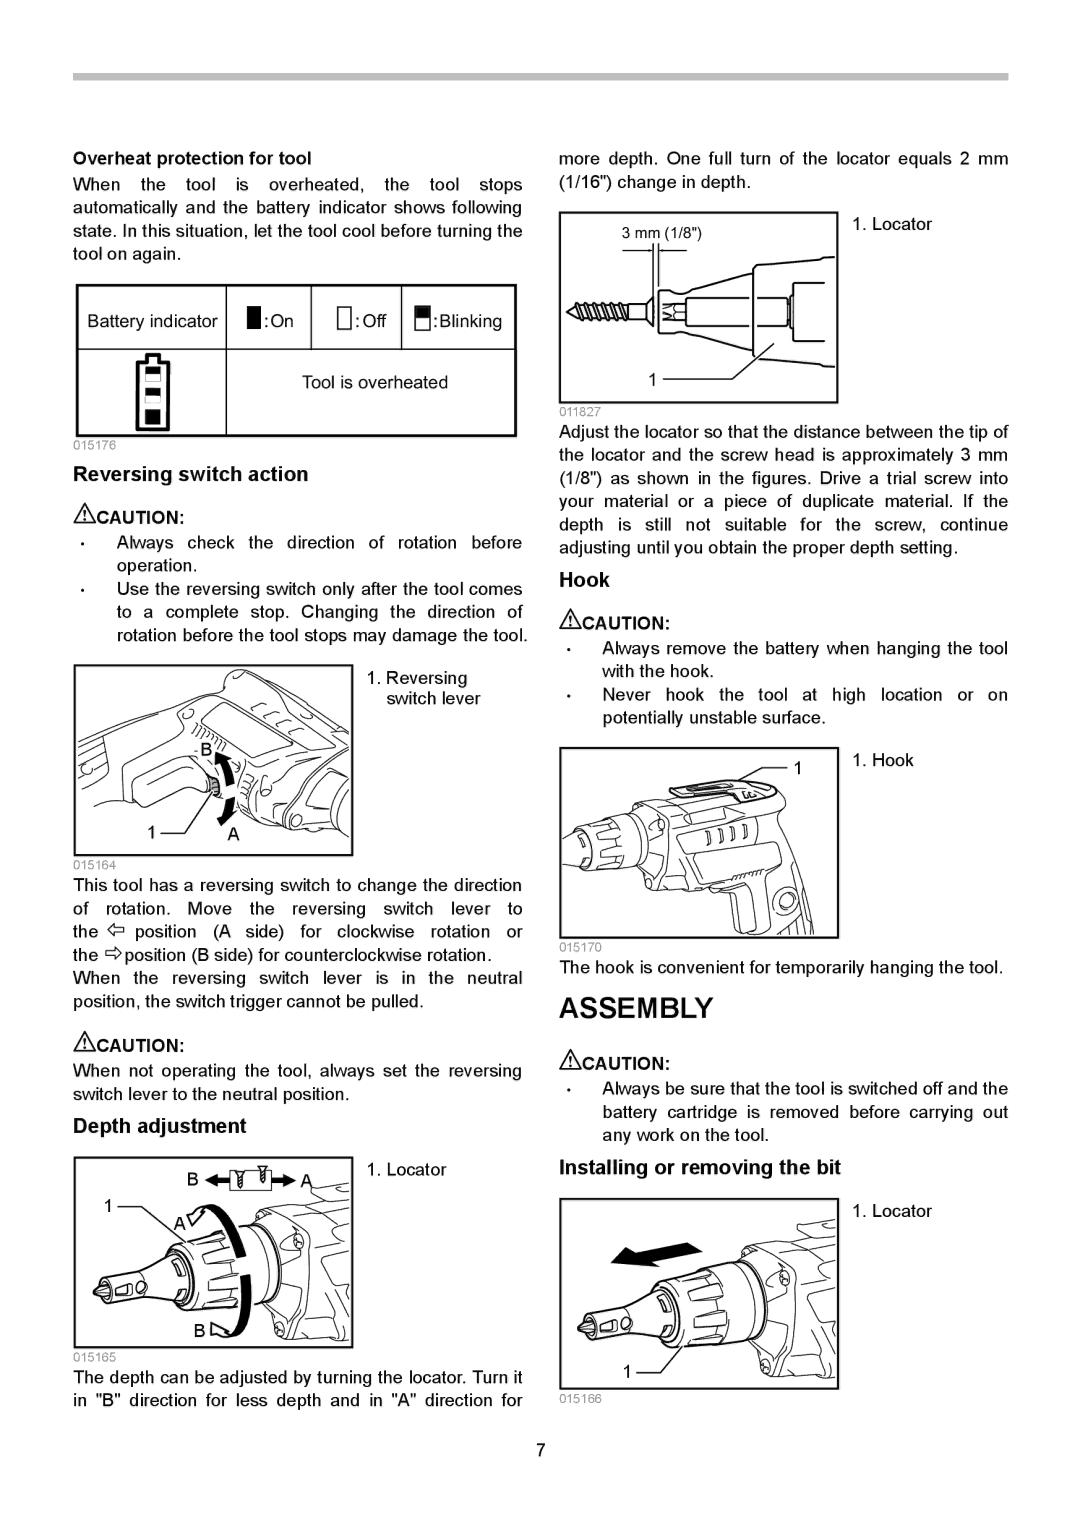
Reversing switch action
![]() CAUTION:
CAUTION:
•Always check the direction of rotation before operation.
•Use the reversing switch only after the tool comes to a complete stop. Changing the direction of rotation before the tool stops may damage the tool.
1.Reversing switch lever
B
1![]() A
A
015164
This tool has a reversing switch to change the direction of rotation. Move the reversing switch lever to
the ![]() position (A side) for clockwise rotation or the
position (A side) for clockwise rotation or the ![]() position (B side) for counterclockwise rotation. When the reversing switch lever is in the neutral position, the switch trigger cannot be pulled.
position (B side) for counterclockwise rotation. When the reversing switch lever is in the neutral position, the switch trigger cannot be pulled.
![]() CAUTION:
CAUTION:
When not operating the tool, always set the reversing switch lever to the neutral position.
Depth adjustment
B | A | 1. Locator |
| ||
1 |
|
|
A |
|
|
B |
|
|
015165 |
|
|
The depth can be adjusted by turning the locator. Turn it in "B" direction for less depth and in "A" direction for
more depth. One full turn of the locator equals 2 mm (1/16") change in depth.
3 mm (1/8") | 1. Locator |
| |
1 |
|
011827 |
|
Adjust the locator so that the distance between the tip of the locator and the screw head is approximately 3 mm (1/8") as shown in the figures. Drive a trial screw into your material or a piece of duplicate material. If the depth is still not suitable for the screw, continue adjusting until you obtain the proper depth setting.
Hook
| CAUTION: |
|
• | Always remove the battery when hanging the tool | |
| with the hook. |
|
• | Never hook the tool at high location or on | |
| potentially unstable surface. |
|
|
| 1. Hook |
| 1 | |
|
| |
|
|
|
015170
The hook is convenient for temporarily hanging the tool.
ASSEMBLY
![]() CAUTION:
CAUTION:
•Always be sure that the tool is switched off and the battery cartridge is removed before carrying out any work on the tool.
Installing or removing the bit
1. Locator
1![]()
015166
7