FUNCTIONS | NAMES AND |
CONNECTIONS | BASIC |
OPERATIONS | BASIC |
CONNECTIONS | ADVANCED |
OPERATIONS | ADVANCED |
TROUBLESHOOTING | |
OTHERS | |
ENGLISH
FEATURES
SUPPORTS MP3 AND WMA FILE
PLAYBACK
MP3 and WMA files that have been recorded onto
WHILE PLAYING A DISC, FOUR OTHER DISCS CAN BE CHANGED
DIRECT DISC ACCESS BUTTON
Direct Disc Access button is equipped both on the front panel of the unit and on the remote controller for
VARIOUS PLAY MODES SUCH AS RANDOM, PROGRAM AND REPEAT
HEADPHONE JACK WITH VOLUME
5 SETS OF BUILT-IN REMOTE CONTROL CODES
Because there are 5 sets of
ALUMINUM FRONT PANEL
Hairline finish aluminum front panel is used for quality look.
BEFORE USING
EQUIPMENT MAINS
WORKING SETTING
Your Marantz product complies with the household power and safety requirements in your area.
This product can be powered by 120 V AC only.
INAPPROPRIATE PLACES
FOR INSTALLATION
To keep your unit in perfect working order for the longest possible time, avoid installing the unit in the following locations.
•Wherever it will be exposed to direct sunlight
•Wherever it will be close to a heater or other heat- radiating appliance
•Wherever the humidity is high or ventilation is poor
•Wherever it is very dusty
•Wherever it will be subject to vibration
•On top of a rickety stand or in an unstable location which is tilted at an angle
•Near windows where there is a chance of exposure to rain, etc.
•On top of an amplifier or other component which dissipates a great deal of heat
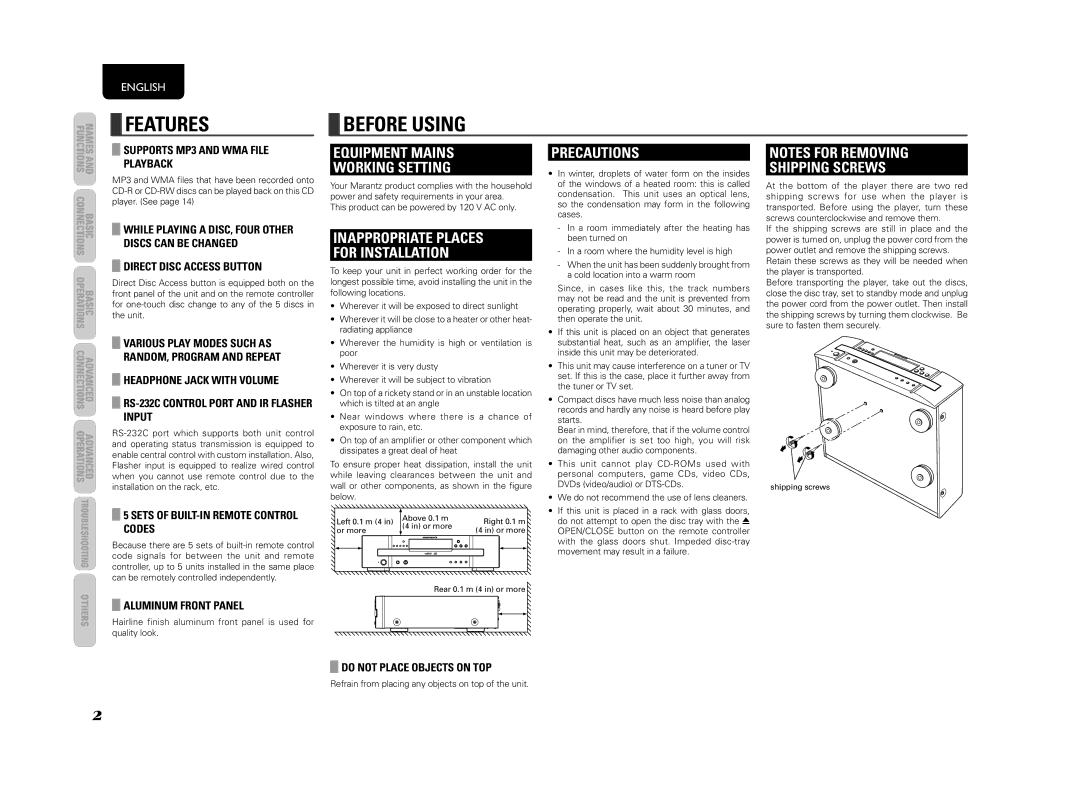
To ensure proper heat dissipation, install the unit while leaving clearances between the unit and wall or other components, as shown in the figure below.
Left 0.1 m (4 in) |
| Above 0.1 m | Right 0.1 m | ||
| |||||
| (4 in) or more | ||||
or more |
| (4 in) or more | |||
|
| ||||
|
|
|
|
|
|
|
|
|
|
|
|
Rear 0.1 m (4 in) or more |
DO NOT PLACE OBJECTS ON TOP
Refrain from placing any objects on top of the unit.
PRECAUTIONS
•In winter, droplets of water form on the insides of the windows of a heated room: this is called condensation. This unit uses an optical lens, so the condensation may form in the following cases.
-In a room immediately after the heating has been turned on
-In a room where the humidity level is high
-When the unit has been suddenly brought from a cold location into a warm room
Since, in cases like this, the track numbers may not be read and the unit is prevented from operating properly, wait about 30 minutes, and then operate the unit.
•If this unit is placed on an object that generates substantial heat, such as an amplifier, the laser inside this unit may be deteriorated.
•This unit may cause interference on a tuner or TV set. If this is the case, place it further away from the tuner or TV set.
•Compact discs have much less noise than analog records and hardly any noise is heard before play starts.
Bear in mind, therefore, that if the volume control on the amplifier is set too high, you will risk damaging other audio components.
•This unit cannot play
•We do not recommend the use of lens cleaners.
•If this unit is placed in a rack with glass doors, do not attempt to open the disc tray with the 0 OPEN/CLOSE button on the remote controller with the glass doors shut. Impeded
NOTES FOR REMOVING
SHIPPING SCREWS
At the bottom of the player there are two red shipping screws for use when the player is transported. Before using the player, turn these screws counterclockwise and remove them.
If the shipping screws are still in place and the power is turned on, unplug the power cord from the power outlet and remove the shipping screws.
Retain these screws as they will be needed when the player is transported.
Before transporting the player, take out the discs, close the disc tray, set to standby mode and unplug the power cord from the power outlet. Then install the shipping screws by turning them clockwise. Be sure to fasten them securely.
shipping screws
2
