INSTALLATION
Using the Adjustable Mount | Rubber Bumper Feet |
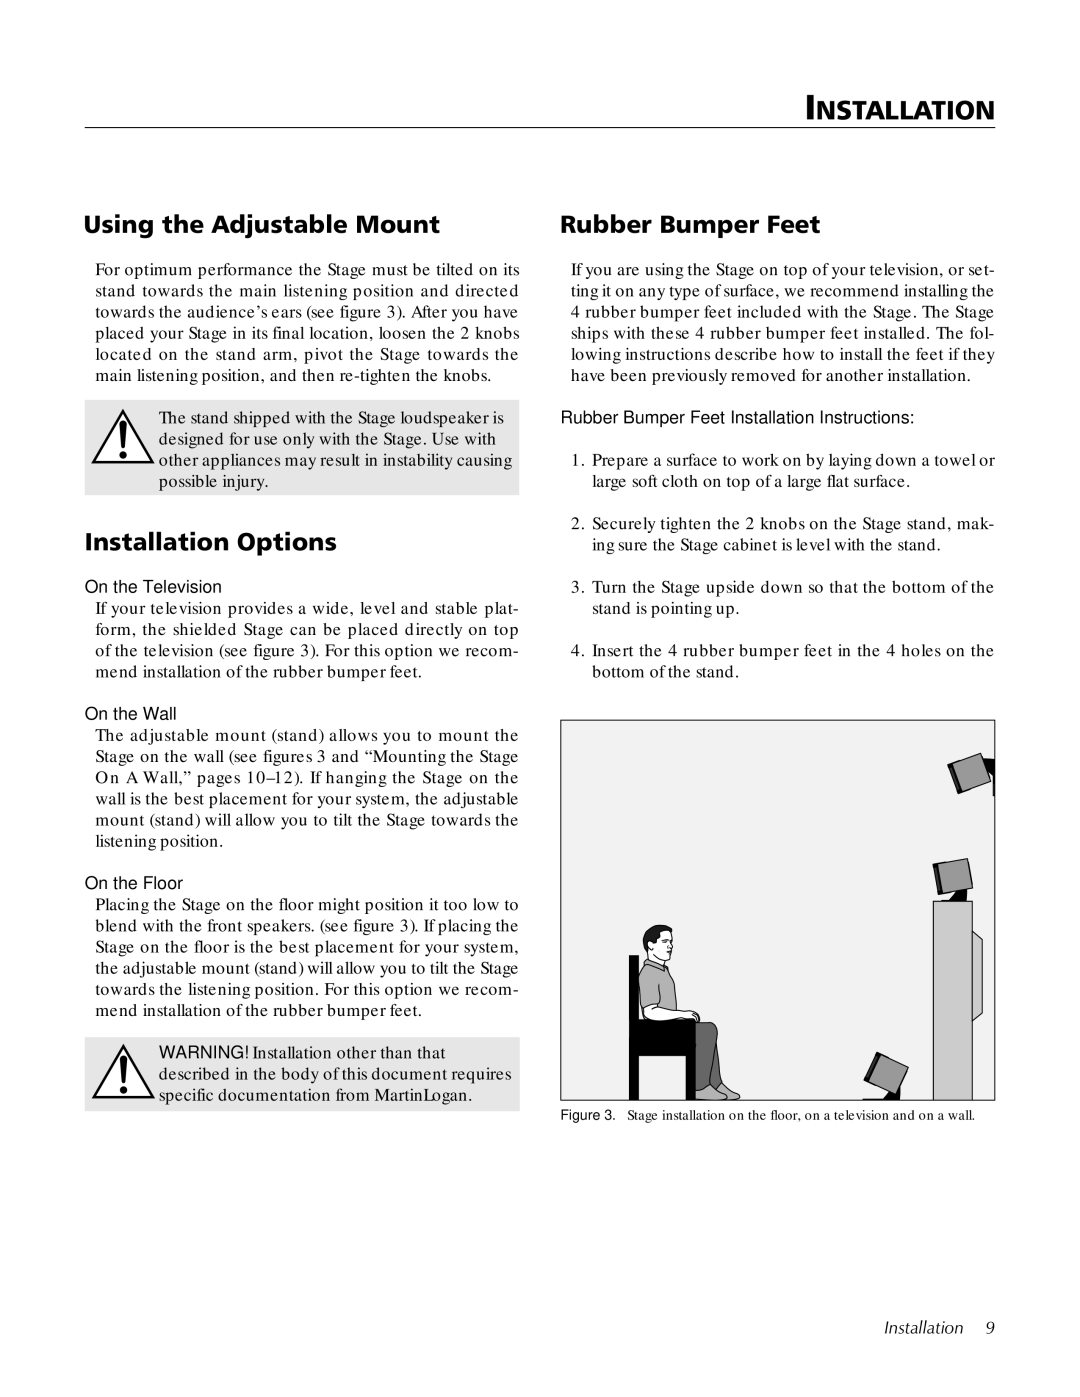
For optimum performance the Stage must be tilted on its stand towards the main listening position and directed towards the audience’s ears (see figure 3). After you have placed your Stage in its final location, loosen the 2 knobs located on the stand arm, pivot the Stage towards the main listening position, and then
The stand shipped with the Stage loudspeaker is designed for use only with the Stage. Use with other appliances may result in instability causing possible injury.
Installation Options
On the Television
If your television provides a wide, level and stable plat- form, the shielded Stage can be placed directly on top of the television (see figure 3). For this option we recom- mend installation of the rubber bumper feet.
On the Wall
The adjustable mount (stand) allows you to mount the Stage on the wall (see figures 3 and “Mounting the Stage On A Wall,” pages
On the Floor
Placing the Stage on the floor might position it too low to blend with the front speakers. (see figure 3). If placing the Stage on the floor is the best placement for your system, the adjustable mount (stand) will allow you to tilt the Stage towards the listening position. For this option we recom- mend installation of the rubber bumper feet.
WARNING! Installation other than that described in the body of this document requires specific documentation from MartinLogan.
If you are using the Stage on top of your television, or set- ting it on any type of surface, we recommend installing the 4 rubber bumper feet included with the Stage. The Stage ships with these 4 rubber bumper feet installed. The fol- lowing instructions describe how to install the feet if they have been previously removed for another installation.
Rubber Bumper Feet Installation Instructions:
1.Prepare a surface to work on by laying down a towel or large soft cloth on top of a large flat surface.
2.Securely tighten the 2 knobs on the Stage stand, mak- ing sure the Stage cabinet is level with the stand.
3.Turn the Stage upside down so that the bottom of the stand is pointing up.
4.Insert the 4 rubber bumper feet in the 4 holes on the bottom of the stand.