4.2 Record ing Operations

This section details the way to record video onto hard disk drives. Before continuing with the record function, please configure the recording settings properly to your needs.

4.2.1 Manual Recording

When the DVR is in live display mode, take the following steps to start recording:

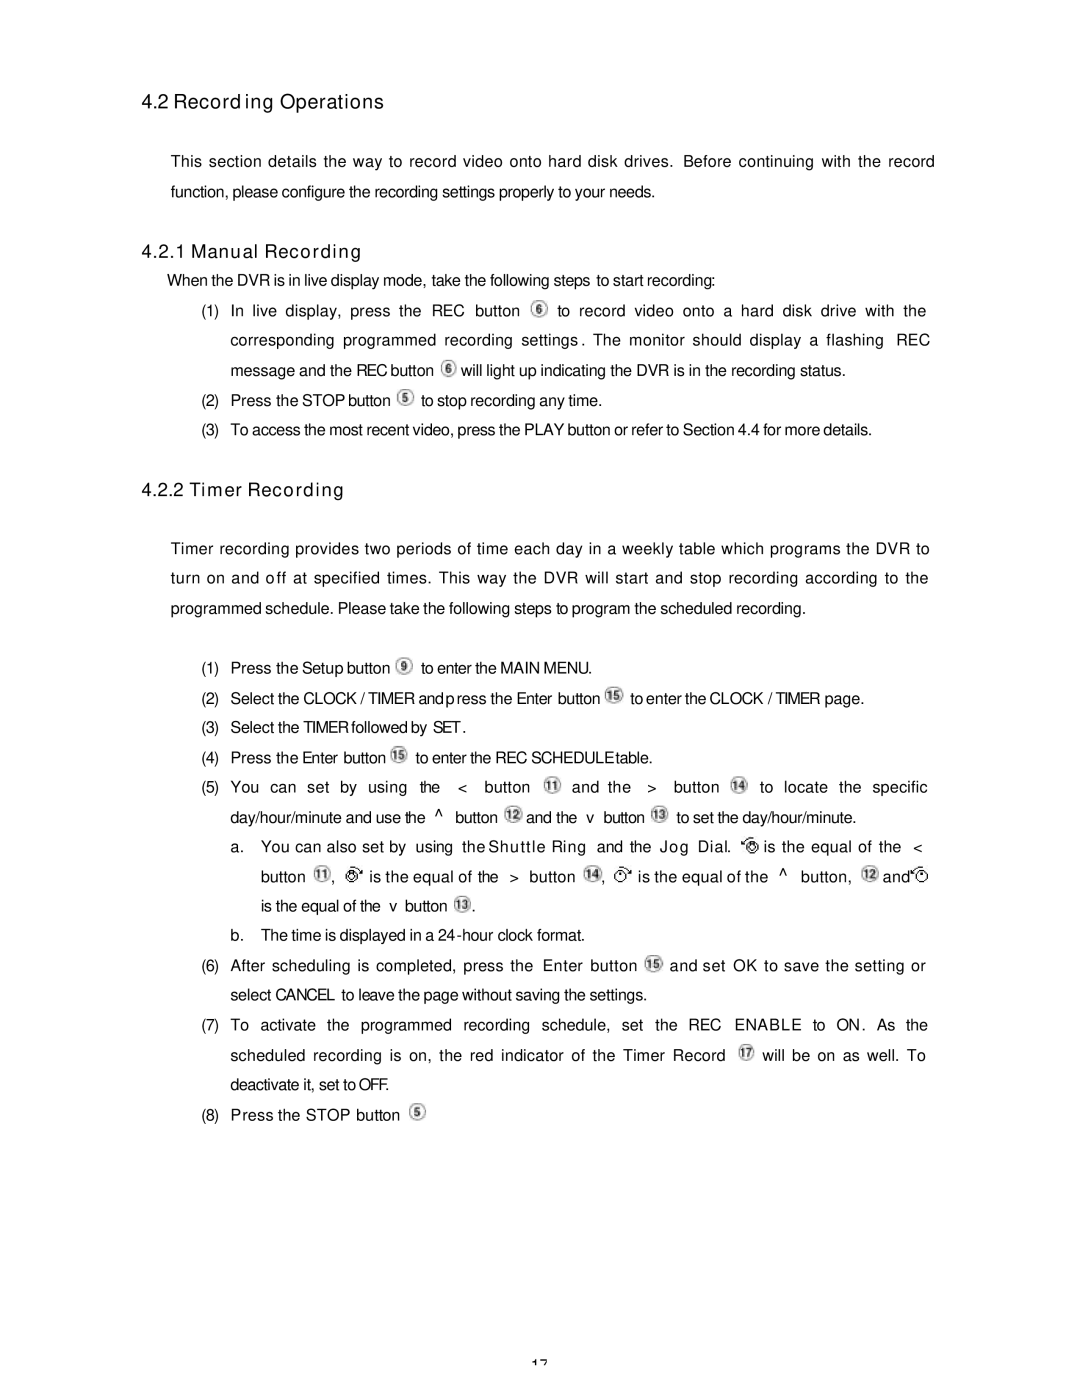
(1)In live display, press the REC button to record video onto a hard disk drive with the corresponding programmed recording settings . The monitor should display a flashing REC message and the REC button will light up indicating the DVR is in the recording status.

(2)Press the STOP button to stop recording any time.

(3)To access the most recent video, press the PLAY button or refer to Section 4.4 for more details.

4.2.2Timer Recording

Timer recording provides two periods of time each day in a weekly table which programs the DVR to turn on and o ff at specified times. This way the DVR will start and stop recording according to the programmed schedule. Please take the following steps to program the scheduled recording.

(1)Press the Setup button to enter the MAIN MENU.

(2)Select the CLOCK / TIMER and p ress the Enter button to enter the CLOCK / TIMER page.

(3)Select the TIMER followed by SET.

(4)Press the Enter button to enter the REC SCHEDULEtable.

(5)You can set by using the “<” button and the “>” button to locate the specific

day/hour/minute and use the “^” button and the “v” button to set the day/hour/minute.

a.You can also set by using the Shuttle Ring and the Jog Dial. is the equal of the “<

button , is the equal of the “>” button , is the equal of the “^” button, and is the equal of the “v” button .

b.The time is displayed in a 24-hour clock format.

(6)After scheduling is completed, press the Enter button and set OK to save the setting or select CANCEL to leave the page without saving the settings.

(7)To activate the programmed recording schedule, set the REC ENABLE to ON . As the

scheduled recording is on, the red indicator of the Timer Record will be on as well. To deactivate it, set to OFF.

(8)Press the STOP button during the scheduled recording to stop it at any time. If you wish to continue the scheduled recording, press the REC button to proceed.

NOTE: You can proceed to start the scheduled recording from the current time if it is in the scheduledinterlude as soon as setting is completed, and you exit the menu.

NOTE: If you activate the recording function before the scheduled recording, the unit will record as shown in the diagram below and keep those images in different files.

17

Page 18
Image 18
Maxtor SLD240 operation manual Record ing Operations, Manual Recording, Timer Recording

SLD240 specifications

The Maxtor SLD240 is a sophisticated solid-state drive (SSD) that epitomizes advanced storage technology and reliability. Designed primarily for consumers and professionals seeking enhanced performance in data-intensive environments, this SSD offers a blend of speed, durability, and efficiency.

One of the standout features of the Maxtor SLD240 is its impressive read and write speeds. Using a SATA III interface, it can deliver sequential read speeds of up to 550 MB/s and write speeds of up to 500 MB/s. This high-speed performance significantly reduces boot times, improves application loading times, and enhances overall system responsiveness, making it an ideal choice for both everyday users and gamers.

The SLD240 employs 3D NAND technology, which enables higher storage densities and improved performance compared to traditional 2D NAND. This cutting-edge technology also contributes to the SSD's durability, as it offers a greater resistance to data loss and wear over time. With a lifespan rated at approximately 1 million hours Mean Time Between Failures (MTBF), users can trust the SLD240 for their critical data storage needs.

Another notable characteristic of the Maxtor SLD240 is its power efficiency. Consuming less power than conventional hard drives, it produces less heat while maximizing energy savings. This not only extends battery life in laptops but also promotes a cooler operating environment in desktops and other systems.

The SSD is available in various storage capacities, catering to a wide range of storage requirements from casual users to professionals needing ample space for large files and applications. With capacities typically ranging from 240GB to 2TB, users can select the model that best fits their storage demands.

Security features are also integrated into the SLD240, including support for AES 256-bit encryption, ensuring that data remains secure against unauthorized access. The drive also boasts advanced error correction technologies, which enhance data integrity by mitigating the risk of data corruption.

In summary, the Maxtor SLD240 is a remarkable solid-state drive that combines speed, reliability, and security in a compact form factor. With its impressive performance metrics, advanced technologies, and robust data protection features, it stands out as an excellent choice for consumers and professionals looking to upgrade their storage solutions.