Service and Maintenance (cont'd)
|
| Drain | Valve Washer | ||
|
| Replacement |
| ||
18. | Replace access panel. | NOTE: For replacement, use a 17/_"x lye" x 1/s"thick washer | |||
|
| available at your nearest hardware store. For ordering a | |||
19. | Turn "ON" electric power to water heater, | replacement | washer, refer to the "Repair Parts" section. | ||
|
| 1. Before beginning turn "OFF" the electrical power supply | |||
|
|
| to the water heater. |
| |
|
|
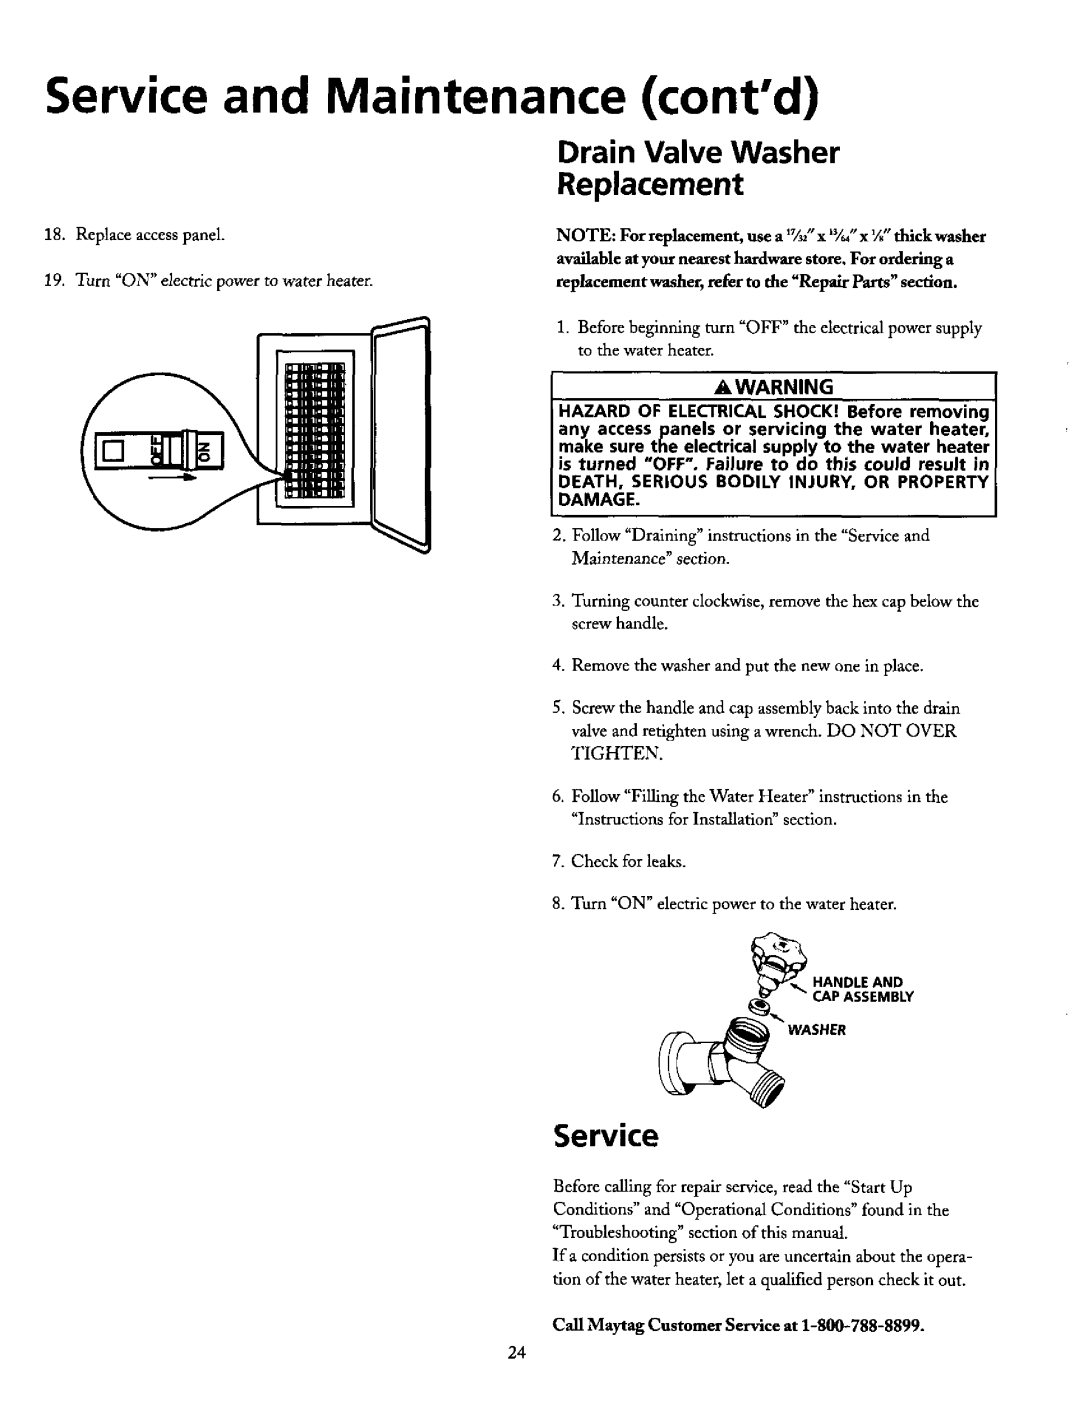
|
| &WARNING | |
|
| HAZARD OF ELECTRICAL SHOCK! Before removing | |||
|
| any access panels or servicing the water heater, | |||
|
| make sure the electrical supply to the water heater | |||
|
| is turned UOFFR. Failure to do this could result in | |||
|
| DEATH, SERIOUS BODILY INJURY, OR PROPERTY | |||
|
| DAMAGE. |
|
| |
|
| 2. | Follow "Draining" instructions | in the "Service and | |
|
|
| Maintenance" section. |
| |
|
| 3. | Turning counter clockwise, remove the hex cap below the | ||
|
|
| screw handle. |
| |
|
| 4. | Remove the washer and put the | new one in place. | |
|
| 5. Screw the handle and cap assembly back into the drain | |||
|
|
| valve and retighten using a wrench. DO NOT OVER | ||
|
|
| TIGHTEN. |
|
|
|
| 6. | Follow "Filling the Water Heater" instructions in the | ||
|
|
| "Instructions for Installation" section. | ||
|
| 7. | Check for leaks. |
| |
|
| 8. | Turn "ON" electric power to the water heater. | ||
|
|
|
| _'_ HANDLEAND | |
|
|
|
| • | _ CAPASSEMBLY |
' 'WAS.ER
Service
Before calling for repair service, read the "Start Up Conditions" and "Operational Conditions" found in the "Troubleshooting" section of this manual.
If a condition persists or you are uncertain about the opera- tion of the water heater, let a qualified person check it out.
Call Maytag Customer Service at
24
