Instructions for Installation (cont'd)
Converting the Lower Element (cont'd)
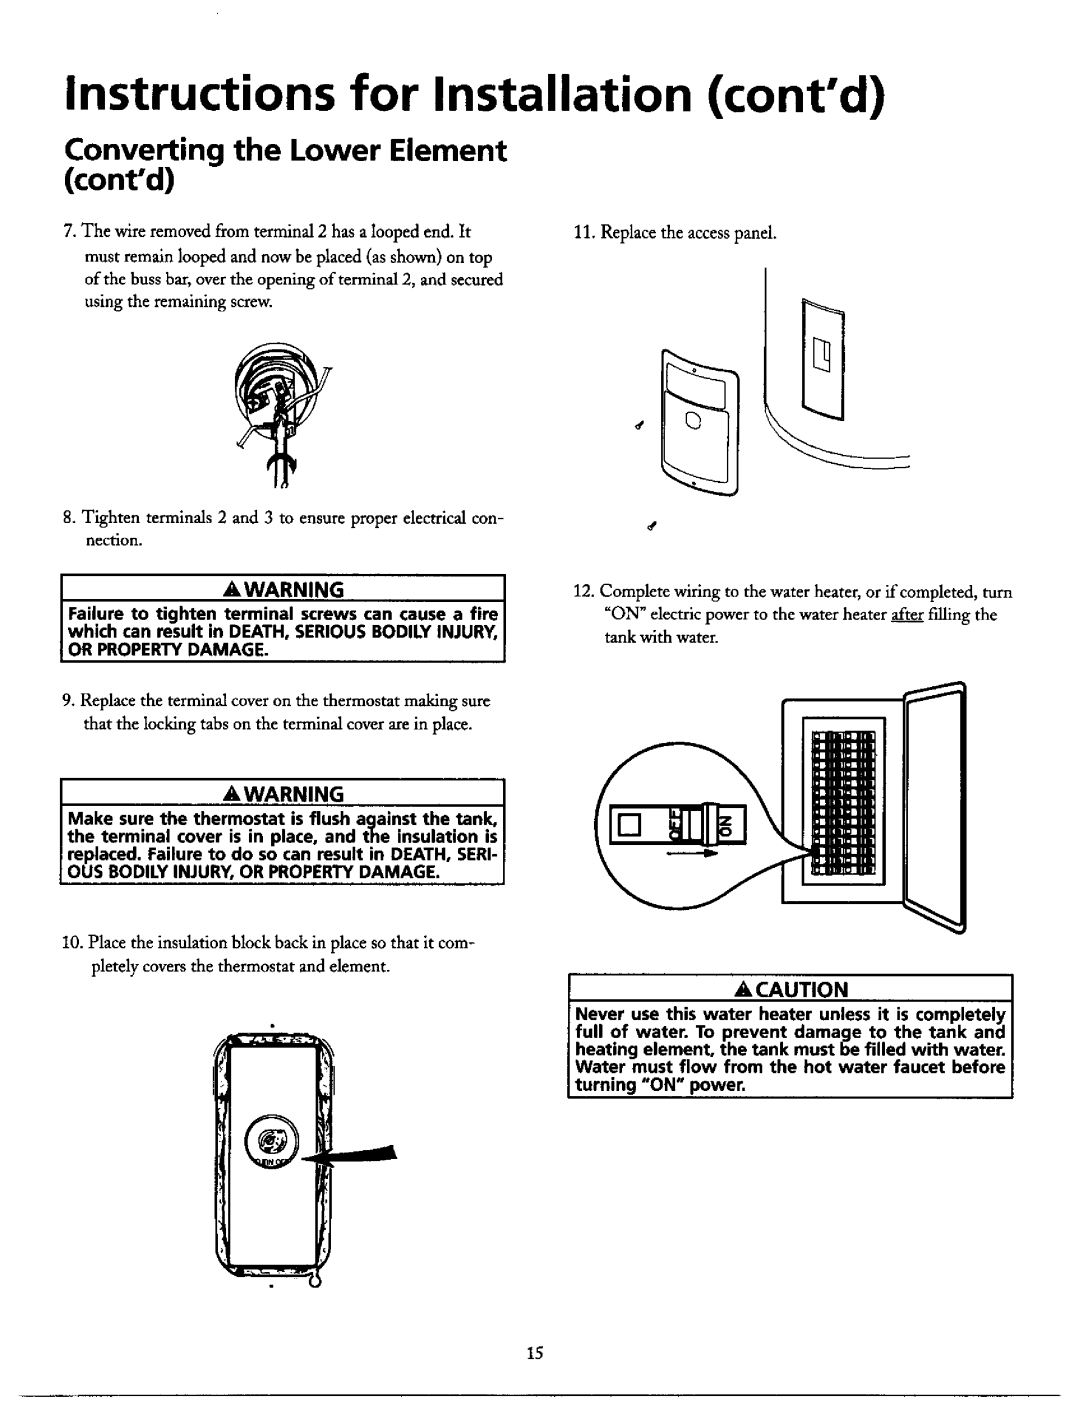
7. The wire removed from terminal 2 has a looped end. It
must remain looped and now be placed (as shown) on top of the buss bar, over the opening of terminal 2, and secured
using the remaining screw.
8. Tighten terminals 2 and 3 to ensure proper electrical con-
nectlo_.
AWARNING
Failure to tighten terminal screws can cause a fire I which can result in DEATH,SERIOUSBODILYINJURY, OR PROPERTYDAMAGE.
9.Replace the terminal coveron the thermostat making sure that the locking tabs on the terminal coverare in place.
&WARNINGI
Make sure the thermostat is flush against the tank, I the terminal cover is in place, and the insulation is I
replaced. Failure to do so can result in DEATH,SERI-
OUS BOD LY NJURY,OR PROPERTYDAMAGE.
10.Place the insulation block back in place so that it com- pletely coversthe thermostat and element.
11. Replace the accesspanel.
d
12.Complete wiring to the water heater, or if completed, turn "ON" electric power to the water heater after falling the tank with water.
%
&,CAUTION
Never use this water heater unless it is completely I
full of water. To prevent damage to the tank and I heating element, the tank must be filled with water. I
turning "ON" power,
Water must flow from the hot water faucet before
15
