8.Tighten terminals 2 and 3 to ensure proper electrical connection.
Failure to tighten terminal screws can cause a fire which can result in DEATH, SERIOUS BODILY INJURY, OR PROPERTY DAMAGE.
9.Replace terminal cover on thermostat and fold insulation back over the element making sure that the locking tabs on the terminal cover are in place.
Make sure the thermostat is flush against the tank, the terminal cover is in place, and the insulation is replaced. Failure to do so can result in DEATH, SERIOUS BODILY INJURY, OR PROPERTY DAMAGE.
10.Replace the insulation cap with handle back in place so that it completely covers the thermostat and element.
FIGURE 20.
11. Replace the access panel.
FIGURE 21.
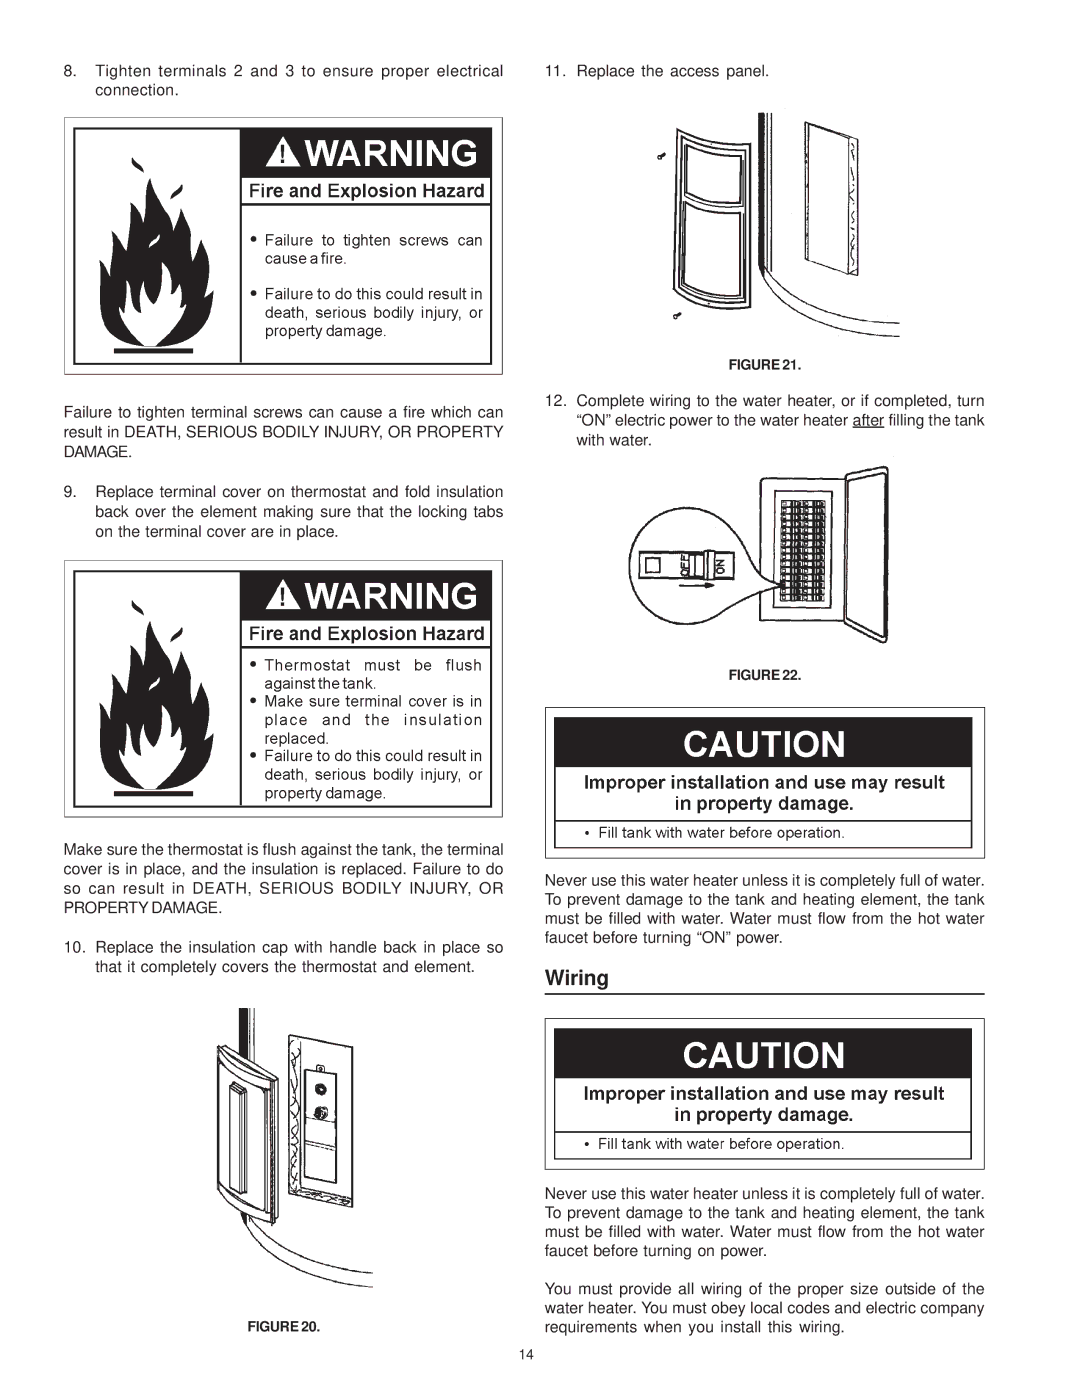
12.Complete wiring to the water heater, or if completed, turn “ON” electric power to the water heater after filling the tank with water.
FIGURE 22.
Never use this water heater unless it is completely full of water. To prevent damage to the tank and heating element, the tank must be filled with water. Water must flow from the hot water faucet before turning “ON” power.
Wiring
Never use this water heater unless it is completely full of water. To prevent damage to the tank and heating element, the tank must be filled with water. Water must flow from the hot water faucet before turning on power.
You must provide all wiring of the proper size outside of the water heater. You must obey local codes and electric company requirements when you install this wiring.
14