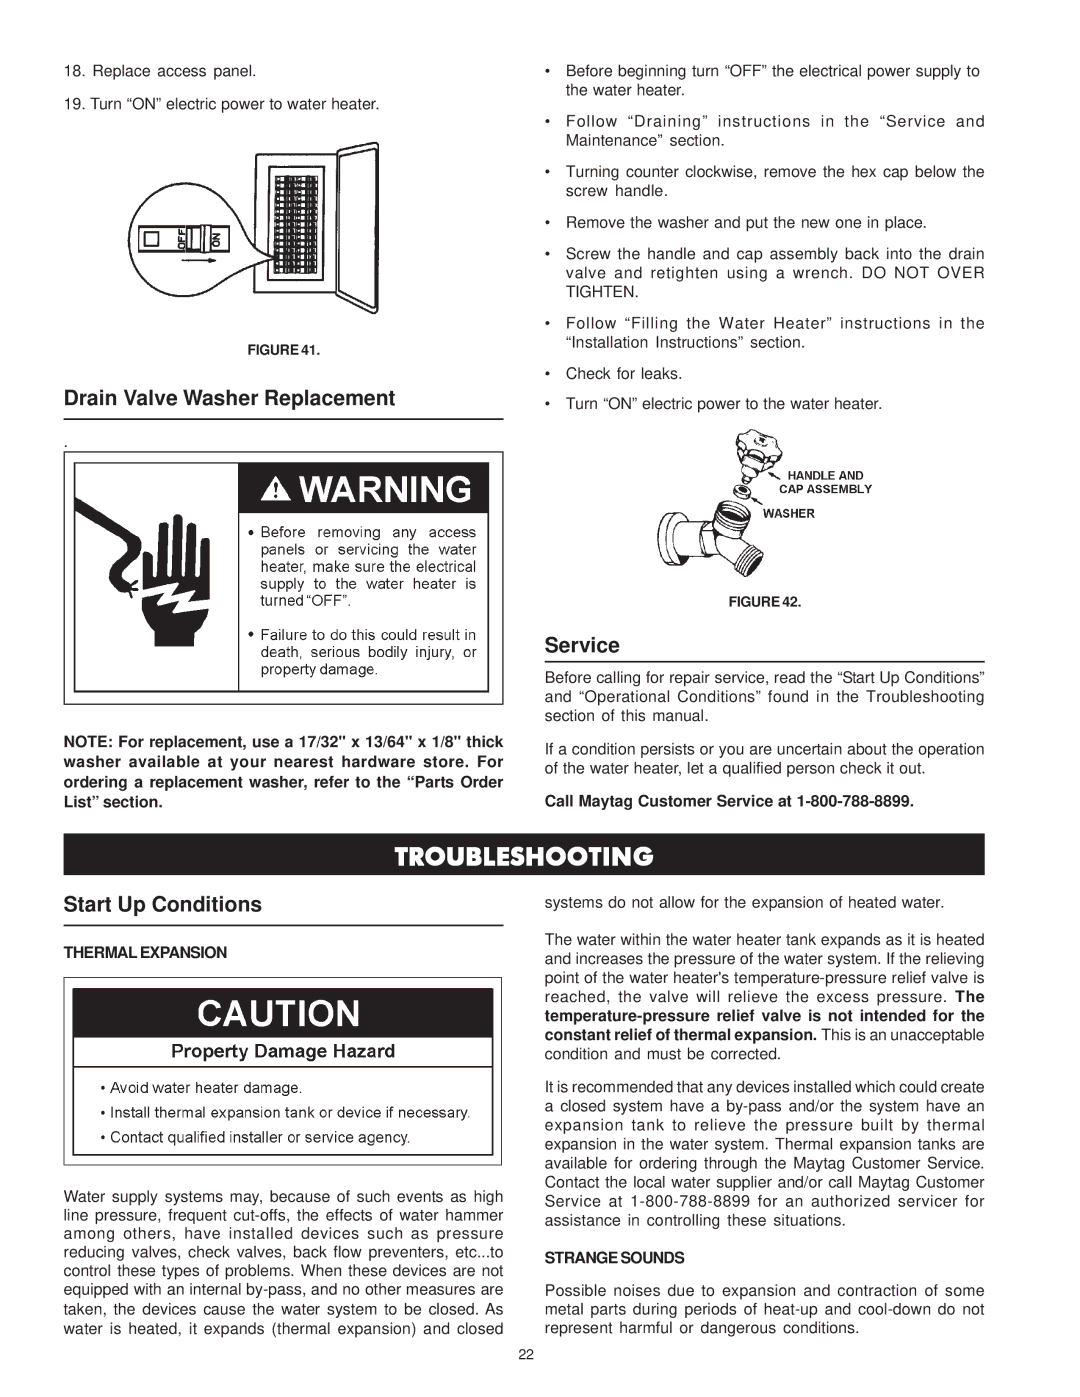
18.Replace access panel.
19.Turn “ON” electric power to water heater.
FIGURE 41.
Drain Valve Washer Replacement
.
NOTE: For replacement, use a 17/32" x 13/64" x 1/8" thick washer available at your nearest hardware store. For ordering a replacement washer, refer to the “Parts Order List” section.
•Before beginning turn “OFF” the electrical power supply to the water heater.
•Follow “Draining” instructions in the “Service and Maintenance” section.
•Turning counter clockwise, remove the hex cap below the screw handle.
•Remove the washer and put the new one in place.
•Screw the handle and cap assembly back into the drain valve and retighten using a wrench. DO NOT OVER TIGHTEN.
•Follow “Filling the Water Heater” instructions in the “Installation Instructions” section.
•Check for leaks.
•Turn “ON” electric power to the water heater.
FIGURE 42.
Service
Before calling for repair service, read the “Start Up Conditions” and “Operational Conditions” found in the Troubleshooting section of this manual.
If a condition persists or you are uncertain about the operation of the water heater, let a qualified person check it out.
Call Maytag Customer Service at
TROUBLESHOOTING
Start Up Conditions
THERMAL EXPANSION
Water supply systems may, because of such events as high line pressure, frequent
systems do not allow for the expansion of heated water.
The water within the water heater tank expands as it is heated and increases the pressure of the water system. If the relieving point of the water heater's
It is recommended that any devices installed which could create a closed system have a
STRANGE SOUNDS
Possible noises due to expansion and contraction of some metal parts during periods of
22
